-
Notifications
You must be signed in to change notification settings - Fork 3
RPi Getting Started
In this quick tutorial we will go through one of the C++ hall-switch examples available for the TLE4964-3M and the Raspberry Pi.
- Experience level: moderate
- Basic linux user level
- Basic programming skills (C/C++)
- Basic soldering skills (recommended)
| Name | Picture |
|---|---|
| TLE4964-3M Shield 2Go |  |
| Shield2Go Adapter for Raspberry Pi |  |
| Raspberry Pi 1 B+ or newer | |
| 8GB+ microSD card for Raspberry Pi | |
| Magnet (included with the Shield 2Go) | |
| Pin headers (included with the boards) | |
| Micro-USB to USB A cable |
- Raspberry Pi OS or similar
- git
- wiringpi
- build-essential
- This library
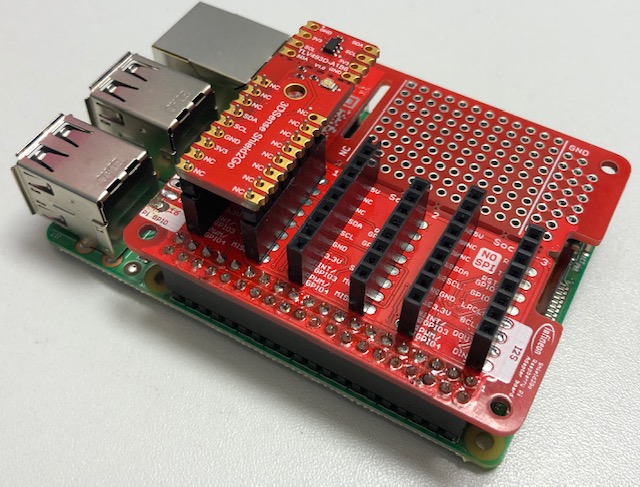
The TLE4964-3M Shield 2Go can be connected to the Raspberry Pi using the Shield2Go Adapter for Raspberry Pi.


Note
Set up Raspberry Pi with Raspberry Pi OS or similar OS. Check this page for instructions.
You can access your Raspberry Pi either using a monitor and a keyboard or using SSH in a headless setup as described here.
Now insert the microSD card into your Raspberry Pi and connect a 5V power supply to boot it up.
sudo apt-get install git wiringpi build-essential
git clone https://github.com/Infineon/hall-switch.git
With everything ready, now we are going to run one of the library examples.
cd hall-switch/src/framework/raspberrypi
make examples/hall-polling
../../../build/hall-polling
Finally, we can check the terminal output. Just move a magnet near the sensor and check the output field value changing from 1 to 0.
2. Library Details
Library Architecture
Hall Switch API
Hall Speed API
PAL Interface
Source Tree Structure
Preprocessor Configuration
Porting Guide
Doxygen Docs
4. Software Frameworks
Arduino
- Getting Started
- Lib Installation
- Ino Examples
- Arduino API
- PlatformIO
Cypress WICED
- Getting Started
- Lib Installation
- WICED API
- Troubleshooting Guide
Raspberry Pi
- Getting Started
- Lib Installation
- Examples
- API usage