SickChill Windows Installer
Note: For just the commands see this page.
For many novice users installing SickChill on a Windows machine can be confusing. Therefore we have created a Windows installer to simplify the process. This installer will download all the necessary files and automatically install them for you. It also will take care of creating a service, so that SickChill will automatically start with Windows. Both x32 and x64-bit installations are supported and automatically recognized.
For more detailed information checkout windows-sickchill
The installer uses a service (account) to run SickChill automatically on startup. This is a different account than your Windows user account which you use to login to Windows. Meaning that any network drive mappings do not exist for that (service) account and need to be created. Or edit the service to run with another account that has the network drive mappings setup. You can manually change the account from the command prompt (administrative rights) with the below commands:
Since sickchill was installed by the installer as an admin, if you previously changed the user that the service runs as then the updater will not have the permissions to auto-update sickchill. We must manually reinstall via command line as the user we want the service to run as. Note: You can perform these steps to fix an existing installation to make auto update work. This will be fixed in a near future updated installer, but for now you cand achieve this if you follow the following steps in this order:
- Admin console:
cd C:\SickChill\Installer
nssm edit sickchill
# on the `Log on` tab, select the radio option next to `This account:` and set the username and password for the account that made your shares
net stopSickChill
C:\SickChill\Python3\tools\python.exe -m pip freeze > requirements.txt
C:\SickChill\Python3\tools\python.exe -m pip uninstall -yr requirements.txt- User console:
C:\SickChill\Python3\tools\python.exe -m pip install -U sickchill- Admin console:
net start sickchillYou can manually check which version of sickchill is installed, and update or downgrade the installed version from the command line. If you followed the steps above and reinstalled the sickchill package as your user, you will want to use a user console opened for that user. If it is still installed the default way how the installer came with it, you will need an admin console.
First determine if you need an admin prompt or a user prompt:
 # Powershell
 Get-Acl C:\SickChill\Python3\tools\\Scripts\sickchill.exe | fl
# cmd
dir /Q C:\SickChill\Python3\tools\Scripts\sickchill.exeWhichever user owns the files, use that user/admin prompt to modify sickchill If you go through the new way of changing the user above, it will install sickchill as the same user that the service runs and you won't need to do this at all except downgrading. Here are the example commands (to be ran with the correct console level):
C:\SickChill\Python3\tools\python.exe -m pip show sickchill
C:\SickChill\Python3\tools\python.exe -m pip install -U sickchill
C:\SickChill\Python3\tools\python.exe -m pip install sickchill==2024.2.18
If you are unable to get it setup correctly, you can always disable the service and start SickChill manually. SickChill will then run as the user that is logged in to Windows. Alternatively, you can also install SickChill manually
If you are having issues with networked drives, you likely need to enable linked connections:
reg add "HKEY_LOCAL_MACHINE\Software\Microsoft\Windows\CurrentVersion\Policies\System" /v "EnableLinkedConnections" /t REG_DWORD /d 0x00000001 /f
OR
New-ItemProperty -Path 'HKLM:\SOFTWARE\Microsoft\Windows\CurrentVersion\Policies\System' -Name EnableLinkedConnections -Value 1 -PropertyType 'DWord'
Head over to the SickChill Package Installer and download the latest release.
(Special thanks to VinceVal for compiling this installer.)
Browse to the folder/location where you have placed the installer file and execute/run it.
(You might get a warning from users account control that the program is Unknown. Just ignore the warning, and click on OK.)
--
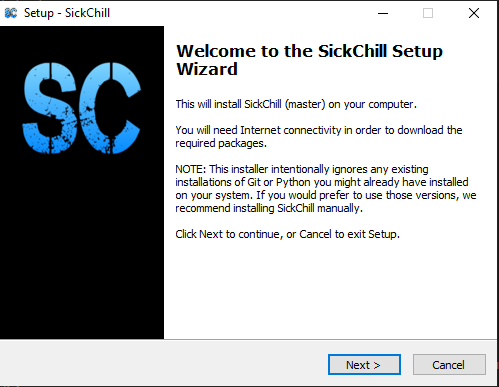
You will be greeted by the welcome screen.
Click on Next > to proceed with the installation.
--
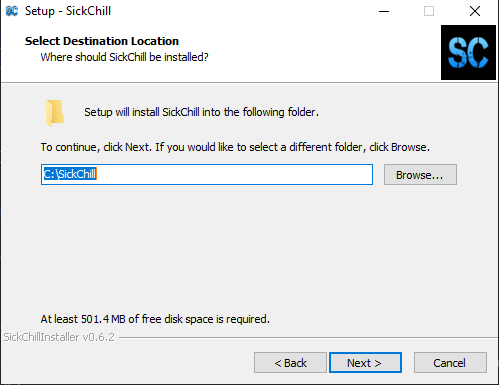
The next window lets you select the destination folder where you want SickChill to be installed. the default is C:\SickChill
Use Browse... if you would like to change that location. Or enter the destination manually in the text field.
Click on Next > to proceed with the installation.
--

The next window will ask if you would like a shortcut to be created in your start menu.
If not than check the check-box Don't create a Start Menu folder
Click on Next > to proceed with the installation.
--

The next window will let you set the port on which SickChill will run. The default is 8081 and it's advised not to change this, unless you have a good reason for it.
Click on Next > to proceed with the installation.
--

The next window will ask if you would like to create a shortcut for SickChill on your desktop.
For ease, it's recommended to create a shortcut on the desktop. But you can also decide to save the URL as a bookmark/favorite in your browser later.
Click on Next > to proceed with the installation.
--
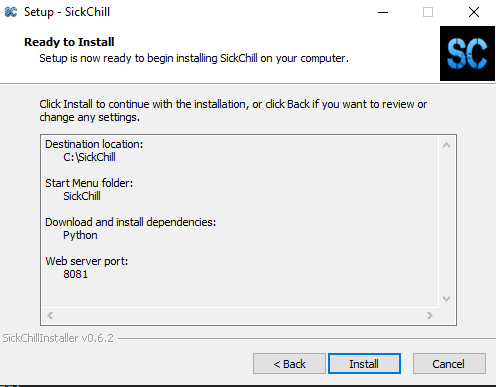
The next window shows you an overview of the settings you have selected and the dependencies that will be installed together with SickChill.
(Those dependencies are needed to run and update SickChill on your Windows machine.)
Click on Install to proceed with the installation.
--
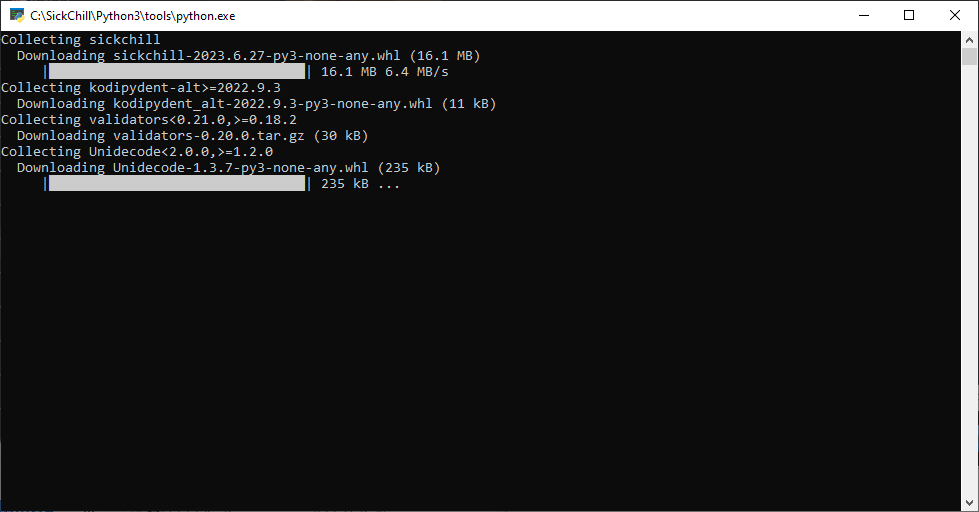
The next window will start downloading the necessary files that are going to be used to install SickChill.
--
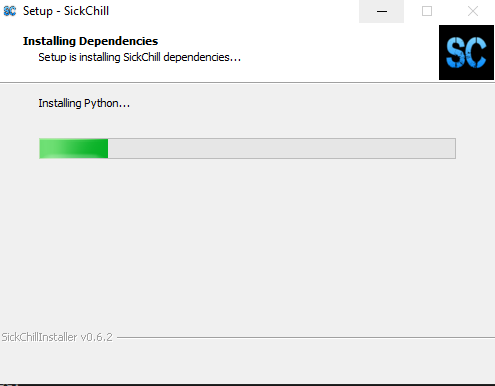
The next window will show you the installation of the downloaded files, this can take a moment depending on your machine.
--
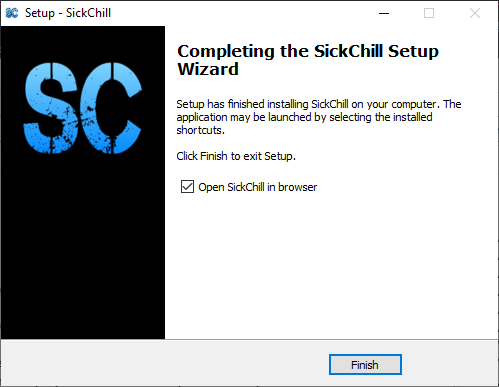
When the installation is complete you will get the Finish screen. Simply click on Finish to complete the installation.
Congratulations, you have successfully installed SickChill.! 👍
--
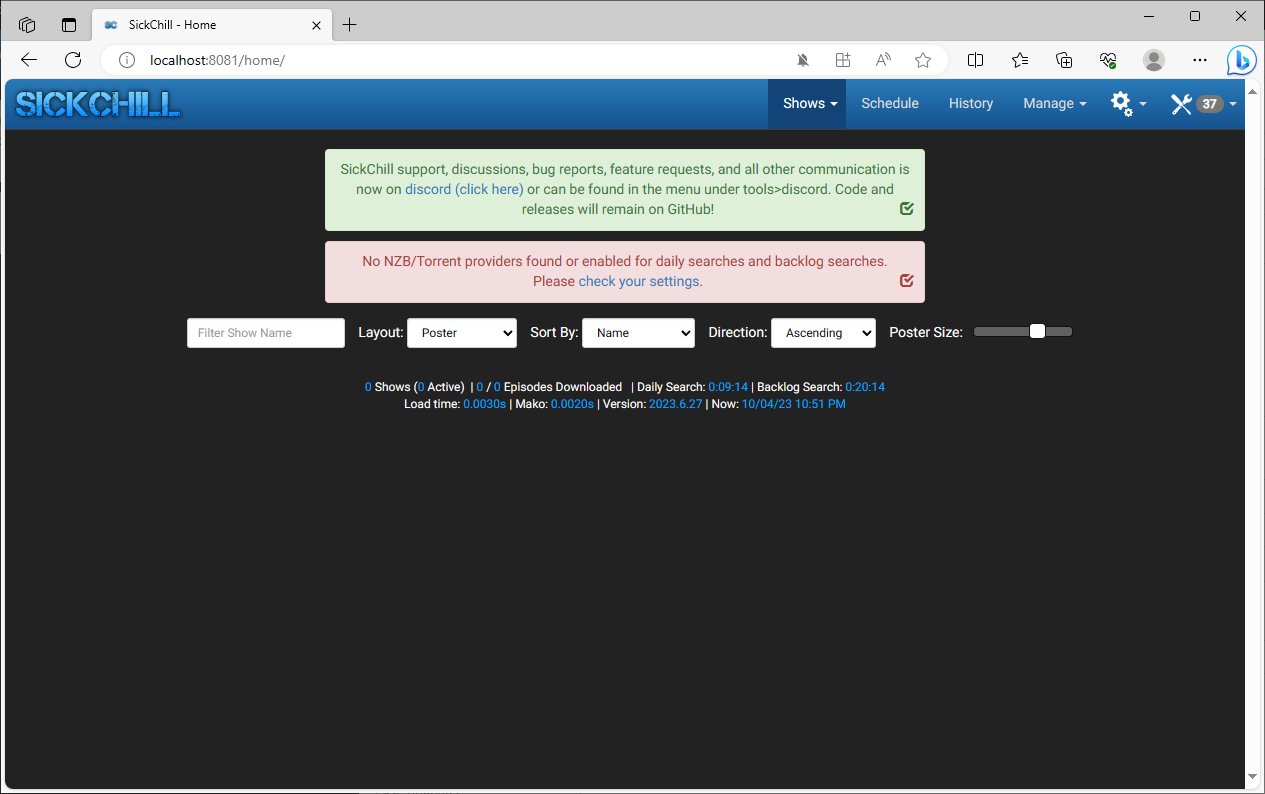
Now you can access SickChill by opening your favorite browser and go to http://localhost:8081 to open SickChill's Web-interface.
--
In case you prefer to do the installation manually, then you can have a look at the below guides. Note that Cheetah isn't necessary anymore, so you don't have to install it.
Official Windows installer:
https://github.com/SickChill/windows-sickchill