Written in 6502/BBC BASIC/BeebAsm
Original source written in 1994 by Nick Jameson
BeebAsm port by Simon M
Demo version here
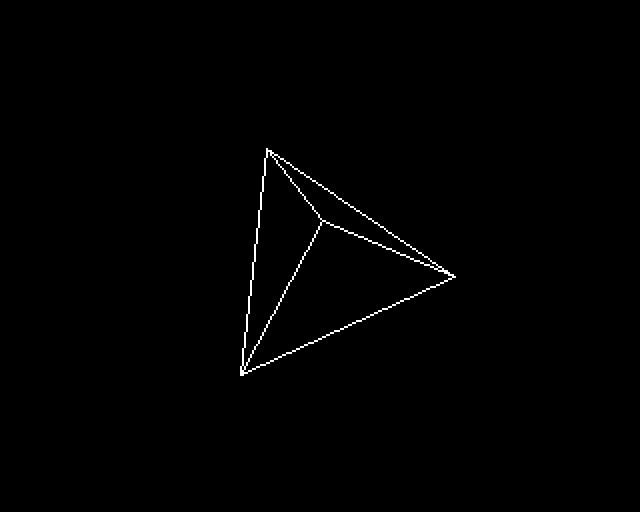
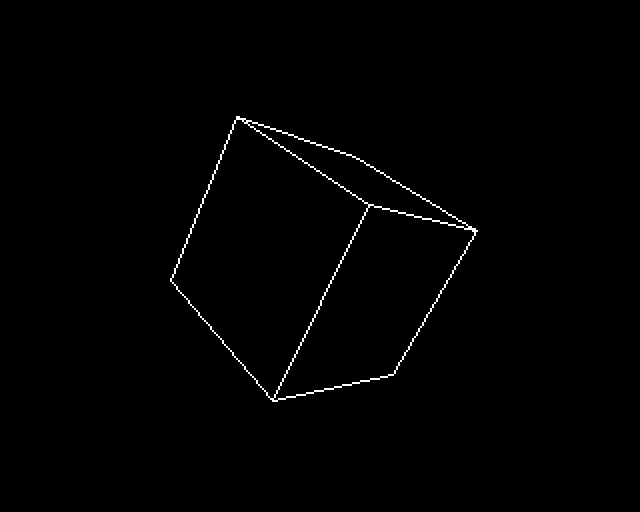
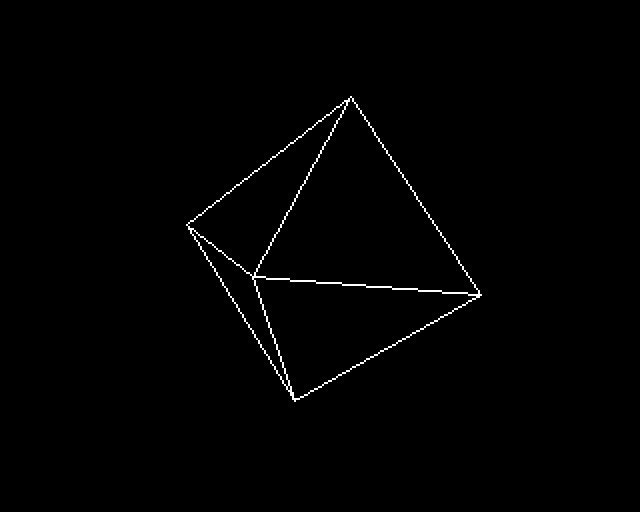
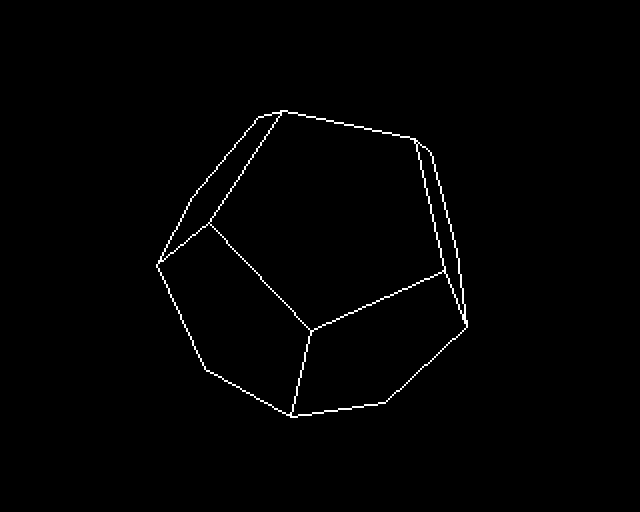
Nick recently shared one of his archived BBC Micro disks that contained some interesting routines he'd written back in the 90's. A closer look at this revealed there were a few demos on these disks that were presenting some amazing high performance 3D rendered graphics, that were clearly pushing the limits of the BBC Micro's abilities.
To achieve this high performance, Nick had incorporated a number of very innovative coding techniques so we wanted to figure out how that worked!
This led to an annotated version of the code being ported to BeebAsm for the benefit of the 6502/BBC Micro development community, and so here it is.


Use BeebAsm to assemble the code and compile the demo disk SSD file.
BeebAsm.exe -v -i demo.asm -do demo.ssd -boot Main for standalone testing
BeebAsm.exe -i beeb3d_solid.asm then BeebAsm.exe -v -i beeb3d.asm -do beeb3d.ssd -opt 3 for creating the beeb3d.ssd disk
There is also a build configuration for Visual Studio Code using the Beeb VSC extension. Hit CTRL+SHIFT+B to build, and CTRL+SHIFT+T to run in BeebEm.
If using BeebVSC, two build targets exist - demo.ssd and beeb3d.asm
If running beeb3d.ssd a menu will show, otherwise demo.ssd will boot straight into the standalone demo.
-
Press
Cto toggle back face culling -
Press
Pto pause the rotation -
Press
SPACEto cycle through the models -
Press
Fin wireframe mode to toggle the vsync -
Press
Lin solid mode to toggle the Filler
The original BBC BASIC source code was ported to BeebAsm and annotated, mainly for learning and understanding the techniques that were making it work. However Nick kindly gave us his permission to share it, so it is now also a way of preserving the code and making it accessible to the BBC Micro development community.
The annotations are just my initial interpretations of the code (and certainly not exhaustive) so I'm sure there may be places where I've judged the code incorrectly. The line plotting routines have not yet been documented, and some annotations need further work, eg. the 3D rotation matrix, transform and cross product routine needs more work to determine things like XYZ rotation matrix order (lh/rh), winding order of the surfaces, and the exact calculations driving some of the maths. For now though, I'm just gonna commit it "as is" with the intention of coming back to this soon.
I had to make a few alterations here and there to get the code compiling in BeebAsm, but overall I tried to keep the code functionality and structure the same.
- The solid and wireframe demo contain a lot of common code, so both now exist in one project for ease of reference, but they are conditionally compiled with the
WIREFRAME=TRUE/FALSEvariable. I think it would be possible to unify the code to switch between the two modes in one runtime, but would need a lot of memory juggling and code changes to achieve that so I left that alone! - The model data was read into interleaved memory addresses in the BASIC version, but BeebAsm doesn't support random access, so I concocted the various
MD_***macros to assist with this along with an initialisation routine that de-serialised the model data back to the optimized interleaved format at runtime - BeebAsm has many useful functions, one of which is the
INCLUDEdirective, so the code has been broken out into separate source files, again for easier reference - The extra rendering options (back face culling toggle and filling toggle) were added
- The memory locations of the quarter square multiplication tables were changed to variables rather than hard coded, and
CONTIGUOUS_TABLESwas added as a compile option which frees up a bit of extra RAM to enable a couple more models - Some extra models were incorporated from Nick's original wireframe demo, however the Icosahedron model could not be ported as is contains more than 16 surfaces (and Nick's original 'polyhed' demo did not use the optimized hidden surface routines which only allow upto 16 surfaces per model. This could be fixed but would need the code to handle models with >16 surfaces differently
Some of the technical innovations that give the demo it's speed are as follows:
- Fast 3D rotation matrix building using compound angle formulae rather than multiplications
- Fast 3D vertex transform routine, using pre-loaded table look-ups rather than multiplications
- Table based sin/cos tables, with 16-bit fixed point precision
- Fast multiplication based on quarter square tables, but overlapped to used 1536 bytes of RAM instead of the usual 2048 bytes
- Screen space hidden surface removal
- Caching of transformed screen space vertices
- Temporal caching of visible surfaces to minimize number of hidden surface tests
- Optimized unrolled Bresenham line drawing for 1-bit-per-pixel mode 4
- Optimized unrolled Bresenham line drawing for 2-bit-per-pixel mode 5, supporting 3 colours and XOR based vertical polygon fill
- Optimized vertical polygon filling routine
- Optimal model data format enables only the minimum number of lines to be rendered given a list of visible surfaces
- Rendering window, to enable double buffering and/or rapid buffer updates
These routines are particularly well optimized for the 8-bit 6502 CPU.
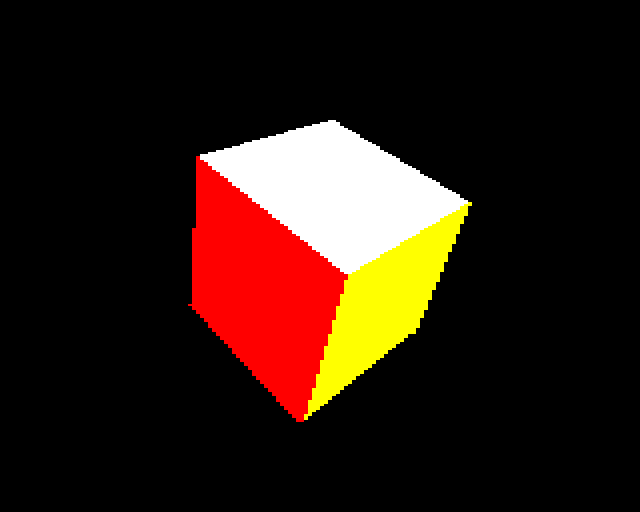
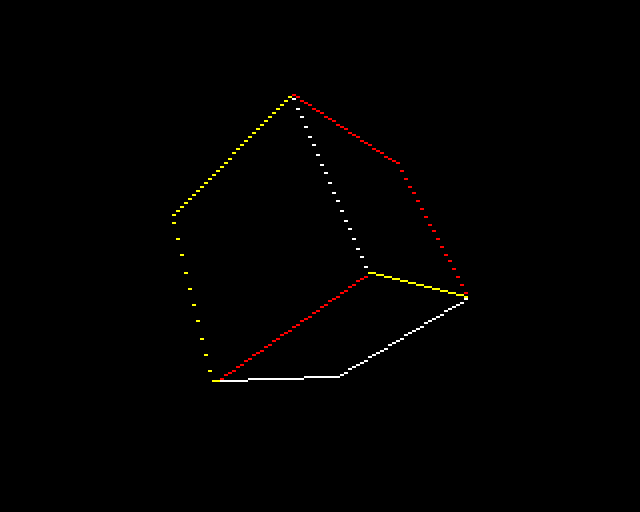
In solid fill mode, the rendering routines use a custom Bresenham routine to plot only the top most vertical elements of the line. Each line for a surface can be assigned one of three colours, and the object is filled vertically using XOR to transmit a colour from the top of the visible surface to the bottom. You can see in the two images below the cube is first rendered in a special wireframe mode (with only the topmost pixels for any vertical pixel column being drawn), and then the XOR filler works by scanning from top-bottom XORing a pixel with the pixel directly above it, creating the fill effect. This is then repeated from left to right to achieve the filled cube.

TODO - Add further information here about the various tricks described above