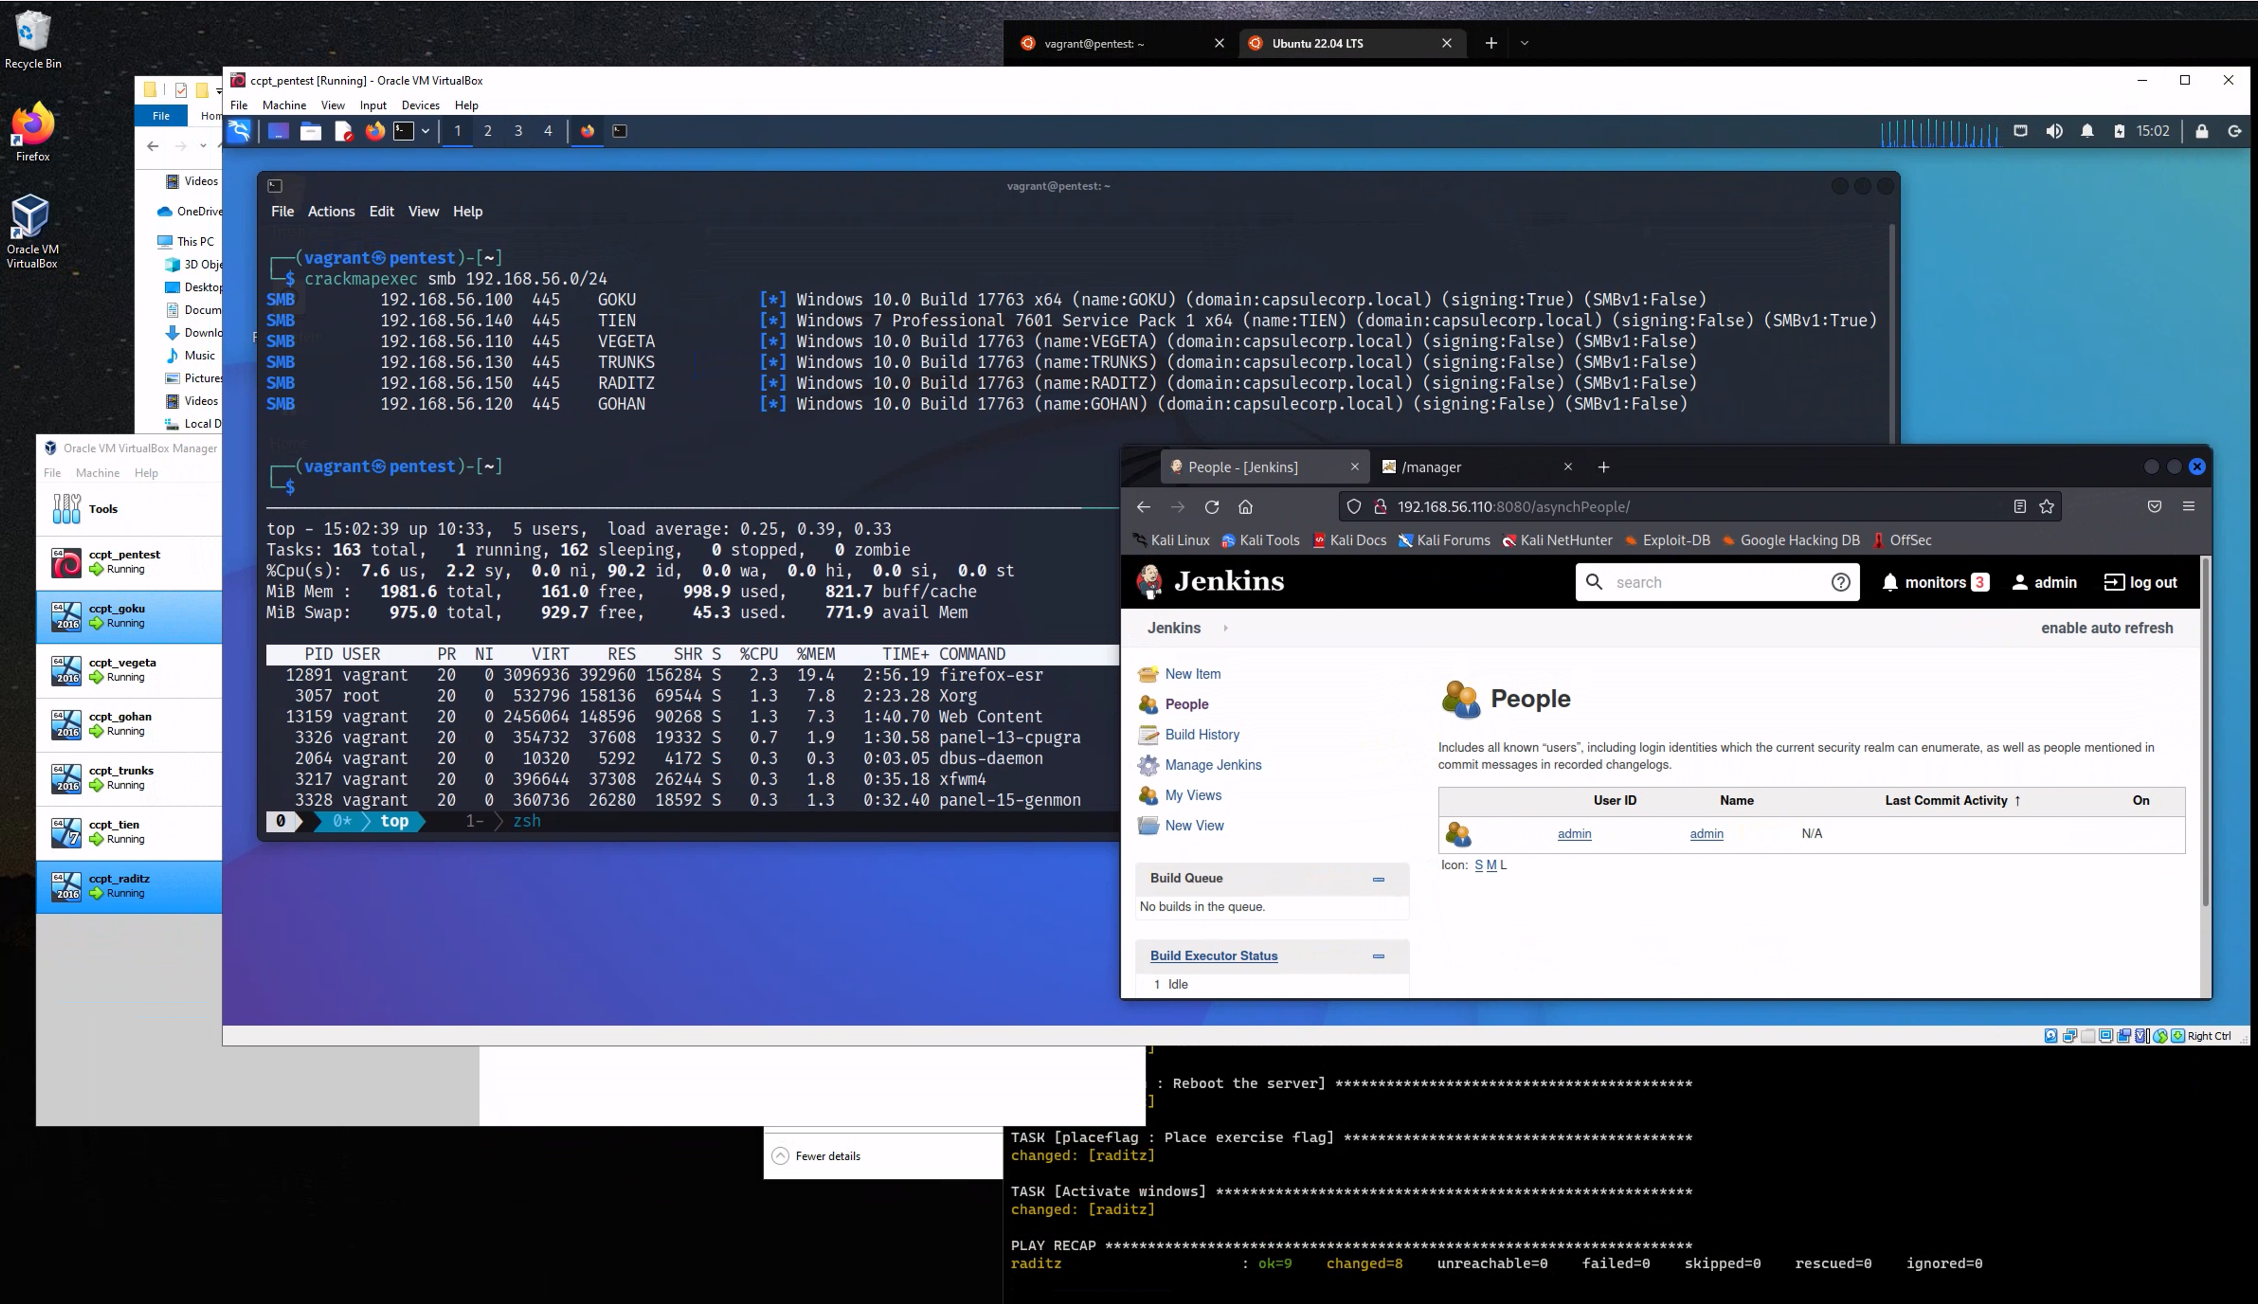
The Capsulecorp Pentest is a small virtual network managed by Vagrant and Ansible. It contains five virtual machines, including one Linux attacking system running Xubuntu and 4 Windows 2019 servers configured with various vulnerable services. This project can be used to learn network penetration testing as a stand-alone environment but is ultimatly designed to complement my book The Art of Network Penetration Testing.
Setting up a virtual network to learn penetration testing can be tedious as well as time/resource consuming. Everything in the capsulecorp environment is pretty much done for you already. Once you get Vagrant, Ansible and VirtualBox installed on your machine you only need to run a couple of vagrant commands to have a fully functioning Active Directory domain that you can use for hacking/learning/pentesting etc.
In order to use the Capsulecorp Pentest network you must have the following:
-
VirtualBox
-
Vagrant
-
Ansible
-
Quad-core CPU with 16GB RAM is recommended.
- With 8GB or less you could still use the project but only run 2 or 3 VMs at a time.
- For All VMs running at once 16GB is required.
- Active directory domain with one DC and 3 server members. All windows server have evaluation licenses, which are activated on installation (for 180 days)
- Domain Controler:
goku.capsulecorp.local - Server 01:
vegeta.capsulecorp.local - Server 02:
gohan.capsulecorp.local - Server 03:
trunks.capsulecorp.local - Wrkstn 01:
tien.capsulecorp.local
- Domain Controler:
- Vulnerable Jenkins server on
vegeta - Vulnerable Apache Tomcat server on
trunks - Vulnerable MSSQL server on
gohan - Vulnerable MS17-010 on
tien - Xubuntu pentest system running XRDP.
- Metasploit
- CrackMapExec
- Nmap
- Remmina RDP client
- RVM
- Python/Pip/Pipenv
- Impacket
In order to manage Windows hosts you'll have to install pywinrm with pip inside the ansible virtual environment
source ~/ansible/bin/activate
pip install pywinrm
deactivateYouTube Setup Tutorial
For a detailed installation walkthrough check out
The first thing you should do is bring up and provision Goku the domain controller. This system will likely take the longest to bring up because the dcpromo stuff just takes a while.
Note: if you are running vagrant with sudo. use sudo -E vagrant option to run vagrant
Bring up the VM
vagrant up goku
Provision the VM
vagrant provision goku
Repeat the above two commands for gohan, vegeta and trunks.
...WARNING...
This section of the provision is expected to take a while because after a dcpromo it takes a long time for the system to reboot.
TASK [promotedc : Set a static address to 172.28.128.100] **********************
changed: [goku]

TASK [promotedc : Change hostname to goku] *************************************
ok: [goku]

TASK [promotedc : Install Active Directory Services] ***************************
ok: [goku]

TASK [promotedc : Promote goku to domain controller] ***************************
changed: [goku]

TASK [promotedc : Reboot after promotion] **************************************Bring up the virtual machines using Vagrant. First cd into the project directory, for example: cd ~/capsulecorp-pentest. Take note of the RDP port that gets forwarded to your localhost.
vagrant up pentest
Provision the pentest machine.
vagrant provision pentest
You can access your pentest machine either using your preferred RDP client to connect to the xrdp listener or via SSH with.
vagrant ssh pentest


