- Make sure Git and NodeJS is installed
- Yarn is faster than Npm. So use Yarn.
- Create .env file in both client and server folder.
- server/.env
STREAM_API_KEY=xxxxxxxxxx
STREAM_API_SECRET=xxxxxxxxxxxxxxxxxxxxx
STREAM_APP_ID=xxxxx

TWILIO_ACCOUNT_SID=xxxxxxxxxxxxxx
TWILIO_AUTH_TOKEN=xxxxxxxxxxxxxxx
TWILIO_MESSAGING_SERVICE_SID=xxxxxxxxxxxxxxxxx
- client/.env
REACT_APP_STREAM_API_KEY_SECRET=xxxxxxxxxx
- Create an account in Stream
- Create a new app. You can name it whatever you want.
- On app dashboard, you can copy your keys and paste it like shown below. Never share them with anyone else.
NOTE: Both STREAM_API_KEY and REACT_APP_STREAM_API_KEY_SECRET are same
- To use messaging functionality, Create an account in Twilio
- On app dashboard, copy keys which are shown below and paste them in .env file in server folder.

- To get Messaging service sid, go to Messaging/Services through dashboard sidebar.
- Create a messaging service in case it doesn't exists

- Then, click on messaging service you created and you will be able to see its properties as shown below. Copy Messaging Service SID

Make sure you don't share them publicly.
- Clone this repository to your local computer.
- Open terminal in root directory and
cd server - Type and Run
yarn install - Run
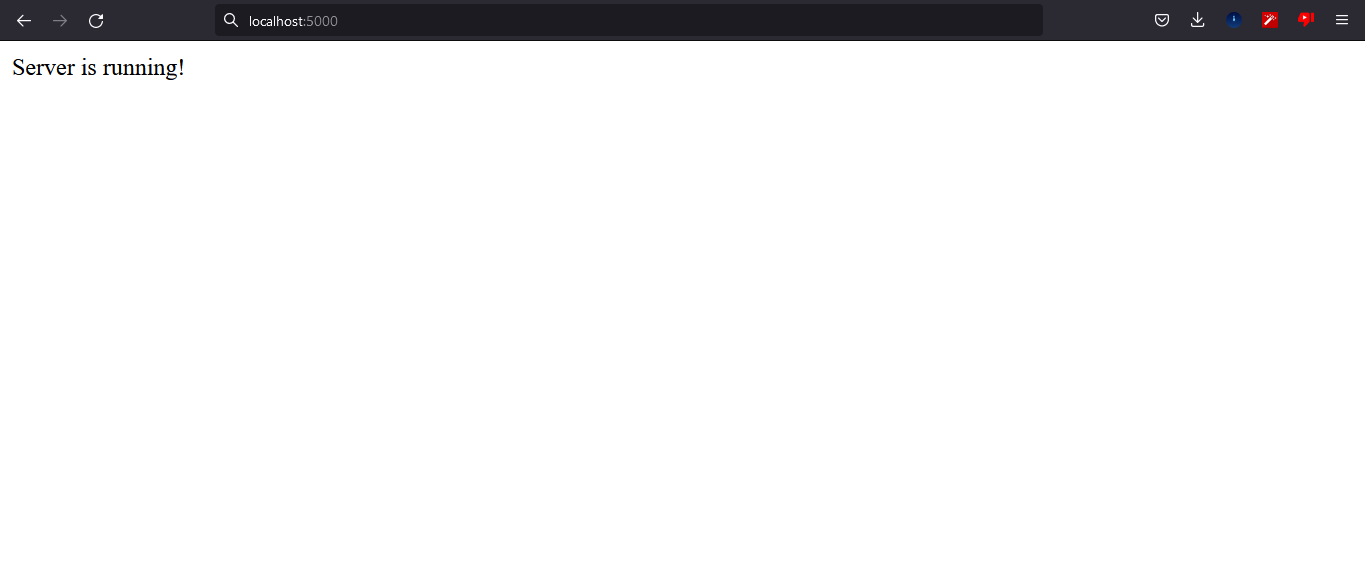
yarn run buildto start back end server - Now, in browser go to this URL http://localhost:5000/

- Now, nodejs server is configured and started. Next, we need to setup Client side server.
- Open a new Terminal and run
yarn install - Once packages are installed, type and run
yarn start - Now client side server will be started and you can start using this app 👍
You might encounter some bugs while using this app. You are more than welcome to contribute. Just submit changes via pull request and I will review them before merging. Make sure you follow community guidelines.
You can also give this repository a star to show more people and they can use this repository.


