Home
This guide describes how to use this template. But before you create new language pack, make sure that there are no existing and maintained language packs for your language - there is no point in creating multiple concurrent language pack for the same language, it is better to focus on creating one complete language pack.
This guide will assume that you will use Weblate for translation. While you can use this template without Weblate, this guide will not cover this use case.
Language packs are Composer packages. In order to create such package, you need to create git repository (usually hosted on GitHub). You can do this by clicking "Use this template" button in this repository.

As repository name you can use format flarum-lang-xxish, where xxish is textual name of your language (like "polish" or "english"). Make sure that your repository is public, so other people will be able to use your package.
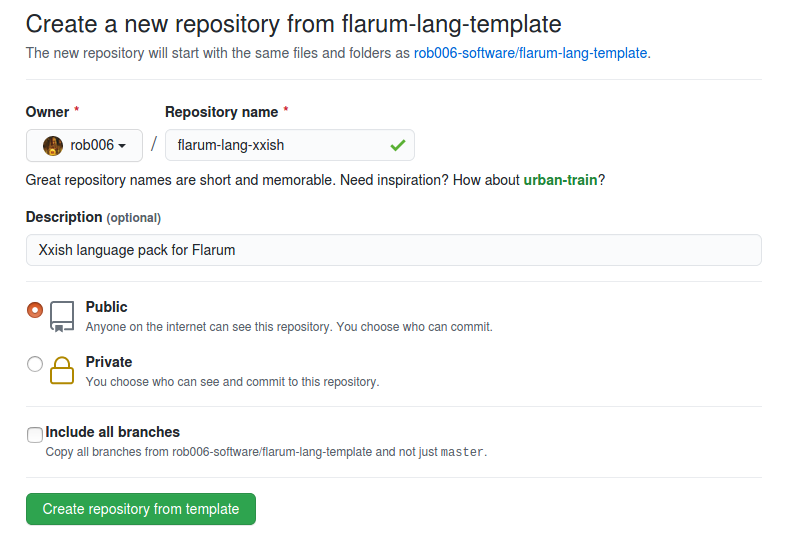
Now you have your git repository with basic template files.
After creating repository from template, you need to edit some files to adjust template for your extensions. There are some conventions that may help you find string that need to be adjusted:
-
xxishshould be replaced by textual name of your language (likepolishorenglish). Case matters, soXxishshould be replaced by capitalized name of your language (likePolishorEnglish). -
xxshould be replaced by ISO 639-1 code of your language (likeploren). If you want to target specific dialect, you can add an underscore followed by an ISO 3166-1 alpha-2 country code (for exampleen_USfor "English (United States)"). -
youris usually used in places where you should place information about you, soYour Nameshould be replaced by your actual name, and[email protected]by your actual email address.
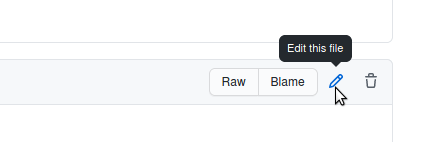
Cloning repository locally and using some IDE may be the most convenient way of replacing these strings, but if you don't have any advanced editor or don't know how to use git, you may do this directly in GitHub in your browser, by clicking "Edit this file" icon.
Bellow you can find detailed instruction which files and how should be adjusted.
First, replace Robert Korulczyk <[email protected]> in LICENSE file by your name and email. You can skip email part if you don't want to share your email in this way - your name or nick should be enough.
Find square icon in SVG format for your language and save it as icon.svg in root of your repository. You should be able to use one of these flags.
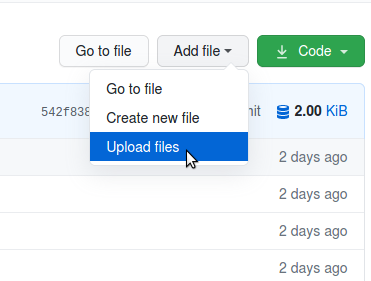
On GitHub you can upload files using "Add file" -> "Upload files" option.
This file should contain dayjs translations. Fortunately dayjs is already translated for most of languages. If you can find your language here, you can use these translations in your language pack. In order to do this, you should:
- Go to
locale/config.jsand replace all occurrences ofxxby ISO code of your language. - Read TODO comment and replace it by content of file linked in comment. Make sure you use correct language code - for some languages dayjs may use different convention (for example
en-usinstead ofen_US).
As a result file should look similar to this.
composer.json is a JSON file containing your Composer package meta data. You need to follow JSON format rules while editing this file, since JSON does not forgive any minor mistakes (like trailing comma) and Packagist will reject any package with invalid JSON. You may use this tool to validate and automatically fix some minor mistakes.
Fields you should edit:
-
name- this is full name of your package. It contains vendor name and project name separated by/- this name will be used while installing or updating your extension. You need to replacexxishby lowercased textual name of your language, andyournameby your vendor name. The name must be lowercased and consist of words separated by-,.or_. While it is not necessary, it is good to keep your vendor name in sync with your GitHub username. It also needs to be unique - Packagist will not allow you to publish package with vendor name, that is already used by someone else - you may want to use search to ensure that name you pick is available. -
description- replaceXxishwith textual name of your language. -
homepage- replace it with link to your GitHub repository. -
authors- replace available fields with information about you. You can removeemailandhomepagesections if you don't want to share these information, but remember to remove trailing comma from last element in this array. You may also link to your GitHub profile ashomepage. -
support- adjust URLs to link to your GitHub repository. -
extra- replaceXxishby textual name of your language, andxxwith language code. You can also fillflagrow.discusswith link to discussion about your language pack on official forum (you can fill that field later - you need to publish package first before you will be able to announce it on forum).
This file should contain basic information about package and how to install/update it. In order to adjust this file:
- Remove everything above
---------line (including line itself). - Replace all occurrences of
Xxishwith capitalized textual name of your language (likePolishorEnglish). - Replace all occurrences of
yourname/flarum-lang-xxishwith your package name (namefield fromcomposer.json). - Replace all remaining occurrences of
xxwith your language code.
It may be also a good idea to translate this to your language.
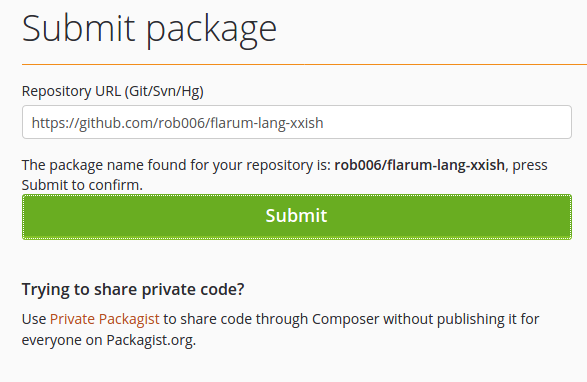
In order to make your package visible by Composer, you need to publish it on Packagist. You can submit new package here (you may need to log in using using GitHub), just paste URL to GitHub repository with your language pack and press "Check" button. If detected name of package is correct, you can submit it using "Submit" button.
That's it, your package should be recognized by Composer, but you still need to make some translations and tag stable release in order to make is usable.
The most convenient way of translating Flarum is to use Weblate. Follow these instructions in order to integrate your language pack with Weblate. After this bot will automatically commit translations to your repository. It will also update list of translated extensions in README.md.
Hint:
validationcomponent contains translations for Laravel validation. You can use translations from Laravel Lang repository to simplify translation of these messages.
By default Composer only installs stable releases of packages. After you made some translations (you don't need to translate everything - even partial translation is better than nothing) you can create such release on GitHub in "Releases" section.

Only one field is required in form for creating new release: "Tag version". It is a good practice to follow semver rule while naming your releases. If you're not sure how to start, you can name your first release as v0.1.0 and increase last number for each next release (as v0.1.1, v0.1.2, ... v0.1.42, ... v0.1.123, etc). You may also fill description field and describe changes made in this release. After you press "Publish release", new release is created and Packagist should detect it short after that.

Now your language pack is ready to use - composer require command described in README of your package should install your extension. Just remember to tag new release after you made some changes in translations - by default Composer installs only releases, so your changes may be ignored until you create new release with them.