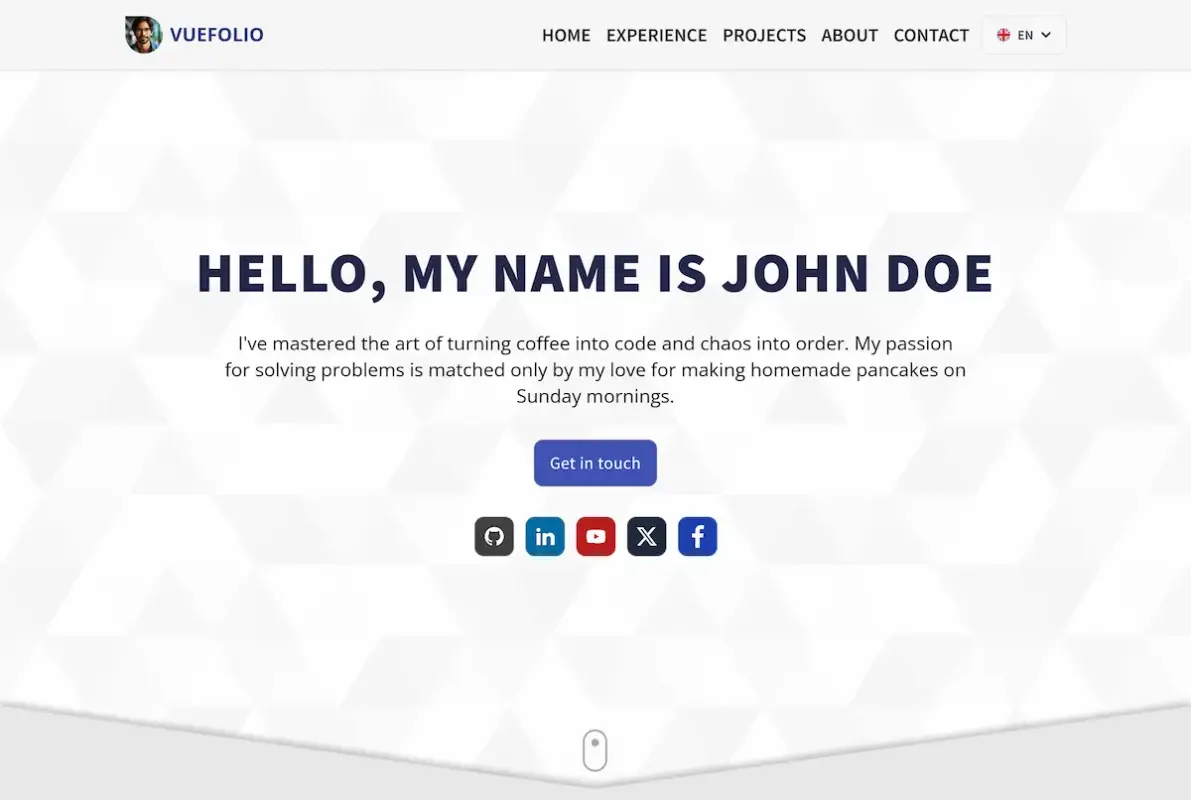
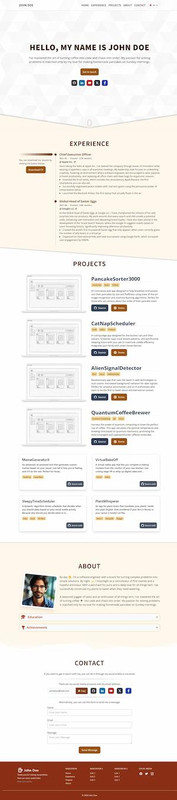
Welcome to the Vuefolio Template project! This template is designed to help you create a professional portfolio by simply updating the i18n localization files and making minor adjustments. Whether you're a designer, developer, or any professional, this template can be adapted to fit your needs and showcase your work in multiple languages.
- Vue.js Framework: Built with Vue.js for a dynamic and responsive user interface.
- Multi-language Support: Easily switch between languages with pre-configured
i18nsettings. - Responsive Design: Looks great on both mobile and desktop devices.
- Customizable Styling: Change colors and fonts with minimal adjustments.
- SEO Friendly: Pre-configured with basic SEO best practices.
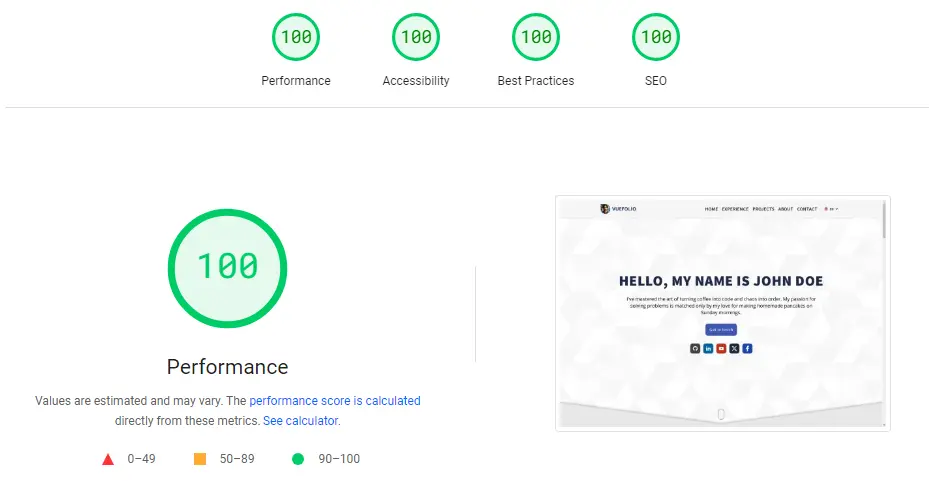
- Great Scores: Highly performant in website audits (PageSpeed)
Follow these steps to set up your portfolio:
Ensure you have the following installed:
- Node.js (version 12.x or higher)
- Git
- pnpm (This project uses
pnpmfor efficient, fast, and disk space saving package management)
- Clone the repository:
git clone https://github.com/ralodev/vuefolio.git cd vuefolio - Install dependencies:
pnpm install
- Start the development server:
pnpm dev
Visit http://localhost:5173 to view your project live.
To configure the messaging service, follow these steps:
- Go to Web3Forms
- Click on
Create your Access Key. - Enter your email address in the provided field and submit the form.
- Check your email for a message that includes your Access Key, which looks something like
a123b456-1ab2-12ab-1a23-123456789012. Copy this key. - In VSCode open the file
src/components/contact/contactForm.vueand replaceYOUR_ACCESS_KEYwith the Access Key you copied.
That's it! You're all set to receive emails from submissions made via your contact form. For additional customizations, refer to the Web3Forms documentation.
Why Use Web3Forms for Your Contact Form?
This project utilizes Web3Forms due to its:
- Easy setup process.
- Free tier that allows up to 250 submissions per month.
- Built-in SPAM protection.
- Integration with hCaptcha for enhanced security.
Edit i18n Files: Navigate to the i18n directory. Here, you'll find directories with typescript files for each supported language (e.g., en/en_about.ts, en/en_experience.ts, etc.). Edit these files to update text throughout the template.
To add a new language:
Duplicate one of the existing language directories and and rename it and the files inside (e.g., src/i18n/en to src/i18n/fr, ./fr/en_about.ts to ./fr/fr_about.ts for French).
Update the content inside your new file to the desired language.
Register the new language in the i18n configuration file src/i18n/messages.ts.
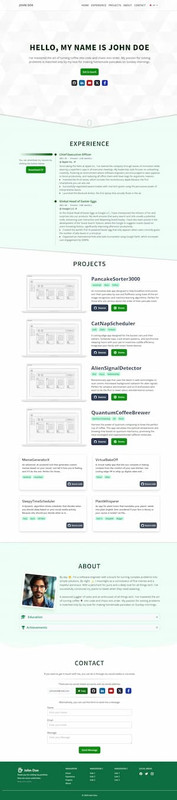
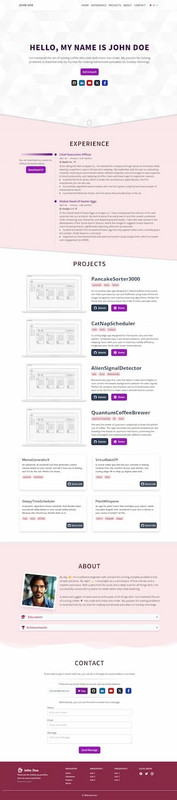
To change the visual appearance:
Change the primary color:
- Navigate to UIColors and generate a palette with the color of your preference
- Opent the tailwind.config.js file and replace the
primaryorbasepalette with the values of the new one you generated.
This will update the primary color in all of the components of the application. Play with different combinations or with the same color in both of the palettes to explore your possibilities!
Projects: Update the projects.ts file of your main language (e.g. src/i18n/en/en_projects.ts) Customize the information to showcase your projects, keeping the syntax as it is to avoid errors.
Note: You only need to add the static properties like urls and images in the main language (english, unless changed) file.
Do the same for achievements, experience and education.
To deploy your portfolio, you can opt for a straightforward solution using Vercel or Netlify, as these platforms handle the deployment process seamlessly. If you prefer deploying via GitHub Pages, some additional configuration will be necessary.
- Configure the
baseinvite.config.ts
If you are deploying to a profile repository, (e.g. https://<USERNAME>.github.io/), or to a custom domain through GitHub Pages (eg. www.example.com), skip to the next step.
If you are deploying to a project repository (eg. your repository name is repo_name and is located at https://<USERNAME>.github.io/repo_name/), open the vite.config.ts file and adjust the base setting to '/repo_name/'.
- Deploying your site to GitHub Pages
You can deploy to GitHub Pages from a branch following these steps:
- In the terminal, navigate to your project directory and run
pnpm build. This command generates adistdirectory. - Create a new branch in your GitHub repository, and push the contents of the dist directory to this branch. Then, set up GitHub Pages to deploy from this branch.
Alternatively, for an automated deployment, consider using GitHub Actions by following the guidelines provided in the Vitejs documentation on deploying to GitHub Pages.
If you find this project useful, please consider giving it a star ⭐ on GitHub!
Distributed under the MIT License. See LICENSE for more information.
Raúl López (ralodev) - [email protected]
- Inspired in Dopefolio by @Rammcodes