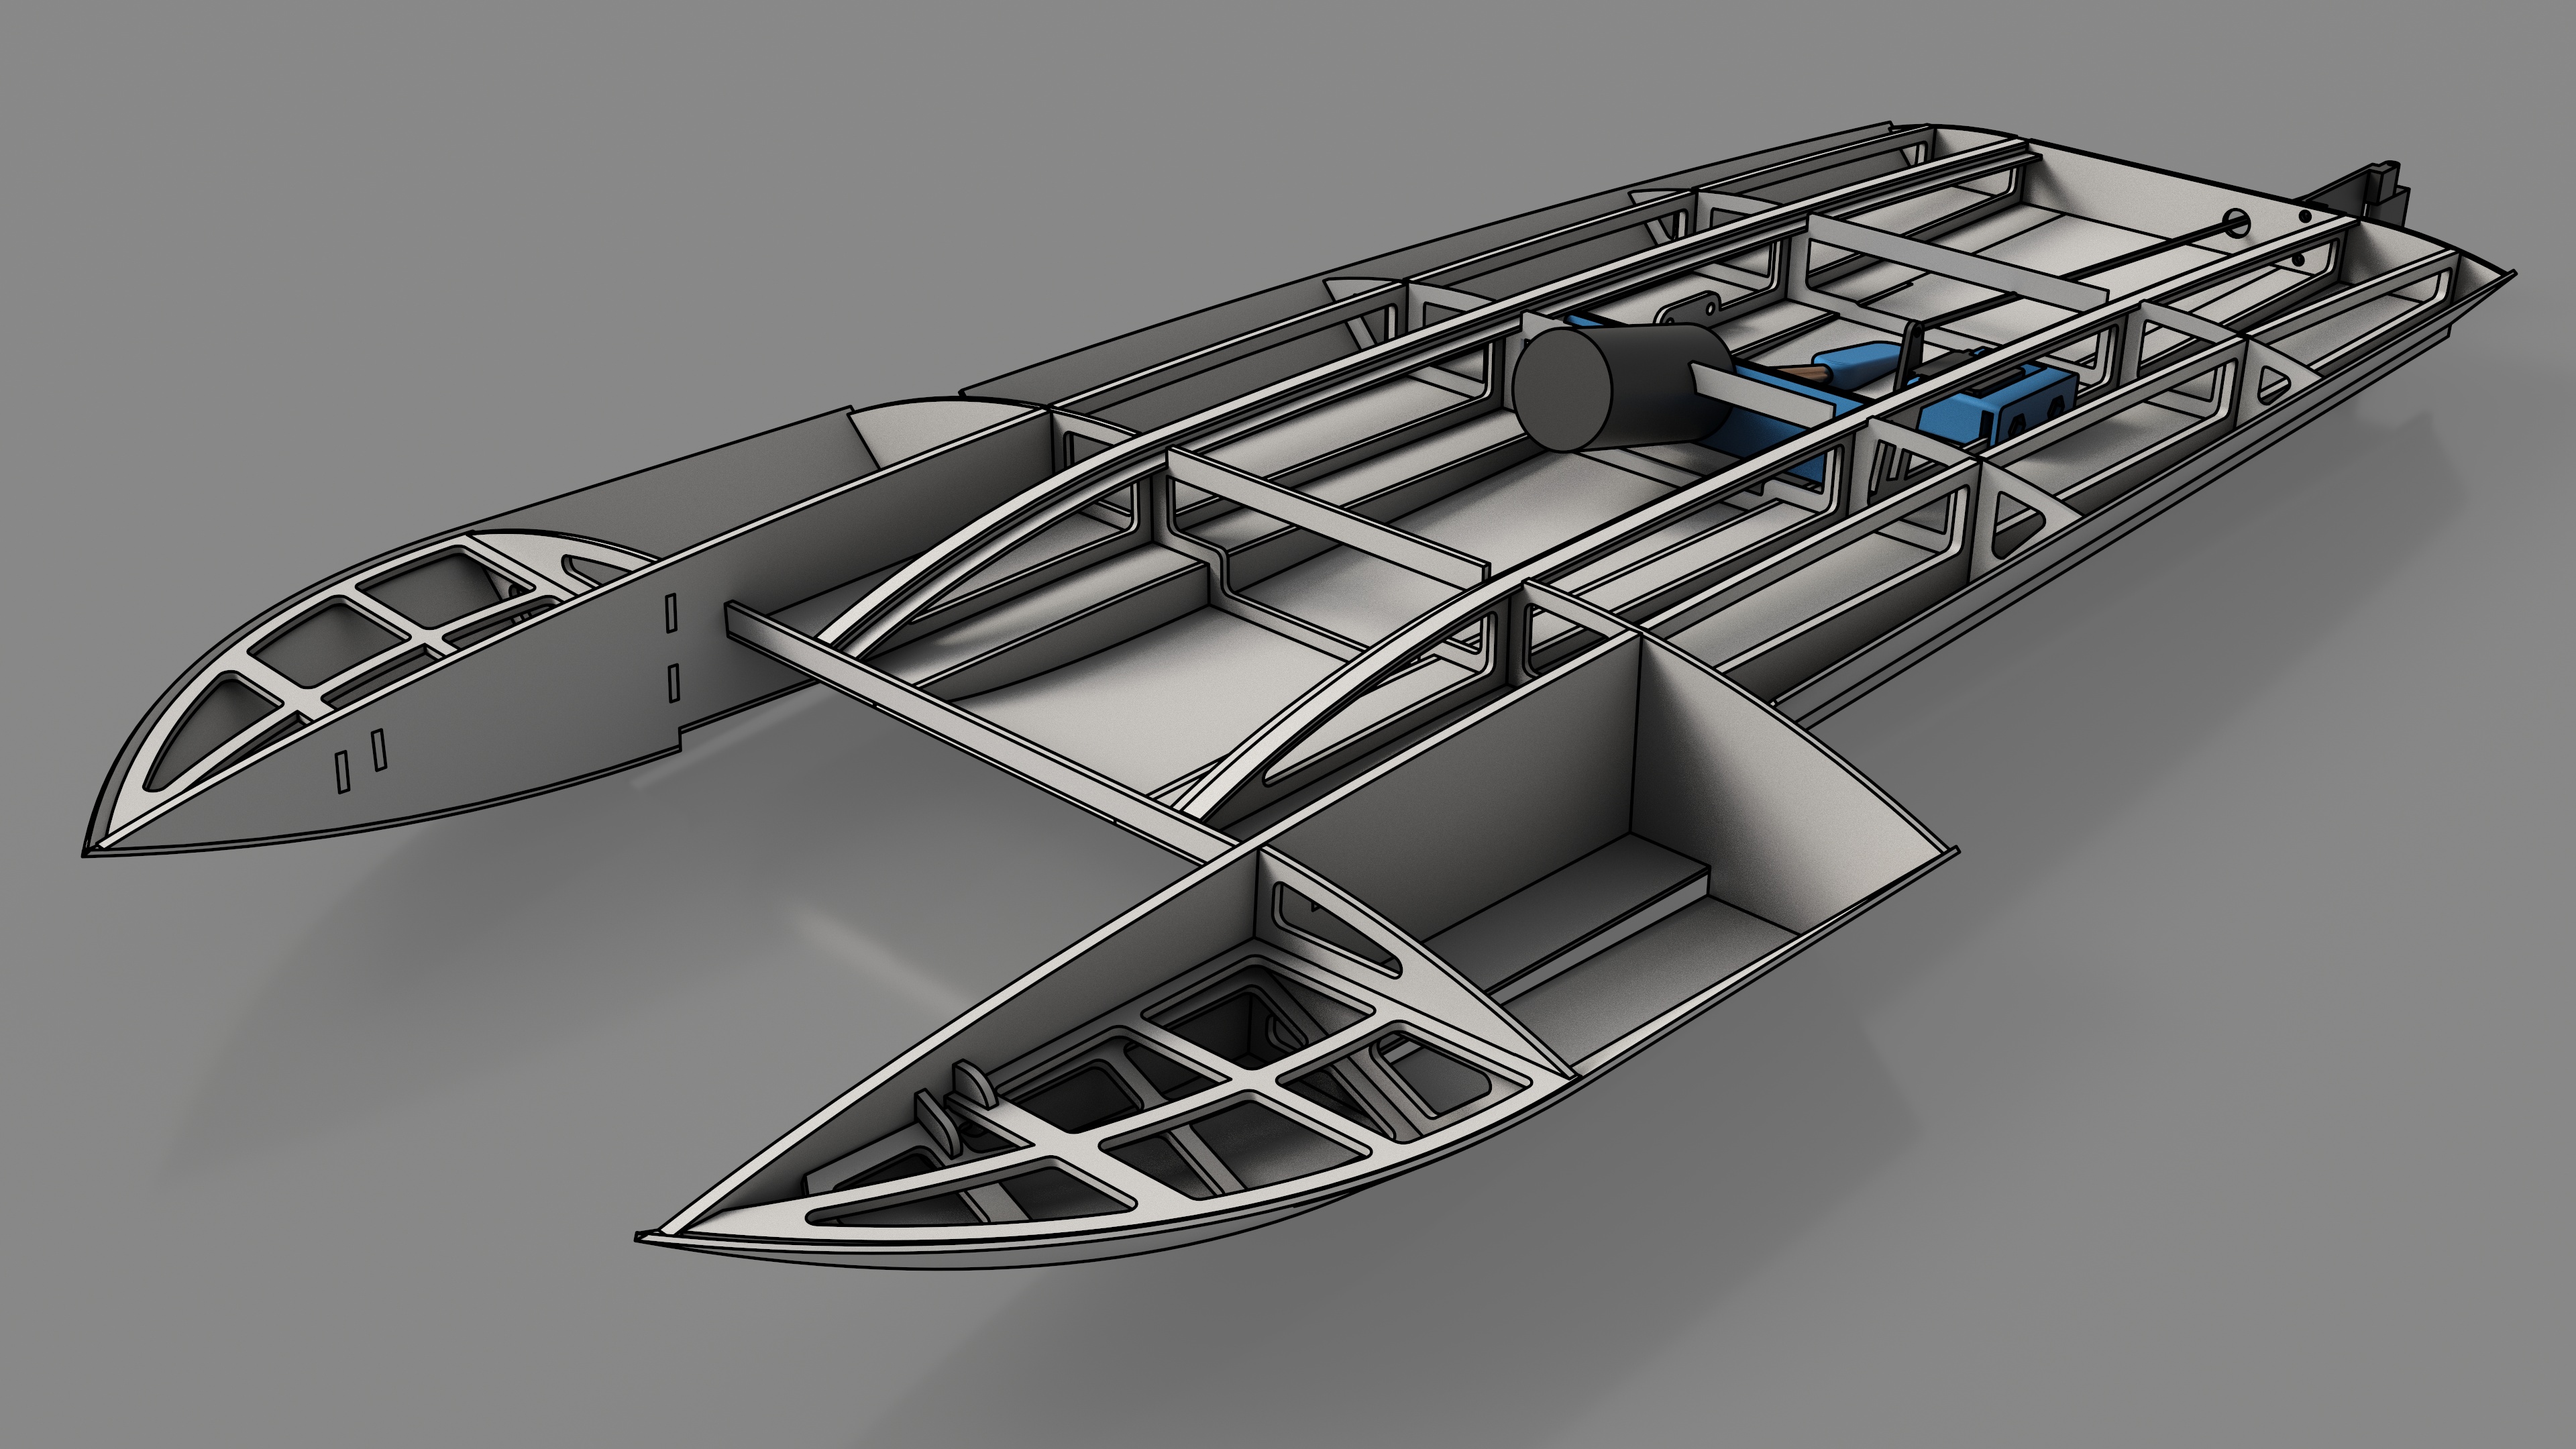
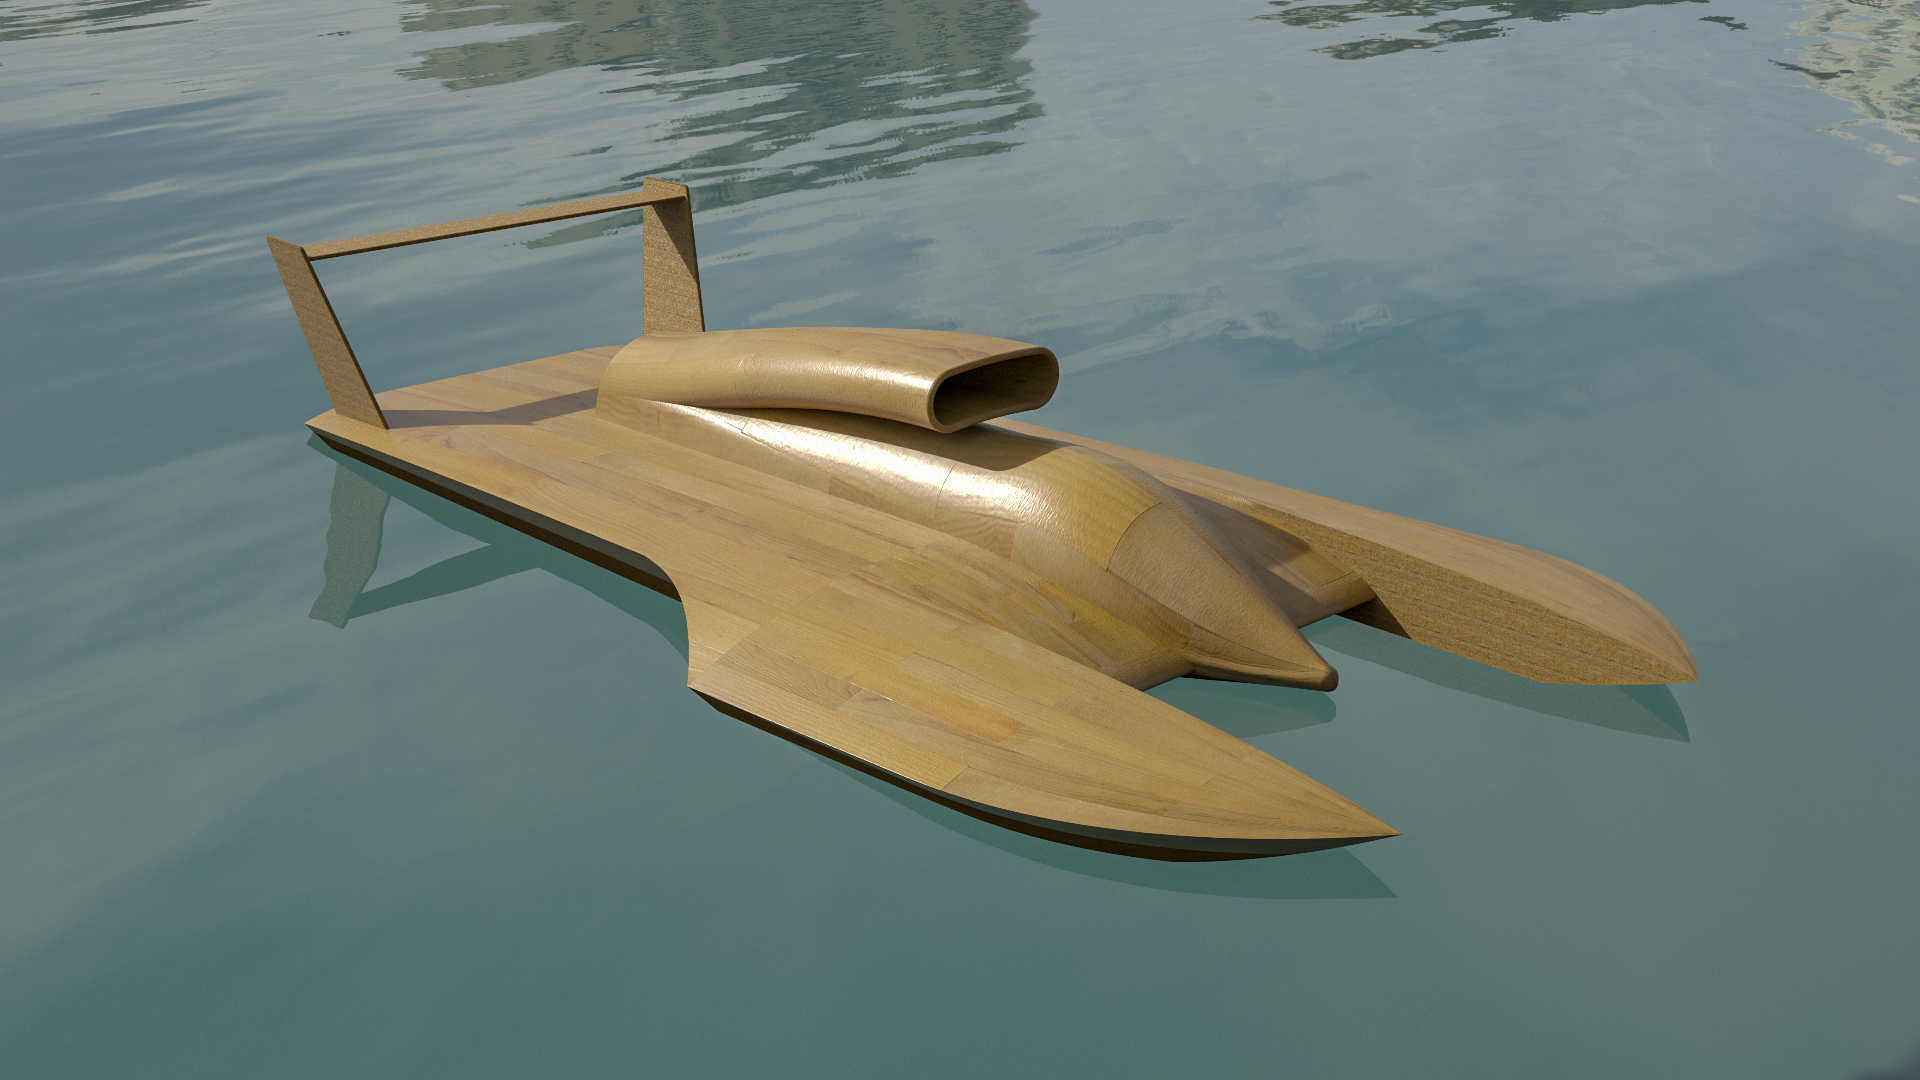
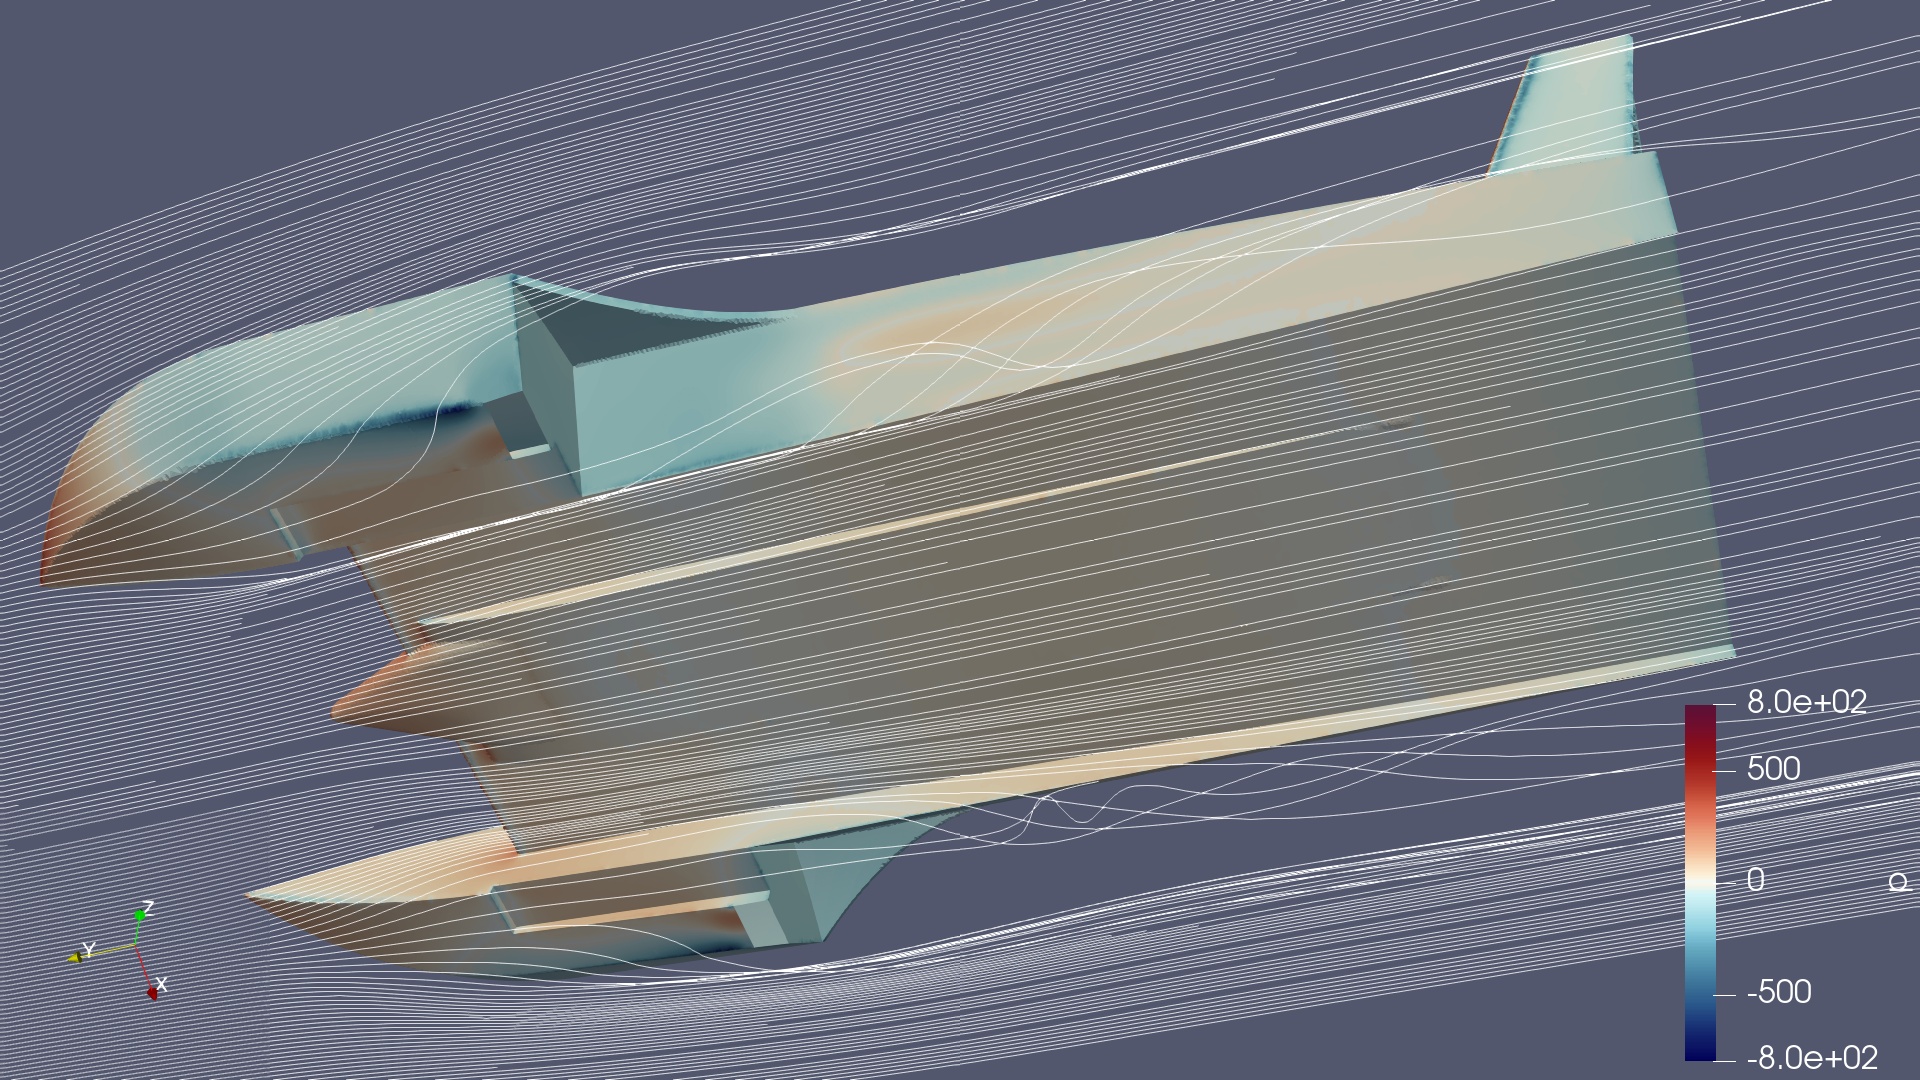
This repository contains a complete RC hydroplane design:
- Wooden frame (for plywood or balsa)
- Plastic auxiliary pieces (i.e. servo holder)
- Boat shape and size customizable
- Native Autodesk Inventor files
NOTE: The project is currently in the design phase, and I haven't actually built it yet, so use it at your own... expense.
You will need:
- Familiarity with
- Any CAD suite (basics are enough)
- Laser cutting (optional)
- 3D printing (optional)
- CAD software to open and edit the files
- Materials
- Plywood and/or balsa
- Glue
- Epoxy and/or glaze
- Tools
- Laser cutter (optional)
- 3D printer (optional)
- The usual things from the shed
Plywood or balsa? How thick for the bulkhead, how thick for the deck? Your motor's diameter and drill-hole distance? Your servo's dimensions and attachment point? Diameter of the output shaft sleeve?
You will need to input this information when tuning the parameters in the next step.
In case you don't know yet, you can also figure out the plywood thickness while tuning the parameters. If you don't have your hardware yet, you can enter larger values so that your frame will accept different items.
At the top level, you can find three files: parameters_body.ipt, parameters_frame.ipt, parameters_powertrain.ipt. These files contains no models or geometry, they just have a list of parameters that you can change to customize the model.
There are many parameters, such as the length of the whole boat, the propeller's angle, or the diameter of the drill holes for the rudder. You can, for example, change the length of the boat from the default of 600 mm to let's say 800 mm.
Once you've updated the desired parameters, you can open up the file shape/frame/frame.iam. This file contains the assembly of all the frame, decking, plastic and hardware parts, and should update to reflect the changes you've made to the parameters.
Beware that entering incorrect or extreme parameters will probably mess up the frame assembly when it's updated. Some other times, it may get messed up even when the parameters are sensible. It's best if you only change a few parameters at a time, and get ready to fix some problems on the way.
NOTE: The drawings are not available yet
You can open up the drawings in your CAD/CAM software or in any vector graphics program. Arrange the parts so that it suits you laser cutter.
You can use the drawings to laser cut the wooden frame. In case you don't have access to a laser cutter, you can also print the drawings on paper, glue the printouts to your plywood sheets, and use the old fashioned saw and sandpaper. Before you do that, make sure to check out makerspaces and laser cutting services in your area.
The plastic parts are designed for 3D printing. These parts are not necessary for building the frame, but they are convenient to make it complete. In the absence of a 3D printer, you can replace the plastic parts with your own design of any kind.
Well, glue, glaze, glue... you know the drill (haha...). This is not a DIY tutorial.
License: CC BY-NC 4.0
You're free to:
- Share — copy and redistribute the material in any medium or format
- Adapt — remix, transform, and build upon the material
Under the conditions:
-
Attribution — You must give appropriate credit, provide a link to the license, and indicate if changes were made. You may do so in any reasonable manner, but not in any way that suggests the licensor endorses you or your use.
-
NonCommercial — You may not use the material for commercial purposes.
-
No additional restrictions — You may not apply legal terms or technological measures that legally restrict others from doing anything the license permits.


