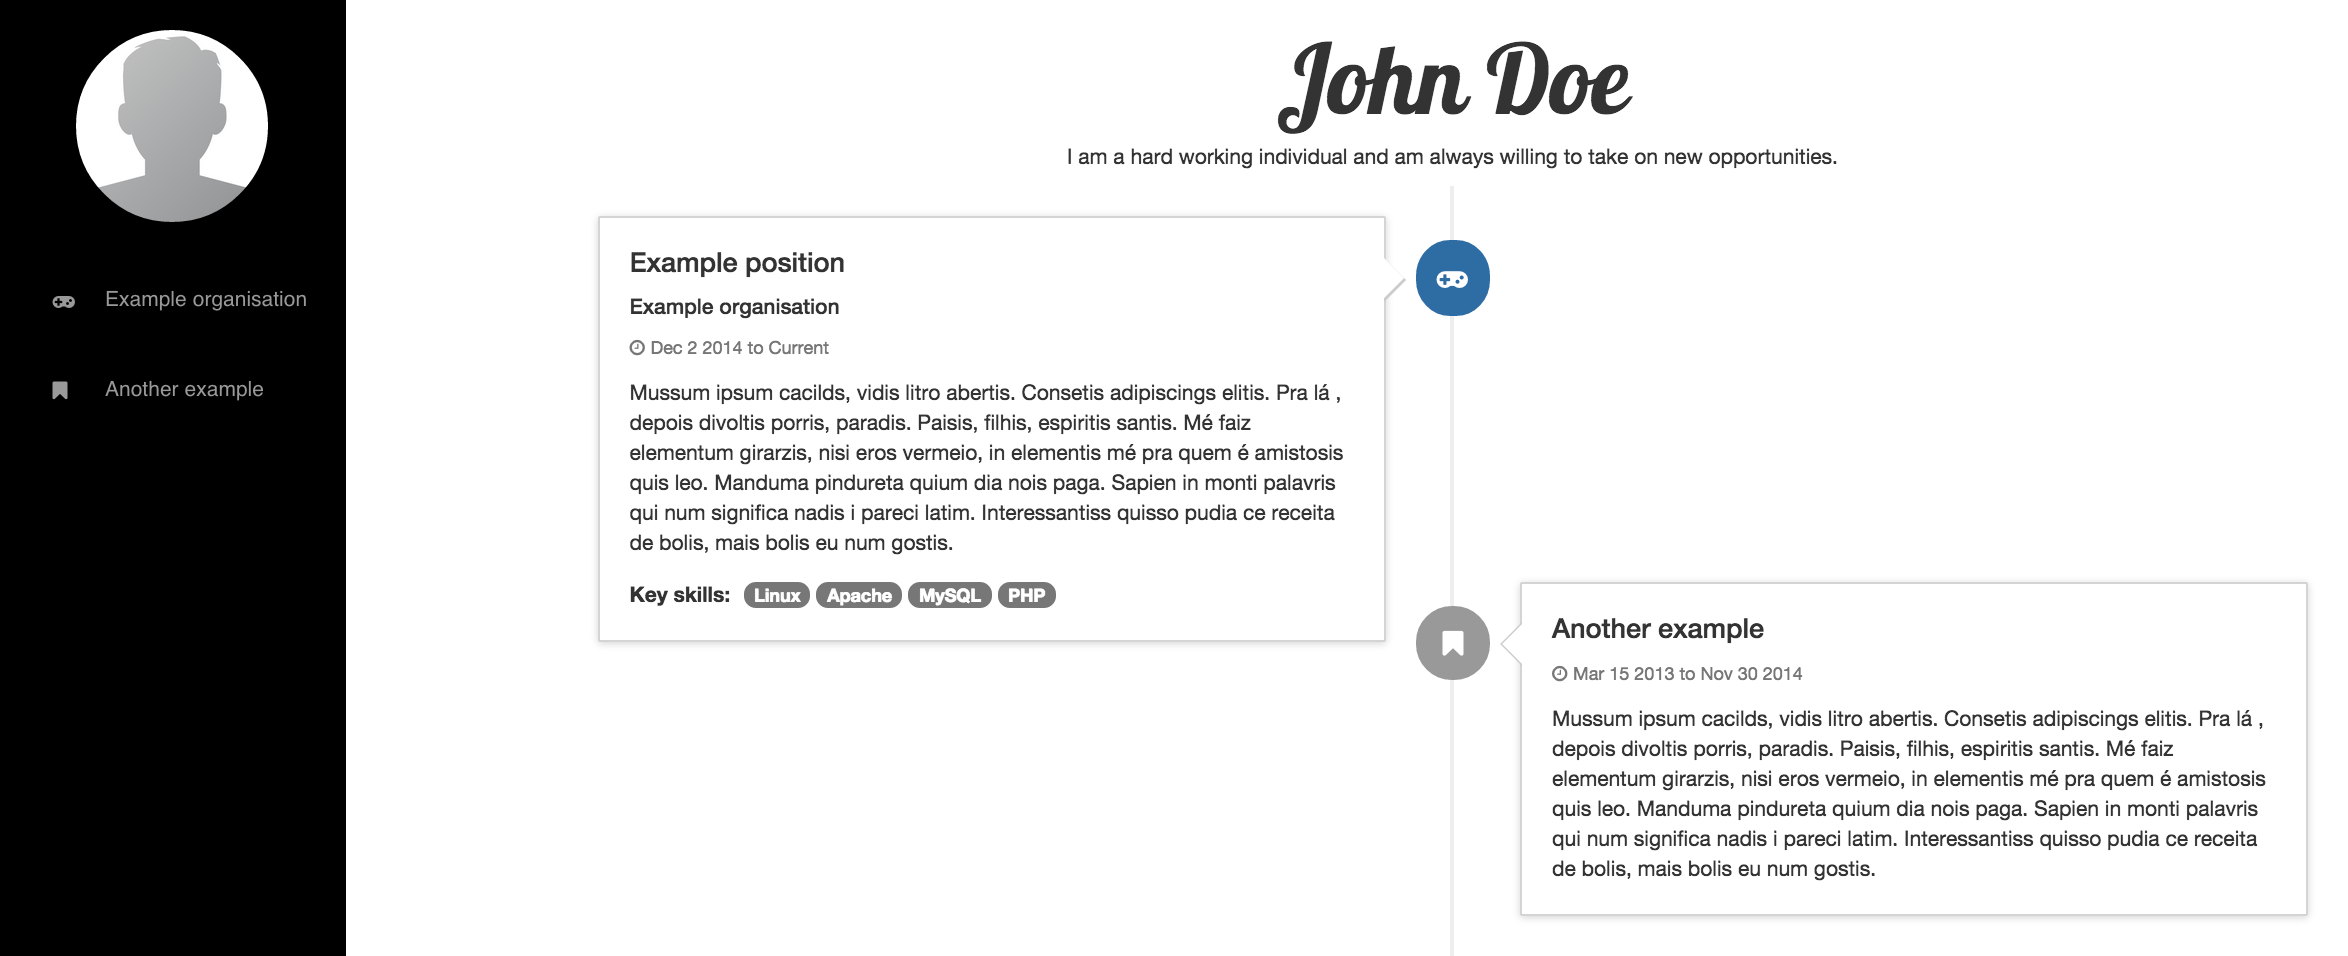
A simple resume with experiences listed in a timeline.
Your resume is configurable through a single JSON file called profile.json.
You'll need:
Note: Full deployment instructions are not in the scope of this README.
-
Clone the repository:
# git clone [email protected]:logicalicy/resume.git -
Configure your resume and upload an avatar/profile picture. (See "Configure Your Resume" below.)
-
Install dependencies and start your server:
# cd resume # bundle install # rake assets:precompile # rails server -
Access your resume at
http://localhost:3000
Write everything you want your resume to show in app/assets/config/profile.json.
profile.json looks like this:
    {
        "name": "John Doe",
        "personal_profile": "An description of yourself.",
        "avatar": "avatar.png",
        "sidebar": {
            "background_color": "#000",
            "text": {
                "color": "#999",
                "color_on_hover": "#FFF"
            },
            "icon_color": "#999"
        },
        "experiences": [
            {
                "organisation": "Example organisation",
                "responsibility": "Example position",
                "start_date": "Dec 2 2014",
                "description": "Description.",
                "icon": {
                    "fontawesome_class": "gamepad",
                    "bootstrap_state": "primary"
                },
                "key_skills": [
                    "Linux", "Apache", "MySQL", "PHP"
                ]
            },
            {
                "organisation": "Another example",
                "start_date": "Mar 15 2013",
                "end_date": "Nov 30 2014",
                "description": "Another description."
            }
        ]
    }
All colors are CSS colors. So, if you want:
- Black, use
"#000"or"black" - White, use
"#FFF"or"white"
See next sections about avatar and icon properties in profile.json.
This property controls which image to display in the top left corner of the resume.
You can add your own image in the path app/assets/images and change the avatar property to the image filename.
E.g. If you have an image called image.jpeg, add your image to app/assets/images and set avatar property:
    {
        ...
        "avatar": "image.jpeg",
        ...
    }
This is a property in the experiences property.
It controls:
- The Font Awesome icon to display next to your experience.
- The Bootstrap color/state to use for the badge/icon in the timeline for your experience.
If you want the facebook-official Font Awesome icon and primary Bootstrap state, for example, set them in the icon property:
    {
       "experiences": [
        {
          ...
            "icon": {
                "fontawesome_class": "facebook-official",
                "bootstrap_state": "primary"
            }
        },
        ...
    }
TODO: Write about contributing.
TODO: Write about history
Credits to some resources and snippet creators that helped create this simple resume:
A special thanks to Faethon for his timeline idea for resumes.
See LICENSE file.