This quickstart consists of one microservice:
jupyter: Runs Jupyter base python notebook with few additional packages. Also, authentication is integrated via Hasura Auth.
Follow along below to get the setup working on your cluster.
- Ensure that you have the hasura cli tool installed on your system.
$ hasura versionOnce you have installed the hasura cli tool, login to your Hasura account
$ # Login if you haven't already
$ hasura login- You should also have git installed.
$ git --version$ # Run the quickstart command to get the project
$ hasura quickstart hasura/python-jupyter-notebook
$ # Navigate into the Project
$ cd python-jupyter-notebookYou can deploy the notebook by following the instructions below:
$ # Ensure that you are in the python-jupyter-notebook directory
$ # Git add, commit & push to deploy to your cluster
$ git add .
$ git commit -m 'First commit'
$ git push hasura master
Once the above commands complete successfully, your cluster will have jupyter service running with a dedicated (HTTPS) endpoint. To get their URLs
$ # Run this in the python-jupyter-notebook directory
$ hasura microservice list
• Getting microservices...
• Custom microservices:
NAME STATUS INTERNAL-URL EXTERNAL-URL
jupyter Running jupyter.default http://jupyter.boomerang68.hasura-app.io
• Hasura microservices:
NAME STATUS INTERNAL-URL EXTERNAL-URL
auth Running auth.hasura http://auth.boomerang68.hasura-app.io
data Running data.hasura http://data.boomerang68.hasura-app.io
filestore Running filestore.hasura http://filestore.boomerang68.hasura-app.io
gateway Running gateway.hasura
le-agent Running le-agent.hasura
notify Running notify.hasura http://notify.boomerang68.hasura-app.io
platform-sync Running platform-sync.hasura
postgres Running postgres.hasura
session-redis Running session-redis.hasura
sshd Running sshd.hasuraYou can access the services at the EXTERNAL-URL for the respective service.
This notebook is a base python notebook. You may need to add additional packages to the notebook. Although it is possible to do this inside the notebook, it is more convenient to package your notebook with required packages. To do this, simply customise the Dockerfile present in microservices/jupyter folder.
$ #Ensure that you are in the python-jupyter-notebook directory
$ vim microservices/jupyter/Dockerfile
$ cat microservices/jupyter/Dockerfile

FROM jupyter/base-notebook

#Use conda to install packages
RUN conda install -y pandas

#Use pip to install packages
RUN pip install matplotlib
.
.
.
There are 2 ways to enable authentication in your Jupyter notebook: 1) Using Jupyter token/password, 2) Using Hasura Auth
This is the authentication mode which comes with Jupyter notebook by default.
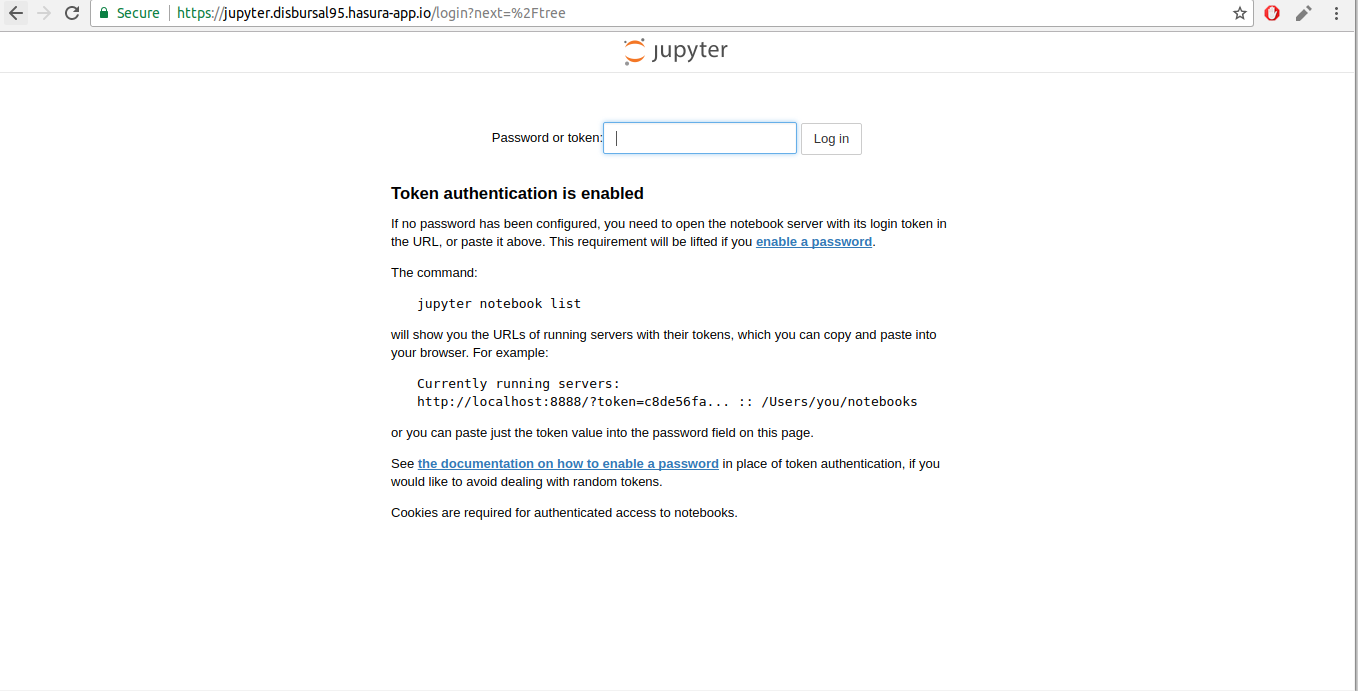
Head over to the EXTERNAL-URL of your jupyter service. You will find the following page:
To get the authentication token, follow the below instructions:
$ # Run this in the python-jupyter-notebook directory
$ hasura ms logs jupyter
Copy the authentication token from the logs and enter it in the jupyter UI above.
Executing the command: jupyter notebook
[I 07:14:46.914 NotebookApp] Writing notebook server cookie secret to /home/jovyan/.local/share/jupyter/runtime/notebook_cookie_secret
[W 07:14:47.379 NotebookApp] WARNING: The notebook server is listening on all IP addresses and not using encryption. This is not recommended.
[I 07:14:47.428 NotebookApp] JupyterLab alpha preview extension loaded from /opt/conda/lib/python3.6/site-packages/jupyterlab
[I 07:14:47.428 NotebookApp] JupyterLab application directory is /opt/conda/share/jupyter/lab
[I 07:14:47.434 NotebookApp] Serving notebooks from local directory: /home/jovyan
[I 07:14:47.434 NotebookApp] 0 active kernels
[I 07:14:47.434 NotebookApp] The Jupyter Notebook is running at:
[I 07:14:47.434 NotebookApp] http://[all ip addresses on your system]:8888/?token=cd596a9b5e90a83283e4c9d6b792b4a58cac38e06153fd12
[I 07:14:47.434 NotebookApp] Use Control-C to stop this server and shut down all kernels (twice to skip confirmation).
[C 07:14:47.435 NotebookApp]

    Copy/paste this URL into your browser when you connect for the first time,
    to login with a token:
        http://localhost:8888/?token=cd596a9b5e90a83283e4c9d6b792b4a58cac38e06153fd12
To collaborate with other users, you will need to share this token with them.
The aforementioned authentication method works fine if you are an individual contributor or collaborate with a small team. If you have a large team or if your notebook needs more sophisticated access control, then you can integrate your notebook with Hasura Auth for better identity management.
To do this, first enable authorisation policy to the jupyter service:
# Add authorizationPolicy to jupyter subsection in conf/routes.yaml

jupyter:
  /:
    corsPolicy: allow_all
    upstreamService:
      name: jupyter
      namespace: '{{ cluster.metadata.namespaces.user }}'
    upstreamServicePath: /
    upstreamServicePort: 80
    enableWebsockets: true
    authorizationPolicy:
      restrictToRoles: ["user"]
      noSessionRedirectUrl: https://auth.{{ cluster.name }}.hasura-app.io/ui/
The authorisation policy above restricts the service to sessions with role "user" and redirects to a login page if such a session does not exist. You can use the Auth UI kit for a default noSessionRedirectUrl.
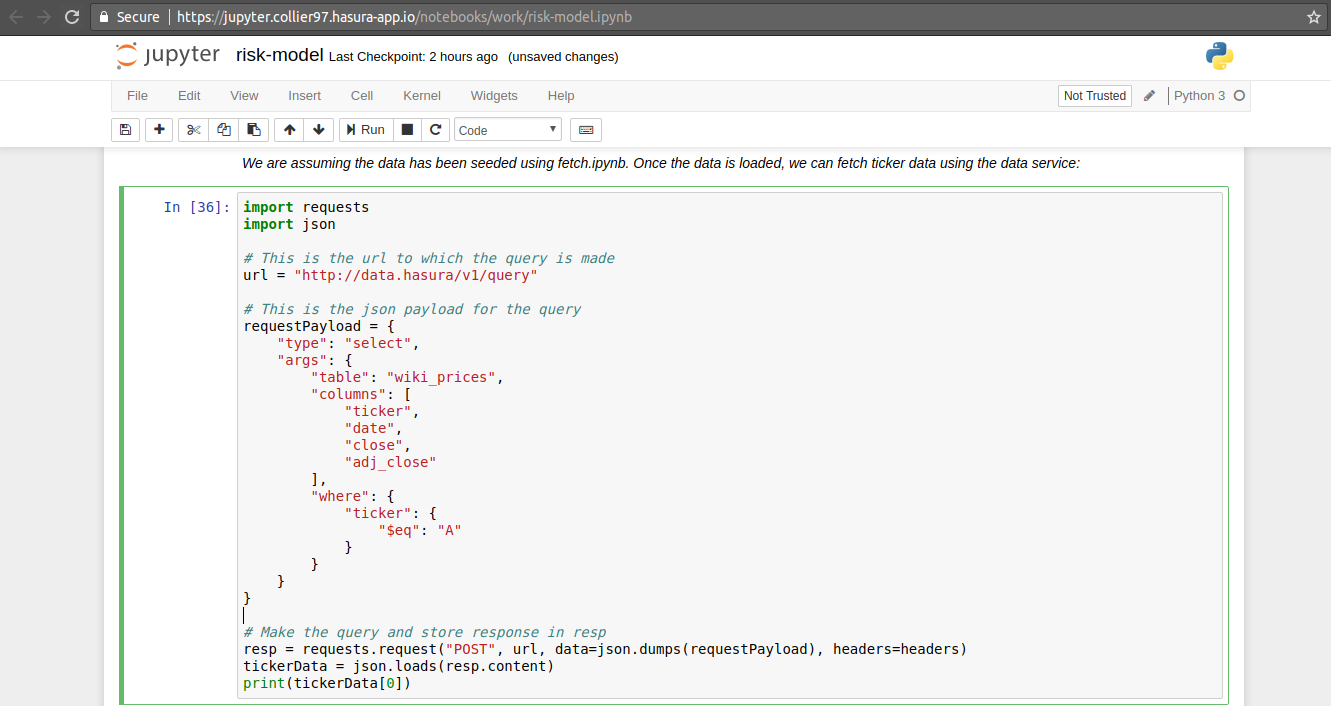
When you open and authenticate the jupyter service, you will find a work directory. This directory can be used for persisting notebooks and files.
Additionally, you can use Hasura Data service to load/fetch data from relational tables or Hasura File service to expose links to files to external users.
Have fun creating notebooks on Hasura!


