THIS TUTORIAL IS STILL A WORK IN PROGRESS. SEE THE BLYNK COMMUNITY THREAD BELOW FOR ALL INFO AVAILABLE
An Ardiuno sketch to connect an ESP8266 to WS28xx LED strips and control them using the Blynk mobile app. This small tutorial will help you build the controller which you can hook up to any number of LEDs you like. (max 2048 I think?)
Official Blynk Community forum thread: http://community.blynk.cc/t/esp8266-fastled-blynk-smart-shelf-video/7333
Create a new folder in your library dir (arduino\libraries\wifi_credentials) called 'wifi_credentials' and create a new file called 'wifi_credentials.h' and copy the example below:
/*
   Wifi Credentials
*/
#ifndef WIFI_CREDS_H
#define WIFI_CREDS_H
#define WIFI_SSID               "xxxxxxxxxxxxxxxxxxxxxxxxxxxxxxxx"
#define WIFI_PASS               "xxxxxxxxxxxxxxxxxxxxxxxxxxxxxxxx"
#endif
Replace "xxxxxxx" with your own Wifi network credentials.
- ESP Dev Board. This could be any size or shape as long as it is not the ESP-01 > ESP-07 varients.
- WS2811/WS2812/WS2812B LEDs.
- High current power supply. (About 1A / meter).
- Small project box.

- Blynk - http://www.blynk.cc/
- SimpleTimer - Included in Blynk Library
- FastLED - http://fastled.io/
- ArduinoOTA (from Arduino IDE Managed Libraries)
- Download the project INO file and required libraies.
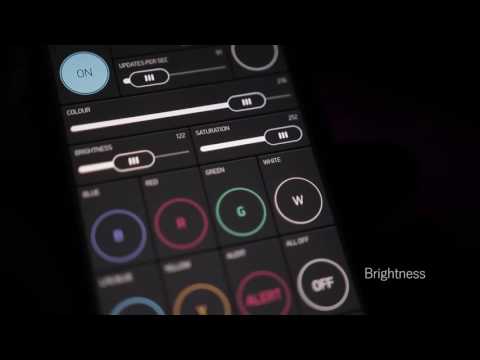
- Download and install the Blynk Mobile App for iOS or Android.
- Create a new project in the Blynk app and email yourself the auto generated auth token.
- Use the QR Code below to clone my Blynk project dashboard. It will require about $4 worth of in-app energy or use a local server where you can give yourself free energy.
- Paste the auth token in to the settings.h file
- Define the number of LEDs you are using.
- If you plan on using more than 1 controller, you can set a nickname for each
char nickname[] = "OFFICE1";- And select it's zone.
- 0 will cause a fatal error
- 1 reserved for ALL zones
- 2 = Menu Widget Item 1 (Modify zone name in Blynk Dash)
- 3 = Menu Widget Item 2
- 4 = Menu Widget Item 3
- 5 = etc etc.. you could make as many zones as the Blynk Menu widget allows.
int HardwareZone = 2; // OFFICE - Upload sketch to your ESP hardware. If you are using ArduinoOTA to update over the network then also set a device hostname and power cycle your hardware after first upload otherwise OTA won't work
ArduinoOTA.setHostname("LED-Office1");
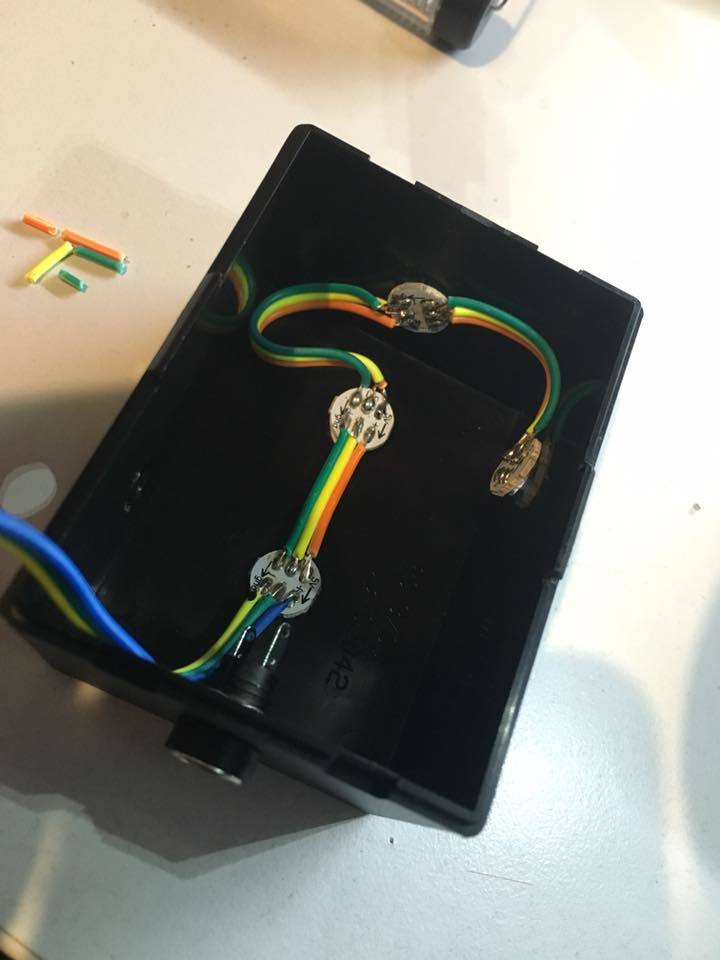
Here is a little LED light module I buult to put behind items around the house. I also use this to control strips of LEDs by adding a 3 pin JST connector to the end of the internal LED wiring.