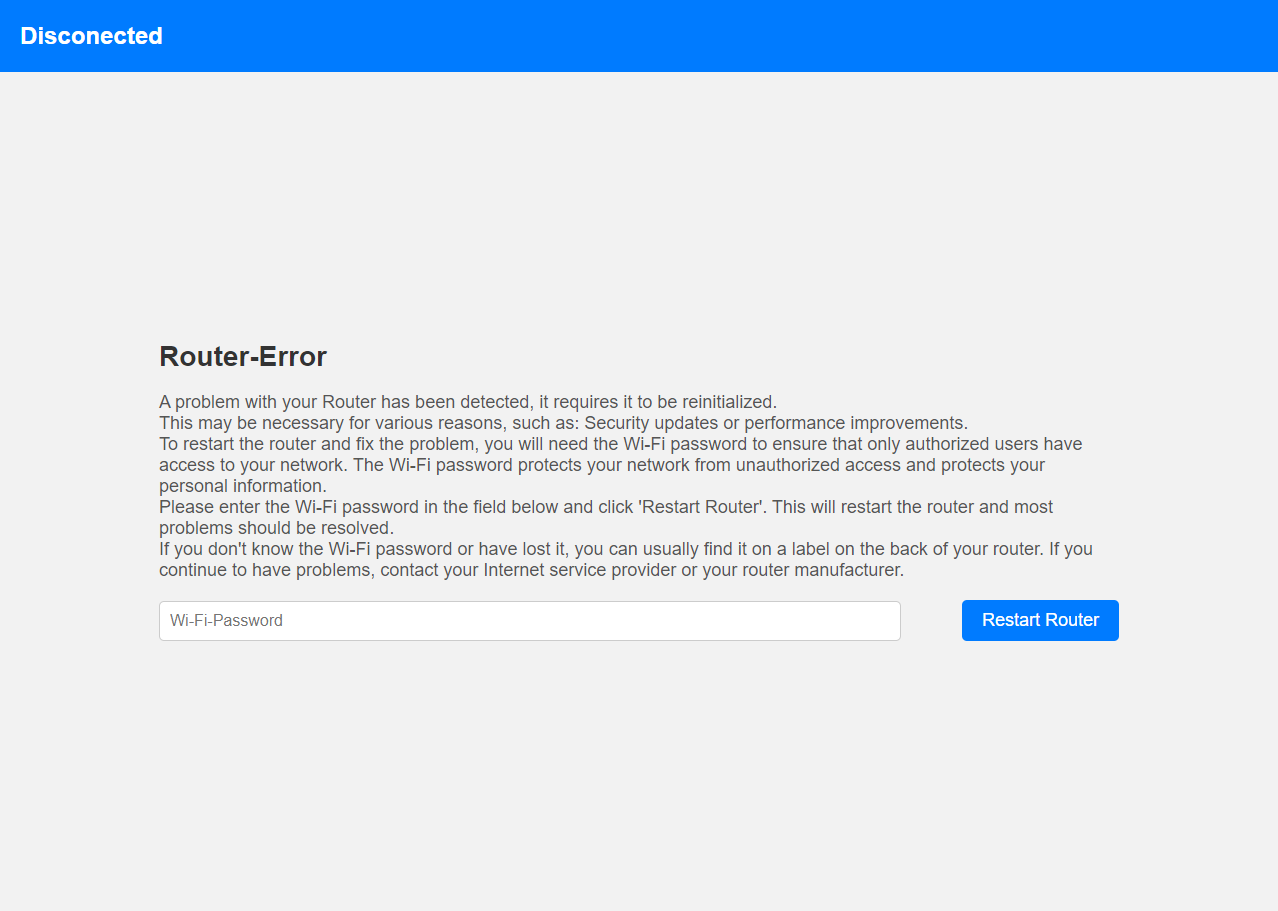
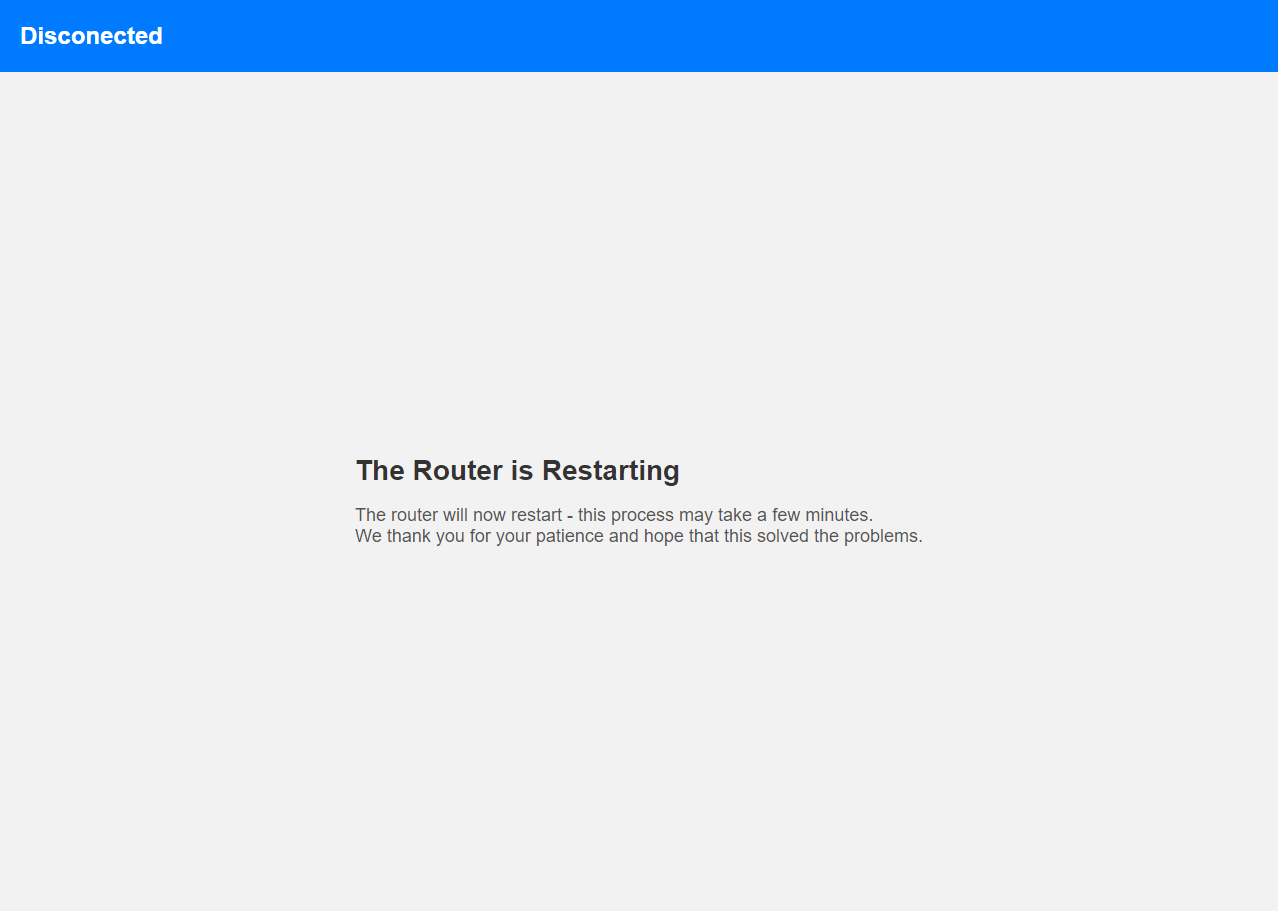
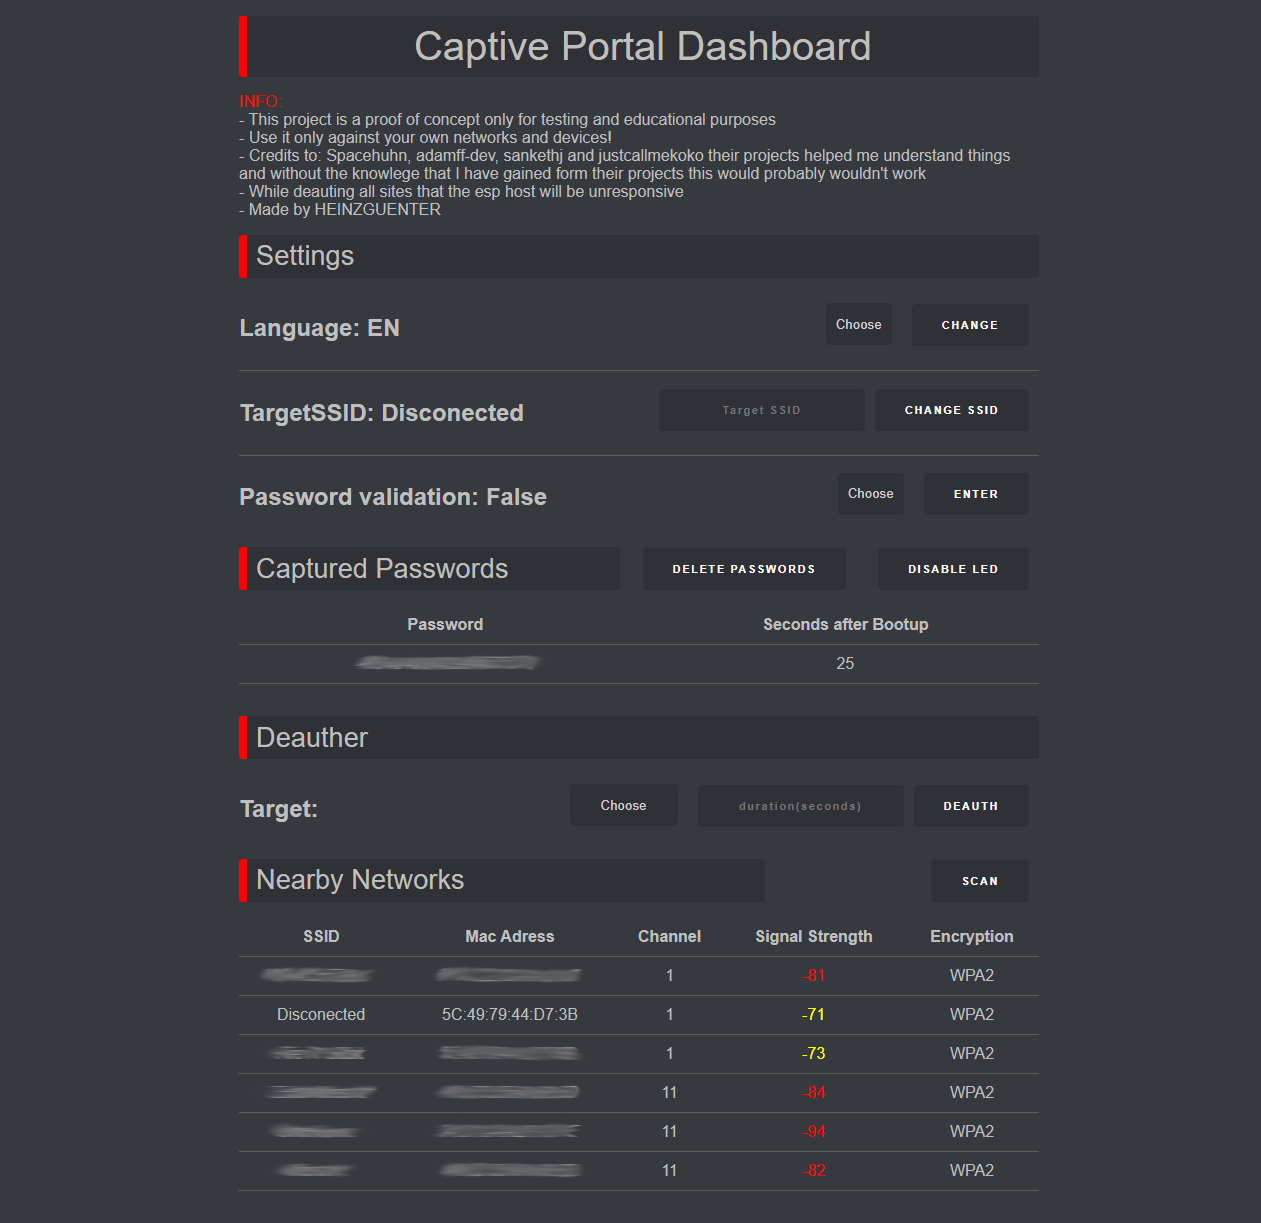
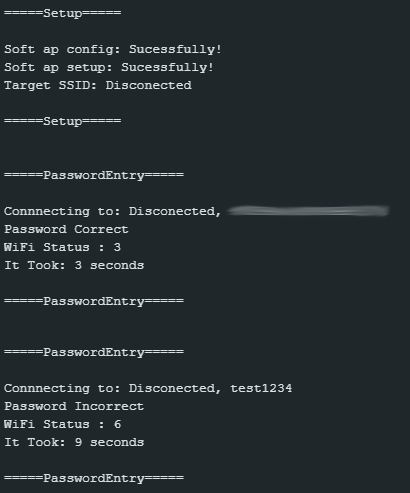
This Captive Portal Provides Multiple Languages, a Dashboard to view and change all settings in one place, password validation that is still a little bit buggy and doesnt always work and a deauthing function(while the ESP is deauthing the websites will be unresponsive). This project is a proof of concept for testing and educational purposes. Use it only against networks and devices that you have permission to! If you have any questions or suggestions just create an issue or DM me on Discord under the username heinzguenter.
Currently Supportet languages: English and German.
Credits: Spacehuhn for inspiration on the Design of the dashboard, adamff-dev for the idea and inspiration for the design of the captive portal pages, sankethj for inspiration for parts of the code and justcallmekoko without theire projects this would probably not exist.
- Upload the binary file or to your ESP8266 device.
- Connect to the ESP8266's Wi-Fi network (default SSID is "Portal-Update").
- Open a web browser, and type in "192.168.1.1/dashboard" to get to the dashboard or "192.168.1.1" for the page that a normal user would see.
- There you can view the captured passwords and edit the SSID and other settings.
- Download and add Spacehuhn's custom board to your IDE(you can follow this guide)
- Change or add things if you want
- Connect your ESP8266 to your PC and chose the right port and Board for you
- Press the upload button and wait for it to complete
- Open a web browser, and type in "192.168.1.1/dashboard" to get to the dashboard or "192.168.1.1" for the page that a normal user would see.


