CTEmail is a Charts and Text Email script, which can send email with chart pictures in email content body not email attachment.
- As a programmer, we hope to complete everything automatically by scripts, such as send report email daily.
- In business, we cooperate with some friends. Sometimes we exchange the report with data, where we can use charts and suitable text to display.
- We can find some pictures in some emails, but those pictures are manual and the email is also manual.
- These are all things that we needs.
- Product manager, CTEmail is one of the best practices!
- Operating Officer, CTEmail is one of the best practices!
- Programmer, everything is automated!
- Python:Python2(You can also use Python3 with similar code!)
- PlotlyA tool for displaying your data. It supports offline and online modes. You can read the documents from the website.
├── README.md
├── content
│   ├── image1.png
│   ├── image2.png
│   └── index.html
├── ctemail.py
├── get_img.py
└── send.py
- Under the
contentfolder, you will see theindex.htmlfile, which is the content of email. Also this folder include the images(charts) resources. ctemail.pyis theCTEmailclass written by Python script.send.pyis the script to send email and configures of email account.get_img.pycan generate the chart images by plotly.
git clone [email protected]:dyike/CTEmail.gitConfig the send email scprit:
from ctemail import CTEmail
e = CTEmail('Your email acount', 'Your password')
# " ./content/ " is the email path
e.send_email('Test Email', './content/', ['[email protected]'])Deal with the data, then generate the chart images.
Also we can add some code to generate the conten/index.html file.
Here is a demo:
import plotly.plotly as py
import plotly.graph_objs as go

py.sign_in('Your account', 'API Token') # Configure your username and api key token

trace = go.Bar(x=[2, 4, 6], y= [10, 12, 15])
data = [trace]
layout = go.Layout(title='A Simple Plot', width=800, height=640)
fig = go.Figure(data=data, layout=layout)

py.image.save_as(fig, filename='./content/image.png')In the email template file, you will see the <EMAIL_IMG> tag. It is essential! The script will find the tag to parse. If you want to add two or more images, you should do as follows:
    <a><EMAIL_IMG><img src="image1.png"></EMAIL_IMG></a>
<a><EMAIL_IMG><img src="image2.png"></EMAIL_IMG></a>Send email!
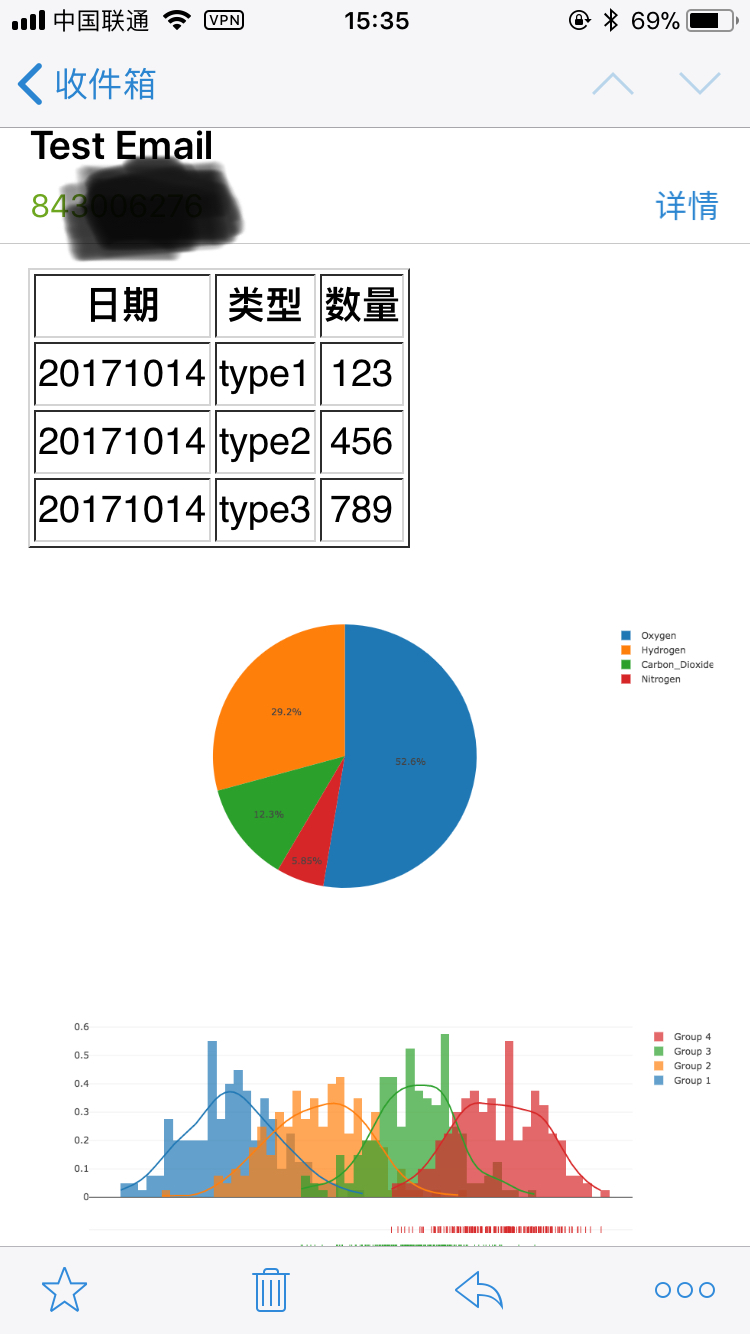
python send.pythen, you will received email!
MIT