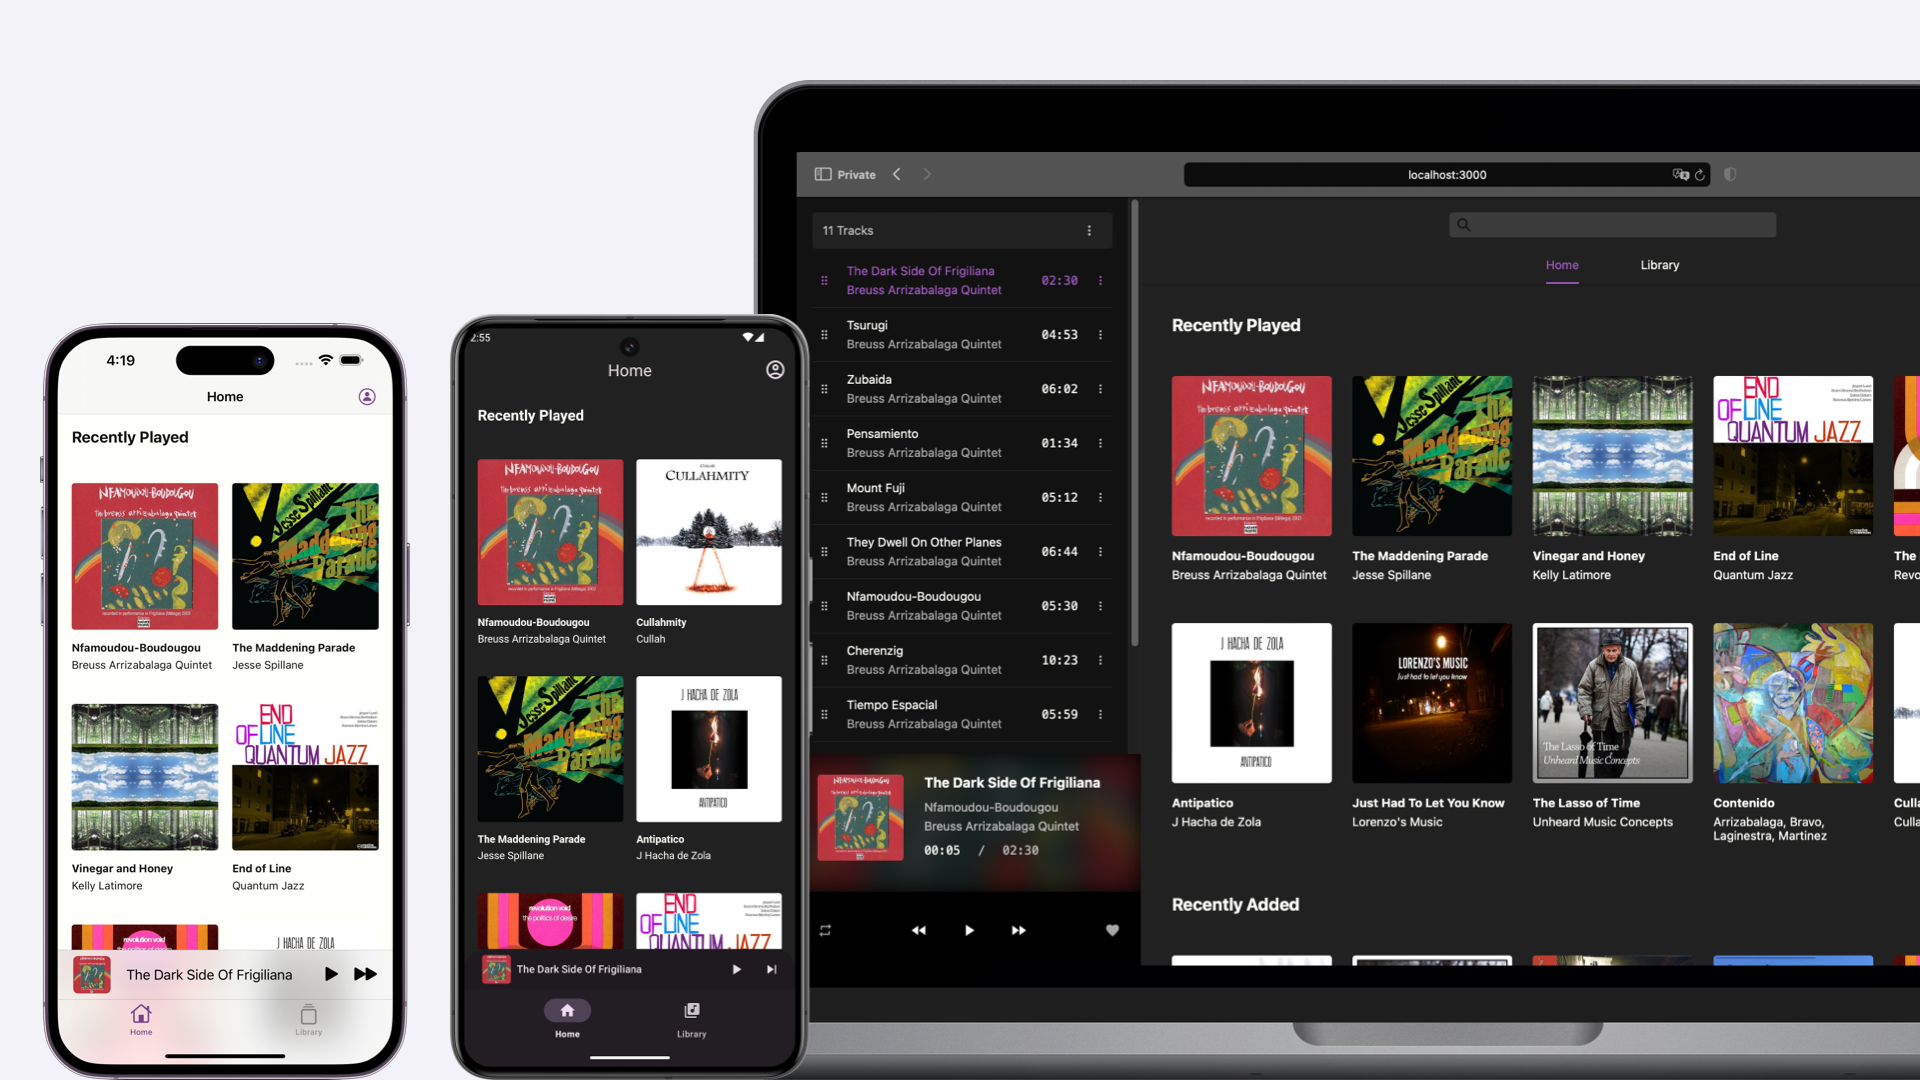
Black Candy is a self-hosted music streaming server, your personal music center.
Please visit https://demo.blackcandy.org and use demo user (email: [email protected], password: foobar) to log in. And feel free to try it.
Note
This demo user does not have administrator privileges. So you cannot experience all the features in Black Candy. And all music in the demo are from Free Music Archive. You can check their licenses.
Black Candy uses docker image to install easily. You can run Black Candy like this.
docker run -p 3000:3000 ghcr.io/blackcandy-org/blackcandy:latest

# Or pull from Docker Hub.
docker run -p 3000:3000 blackcandy/blackcandy:latest
That's all. Now, you can access either http://localhost:3000 or http://host-ip:3000 in a browser, and use initial admin user to log in (email: [email protected], password: foobar).
Important
If you upgrade to a major version, you need to read the upgrade guide carefully before upgrade. Because there are some breaking changes in a major version.
- See V3 Upgrade for upgrade from V2 release.
- See Edge Upgrade for upgrade from edge release to latest stable release.
Upgrade Black Candy is pull new image from remote. Then remove an old container and create a new one.
docker pull ghcr.io/blackcandy-org/blackcandy:latest
docker stop <your_blackcandy_container>
docker rm <your_blackcandy_container>
docker run <OPTIONS> ghcr.io/blackcandy-org/blackcandy:latest
With docker compose, you can upgrade Black Candy like this:
docker pull ghcr.io/blackcandy-org/blackcandy:latest
docker-compose down
docker-compose upBlack Candy mobile apps are available in the following app stores:
For Android app, you can also download APK from GitHub Release
Black Candy exports the 3000 port. If you want to be able to access it from the host, you can use the -p option to map the port.
docker run -p 3000:3000 ghcr.io/blackcandy-org/blackcandy:latestYou can mount media files from host to container and use MEDIA_PATH environment variable to set the media path for black candy.
docker run -v /media_data:/media_data -e MEDIA_PATH=/media_data ghcr.io/blackcandy-org/blackcandy:latest Black Candy use SQLite as database by default. Because SQLite can simplify the process of installation, and it's an ideal choice for self-hosted small server. If you think SQLite is not enough, or you are using some cloud service like heroku to host Black Candy, you can also use PostgreSQL as database.
docker run -e DB_ADAPTER=postgresql -e DB_URL=postgresql://yourdatabaseurl ghcr.io/blackcandy-org/blackcandy:latest All the data that need to persist in Black Candy are stored in /app/storage, So you can mount this directory to host to persist data.
mkdir storage_data

docker run -v ./storage_data:/app/storage ghcr.io/blackcandy-org/blackcandy:latest Black Candy supports use Nginx to delivery audio file to the client. It's a more effective way than handled by Black Candy backend. And Black Candy docker image is also ready for nginx-proxy, which means you can set up a Nginx proxy for Black Candy easily.
You can use docker-compose to set up those services. The docker-compose.yml file looks like this:
version: '3'

services:
  nginx-proxy:
    image: nginxproxy/nginx-proxy
    ports:
      - "80:80"
    volumes:
      - ./blackcandy.local:/etc/nginx/vhost.d/blackcandy.local:ro
      - /var/run/docker.sock:/tmp/docker.sock:ro
      - /media_data:/media_data # Keep the path of media files in container the same as blackcandy container.

  app:
    image: ghcr.io/blackcandy-org/blackcandy:latest
    volumes:
      - ./storage_data:/app/storage
      - /media_data:/media_data
    environment:
      VIRTUAL_HOST: blackcandy.local
      MEDIA_PATH: /media_data
      NGINX_SENDFILE: "true" # Don't forget to set `NGINX_SENDFILE` environment variable to true to enable nginx sendfile.
# Get the default sendfile config for blackcandy. This file need to mount to nginx proxy container to add custom configuration for nginx.
curl https://raw.githubusercontent.com/blackcandy-org/blackcandy/v3.0.0/config/nginx/sendfile.conf > blackcandy.local
docker-compose upBlack Candy logs to STDOUT by default. So if you want to control the log, Docker already supports a lot of options to handle the log in the container. See: https://docs.docker.com/config/containers/logging/configure/.
| Name | Default | Description |
|---|---|---|
| DB_URL | The URL of PostgreSQL database. You must set this environment variable if you use PostgreSQL as database. | |
| MEDIA_PATH | You can use this environment variable to set media path for Black Candy, otherwise you can set media path in settings page. | |
| DB_ADAPTER | "sqlite" | There are two adapters are supported, "sqlite" and "postgresql". |
| NGINX_SENDFILE | false | Whether enable Nginx sendfile. |
| SECRET_KEY_BASE | When the SECRET_KEY_BASE environment variable is not set, Black candy will generate SECRET_KEY_BASE environment variable every time when service start up. This will cause old sessions invalid, You can set your own SECRET_KEY_BASE environment variable on docker service to avoid it. | |
| FORCE_SSL | false | Force all access to the app over SSL. |
| DEMO_MODE | false | Whether to enable demo mode, when demo mode is on, all users cannot access administrator privileges, even user is admin. And also users cannot change their profile. |
The edge version of Black Candy base on master branch, which means it's not stable, you may encounter data loss or other issues. However, I don't recommend normal user using an edge version. But if you are a developer who wants to test or contribute to Black Candy, you can use the edge version.
docker pull ghcr.io/blackcandy-org/blackcandy:edge- Ruby 3.3
- Node.js 20
- libvips
- FFmpeg
Make sure you have installed all those dependencies.
bundle installnpm installrails db:prepare
rails db:seedAfter you’ve set up everything, now you can run ./bin/dev to start all services you need to develop.
Then visit http://localhost:3000 use initial admin user to log in (email: [email protected], password: foobar).
# Running all test
$ rails test:all

# Running lint
$ rails lint:allBlack Candy support get artist and album image from Discogs API. You can create an API token from Discogs and set Discogs token on Setting page to enable it.
This project is supported by:


