
Convert Mendix Apps to Progressive Web Apps PWAs
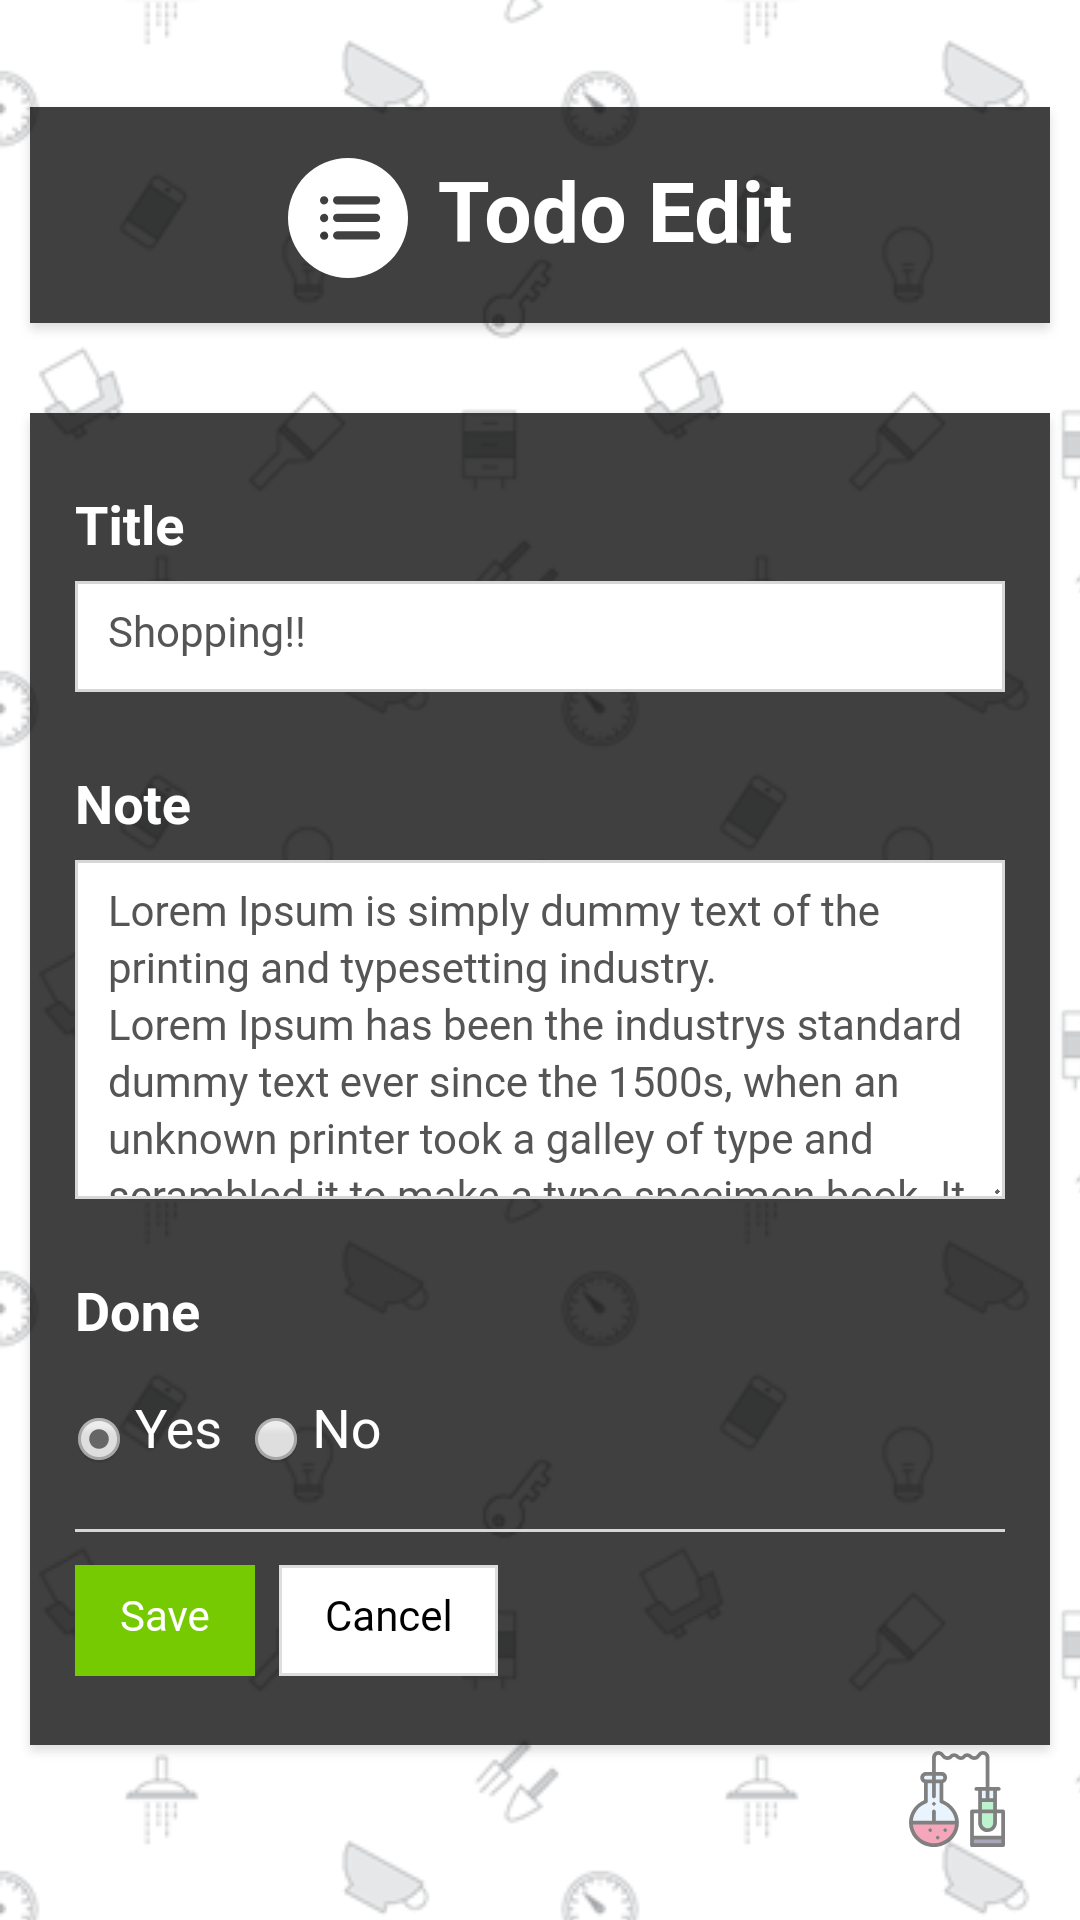
Check & install Demo app, a simple Todo App
Or you can also take a quick look here!
These instructions will walk with you step by step through the process of creating/converting Mendix Apps to Progressive Web Apps.
This Generator requires node & gulp-cli to be installed on your machine.
- you can check if you already have node installed by opening your command line tool and typing :
$ node --version
>> v8.9.4 // output your installed node version number
If you don't have node on your machine, you can download it from its official website Nodejs.org
- After making sure that you have node installed, let's check if you have gulp-cli installed, you can do that by typing in your command line tool:
$ gulp -v
>> CLI version 1.3.0 // output your installed node version number
If you don't have gulp-cli installed on your machine, you can install it by typing the following command in your command line tool:
$ npm install gulp-cli -g
After having node & gulp-cli installed we are now ready to go! 👍
-
Extract the content of the downloaded
bizzo-pwa.zipinto your Mendix Application root folder.
your root folder now should have a structure like this :
YOUR-MENDIX-APP-NAME
├── deployment
├── javasource
├── pwa_assets
│   ├── pwa_icons
│   ├── _bizzo-scripts
│   └── _bizzo-tags
│   └── bizzo-connectivity-listener.js
│   └── bizzo-sw-register.js
│   └── manifest.json
├── resources
├── theme
│   ├── styles
│   ├── index.html
│   └── ...
├── userlib
├── widgets
├── .classpath
├── .project
├── bizzo.config.json
├── gulpfile.js
├── package.json
├── YOUR_APP_NAME.mpr
└── ...
- Open your command line and run
npm installMake sure that all the requirements are set and installed on your machine
IMPORTANT NOTE: after running
npm installDO NOT forget to addnode_modulesfolder to yoursvn ignore list
- Now, in your
index.htmladd the following comments:
- Before the closing tag
<head>...</head>add :
    <head>
        ....... meta tags
        ........ link tags
        ......... etc
        .........
        <!-- bizzo-tags -->
        <!-- bizzo-tags-end -->
    </head>
the generator will use this comment/hook to inject the required meta tags into your index.html file.
- Before the closing tag
<body>...</body>add :
    <body>
        ....... html tags
        ........
        ......... script tags
        ......... etc
        <!-- bizzo-scripts -->
        <!-- bizzo-scripts-end -->
    </body>
the generator will use this comment/hook to inject the required scripts into your index.html file.
- From your Mendix app root folder, open your command line tool and run the following command :
npm run bizzo-pwa
- We're done! re-run your Mendix App which became now a progressive web app. 😎🥇
It will read the config file
bizzo.config.jsonin your root folder ( read how to set configuration ) and generate/inject/add the required files/tags for your mendix project.
This file contains the configuration for your Mendix PWA project,and is the only place that you need to work with while you're using this generator. Below we will explore all properties in this file :
{
    "appShortName":"Bizzo MX-PWA",
    "appName" :"Bizzo MX-PWA Boilerplate",
    "deploymentFolderPath": "./deployment/web",
    "extentionsToBeCached":["html","js","css","svg","png","jpg"],
    "sourceFolderPath":"./theme",
    "themeColor" : "#000000",
    "backgroundColor":"#ffffff",
    "appIcons":[
        {"img_512":"https://raw.githubusercontent.com/bizzomate/Bizzo-PWA/master/static/lab_512.png"},
        {"img_192":"https://raw.githubusercontent.com/bizzomate/Bizzo-PWA/master/static/lab_192.png"},
        {"img_128":"https://raw.githubusercontent.com/bizzomate/Bizzo-PWA/master/static/lab_128.png"}
    ],
    "offlineEnabled" : false
}
The contnten above is the default configuration
Progressive Web Apps are installable therefore this property will be used to provide a short human-readable name for the application. This is intended for when there is insufficient space to display the full name of the web application, like device (desktop / mobile) homescreens.
The name that will be displayed in the app splash screen after installing the app.
The directory from which your web app is being served 99.99% you won't change this property
Array of file formats that your app contains and you'd like these files to be cached.
The directory which contains your source files ( index.html, styles, scripts ...etc ) 99.99% you won't change this property
A Hex number which represents your app theme color.
A Hex number which represents your app's splash screen background color.
This piece of configuration requires you to set 3 different sizes for your app's icons [512x512, 192x192, 128x128], by default it has the following value:
"appIcons":[
        {"img_512":"https://raw.githubusercontent.com/bizzomate/Bizzo-PWA/master/static/lab_512.png"},
        {"img_192":"https://raw.githubusercontent.com/bizzomate/Bizzo-PWA/master/static/lab_192.png"},
        {"img_128":"https://raw.githubusercontent.com/bizzomate/Bizzo-PWA/master/static/lab_128.png"}
]After running
npm run bizzo-pwaa folder namedpwa_iconswill be added to yourthemefolder, add your icons to this > folder, let's say that your icons have the following names [my-icon-512.png, my-icon-192.png, my-icon-128.png]; Now, back to your config file you need only to add your icons names as the following :"appIcons":[ {"img_512":"my-icon-512.png"}, {"img_192":"my-icon-192.png"}, {"img_128":"my-icon-128.png"} ]IMPORTANT : Icons Must always be placed in your
pwa_iconsfolder.What are these sizes ?
512x512icon will be used in your app's splash screen as an icon/ a logo.
128x128&192x192icons will be used for your app's icon on smart devices home screens.
Mendix has the ability to create offline enabled apps, set this property to true if your app is offline enabled.
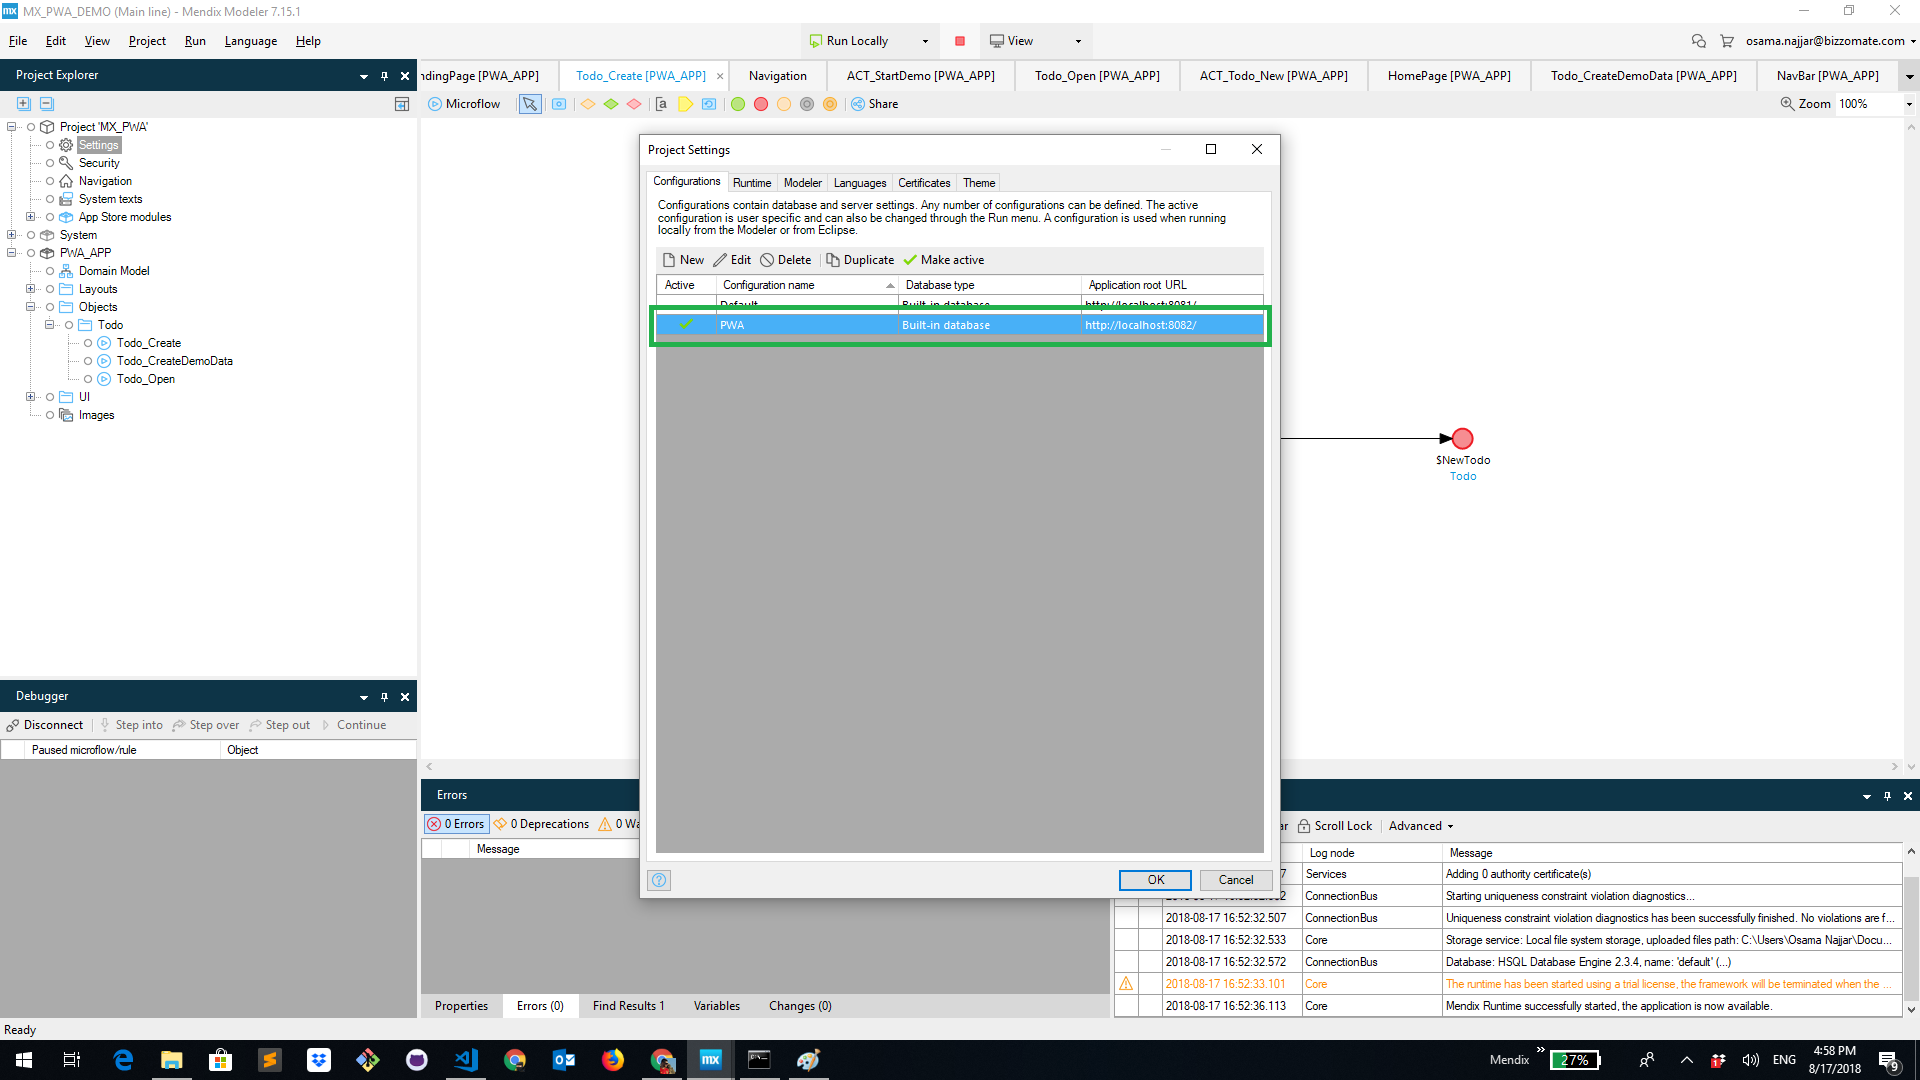
- During development, it's recommended to create a separate mendix project settings (different port number) for your PWA, as in your PWA,
service workerwill intersect your app's requests and serve cached static contents (scripts, styles, images, icons, etc ...) if exist, although each time you runnpm run bizzo-pwathe cached content will be updated, it's better to have a separated settings for your PWA in order to prevent any confusion.
You can achieve that in your Mendix Modeler by doing the following :
- Create new project configuration.

- And select it while working on your app.
- Now let's say you wanna continue working on your project, for instance working on theming your project, you can return to use your previous project settings ( port number ) and have to go
index.htmland comment out the following scriptbizzo-sw-register.js:
<!-- <script src="bizzo-sw-register.js"></script> -->By doing that you'll ensure that there are NO side effects coming from your PWA scripts or settings.
- What browser to use for development?
Chrome 👍
- During development, in your chrome dev tools in Service Workers tab check the option update on reload, this option will ensure that your service worker
bizzo-sw.jsis always in sync and up to date with the generated version using this generator.

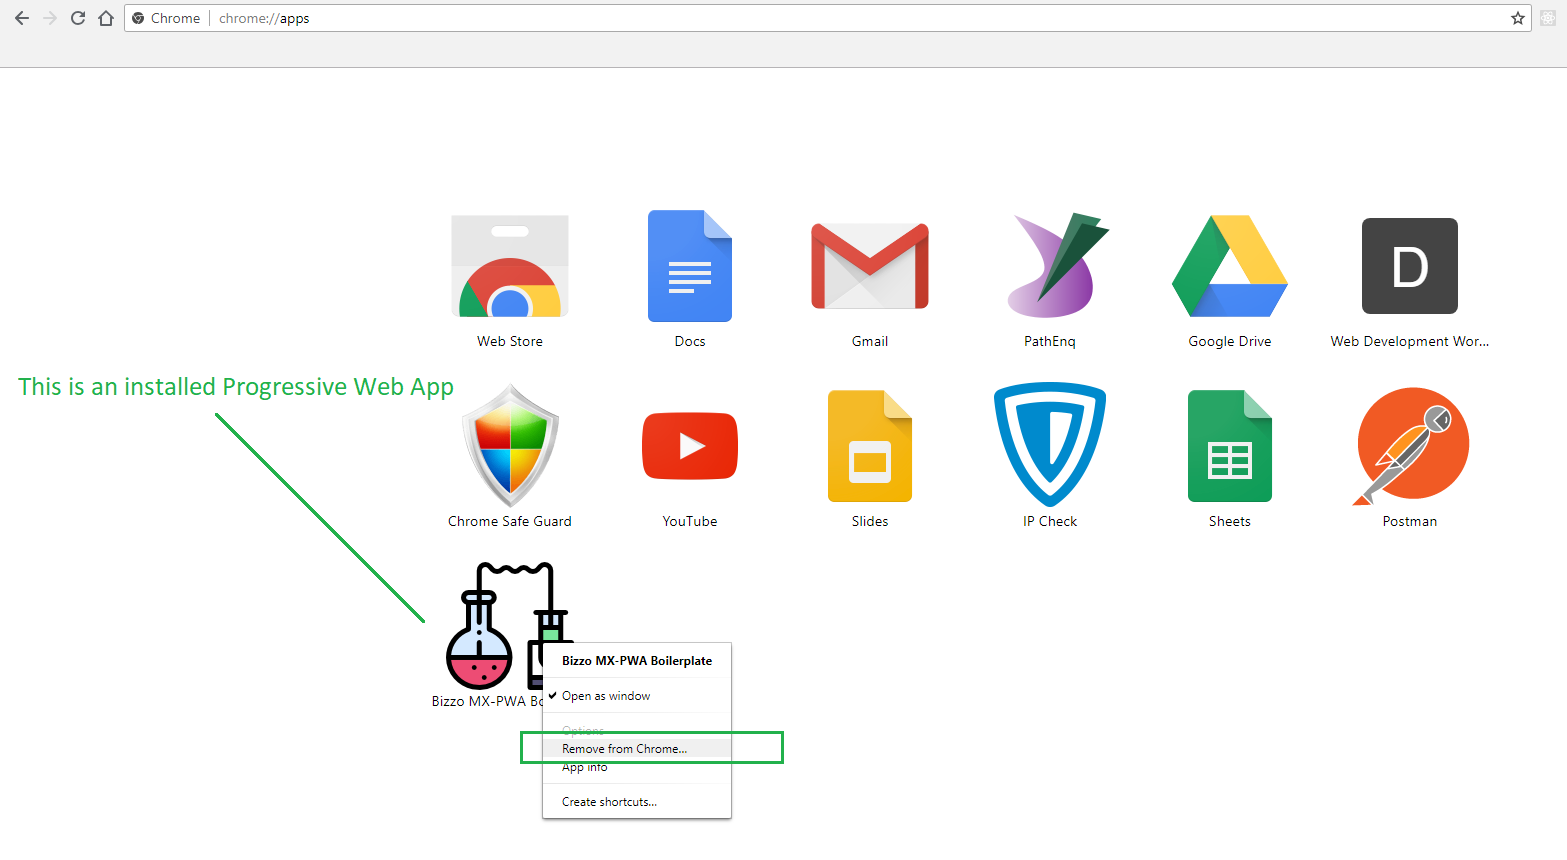
- How to delete an installed PWA ?
- On your desktop/laptop you can delete an installed PWA by typing in the address bar of your chrome browser
chrome://apps/and then hittingEnter, a page with all installed apps will open, then right click on your app's icon andRemove from chrome.
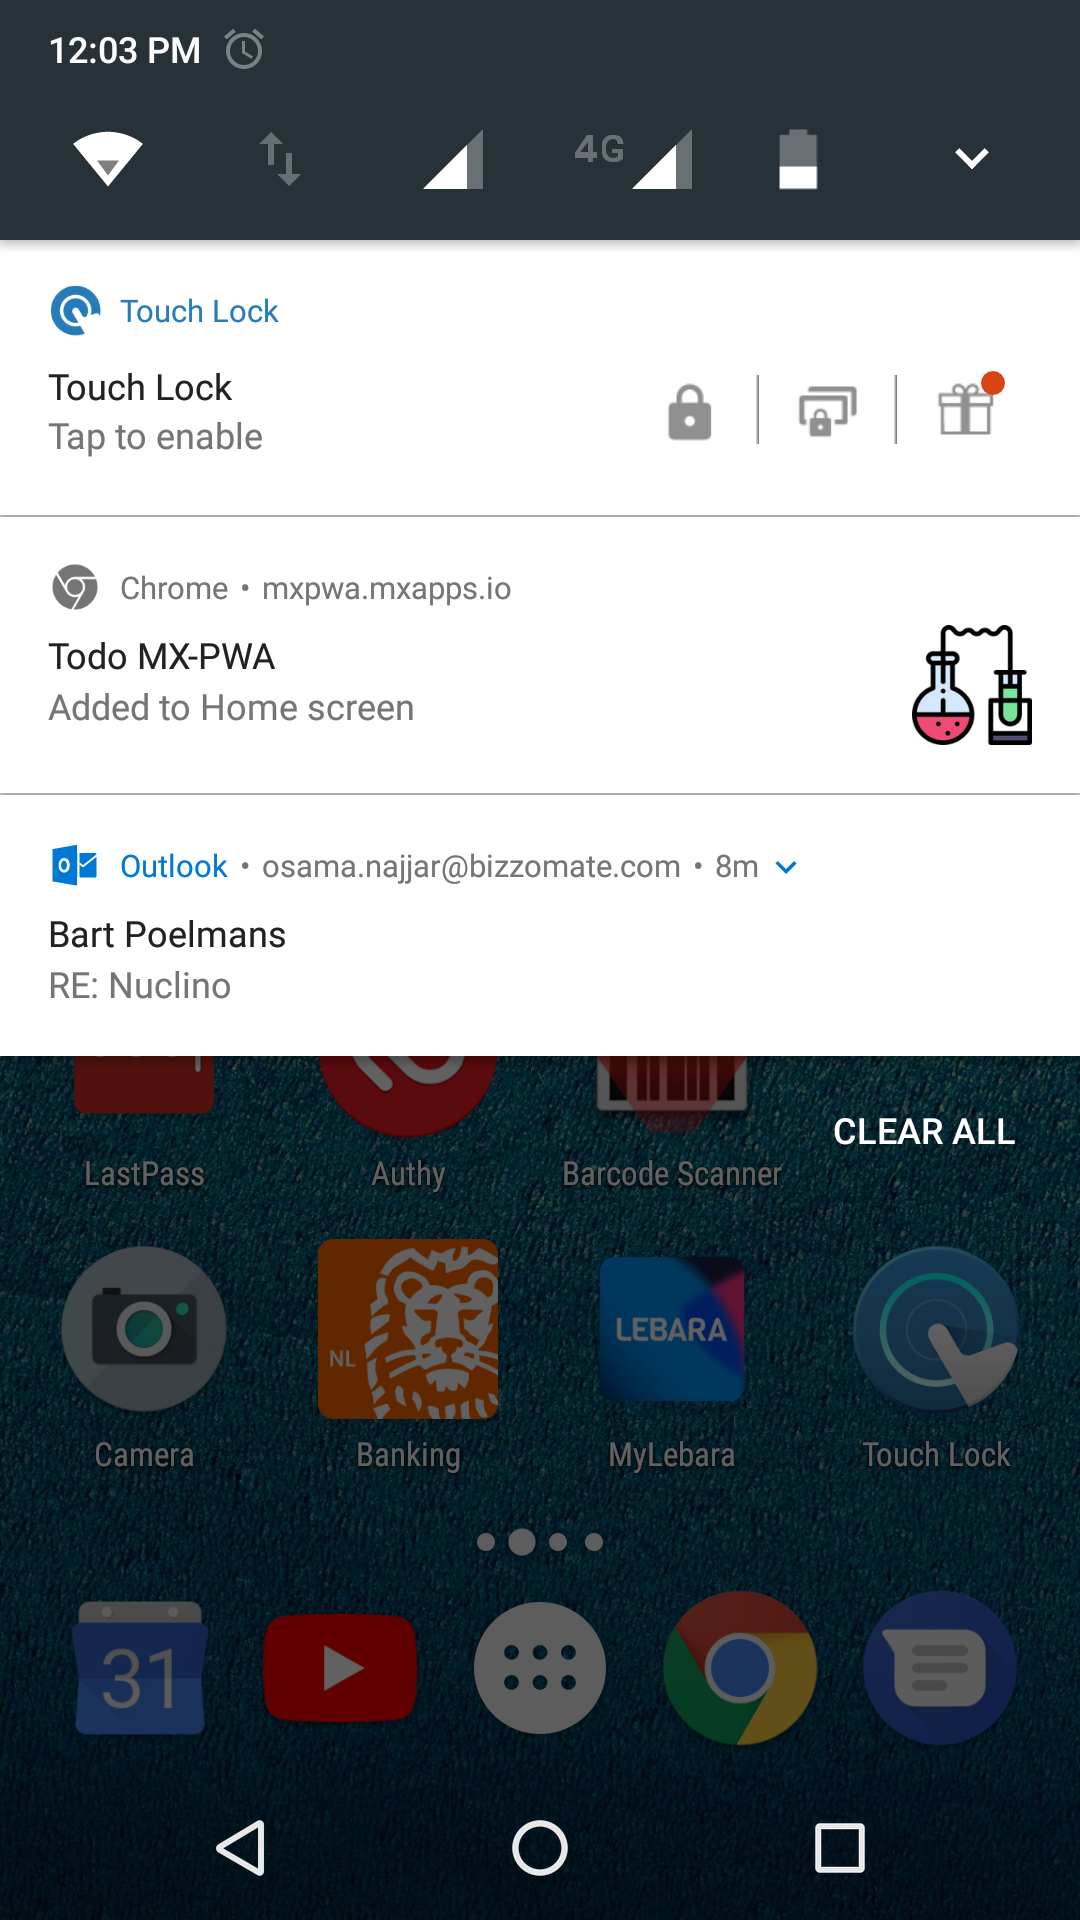
- On your smart device (phone / tablet), you can just uninstall it as it is a native app.
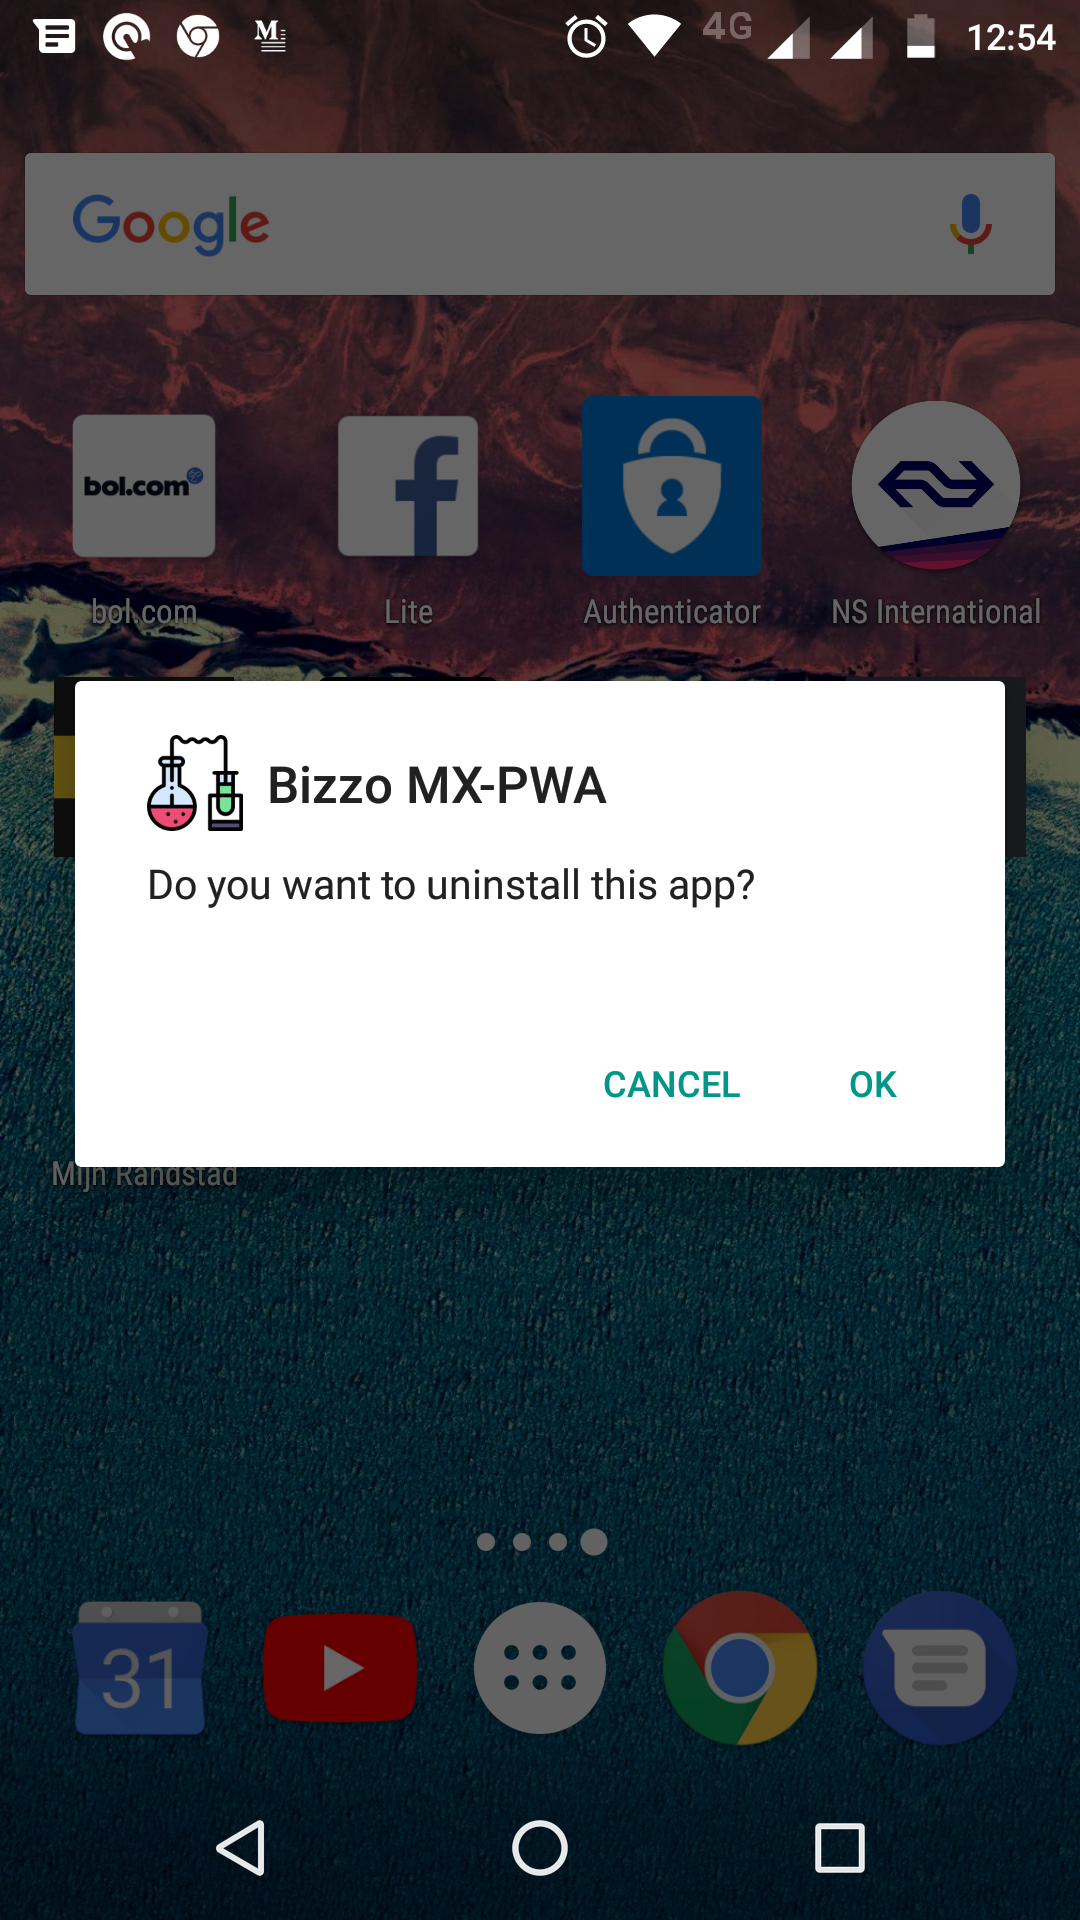
And you can clear your chrome browser cache on your smart device by typing in your address bar chrome://offline-internals


![]()

If encountered any issue while using the generator please report it here