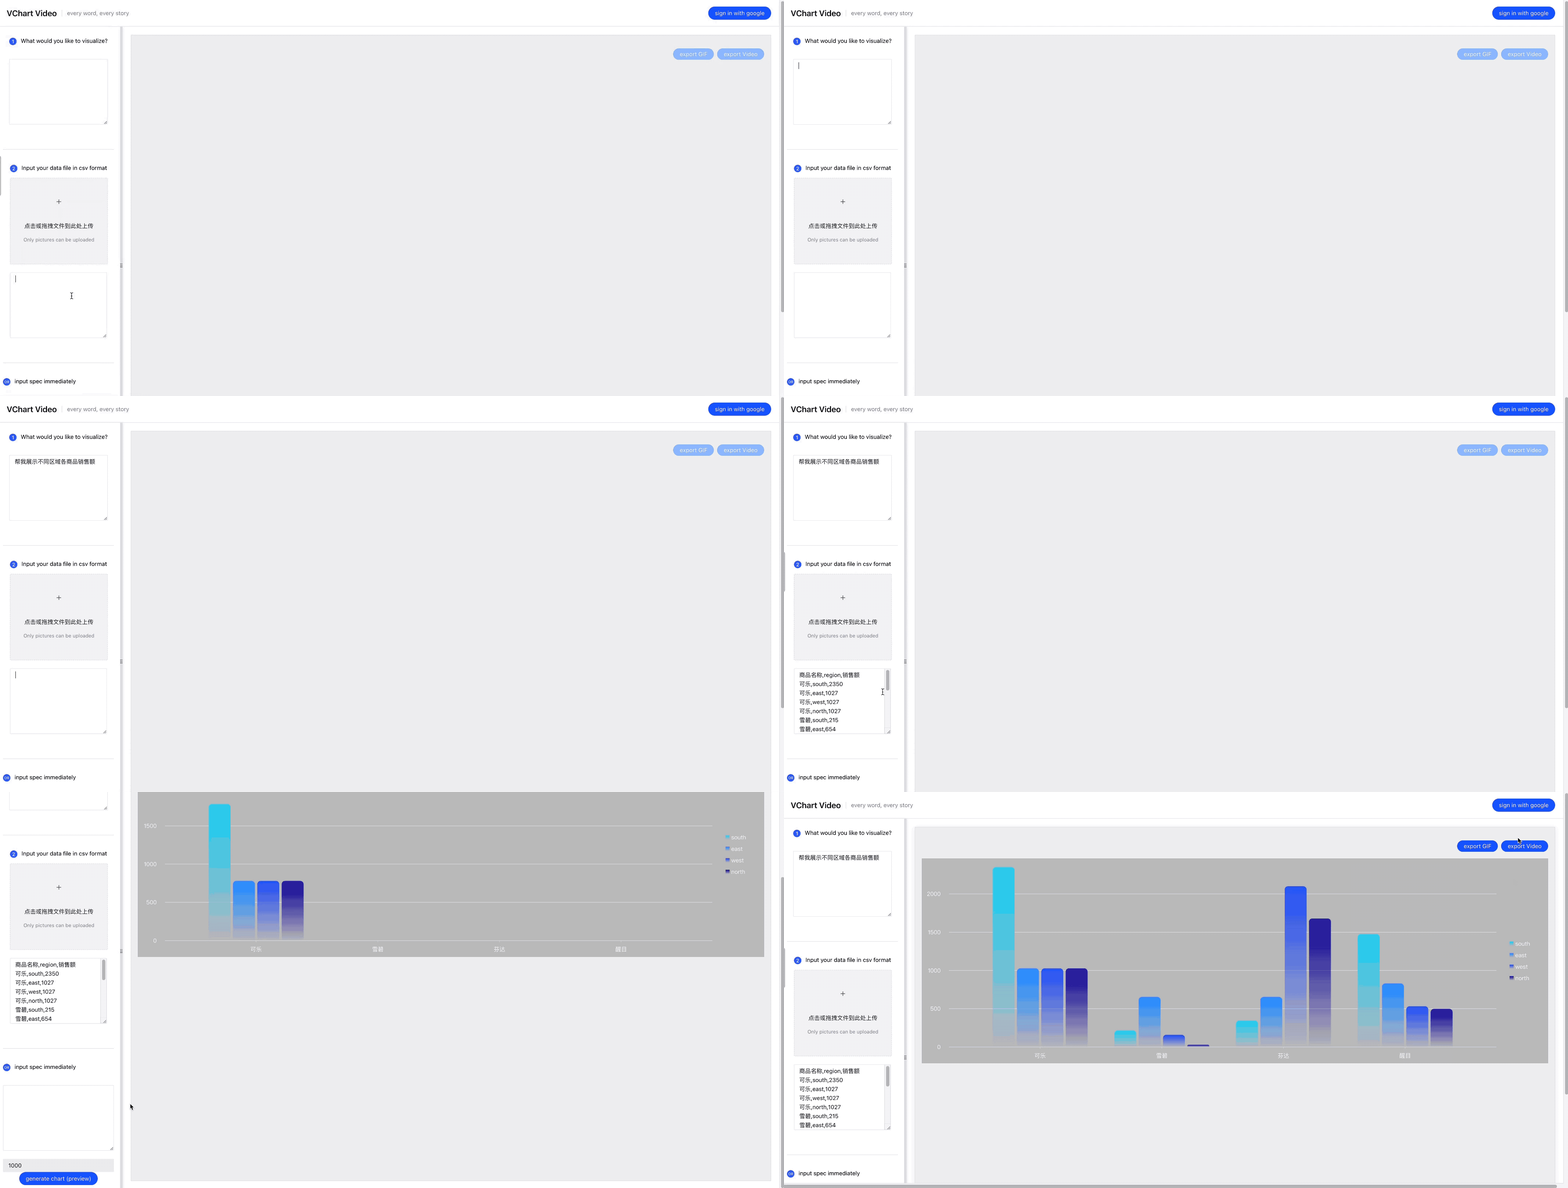
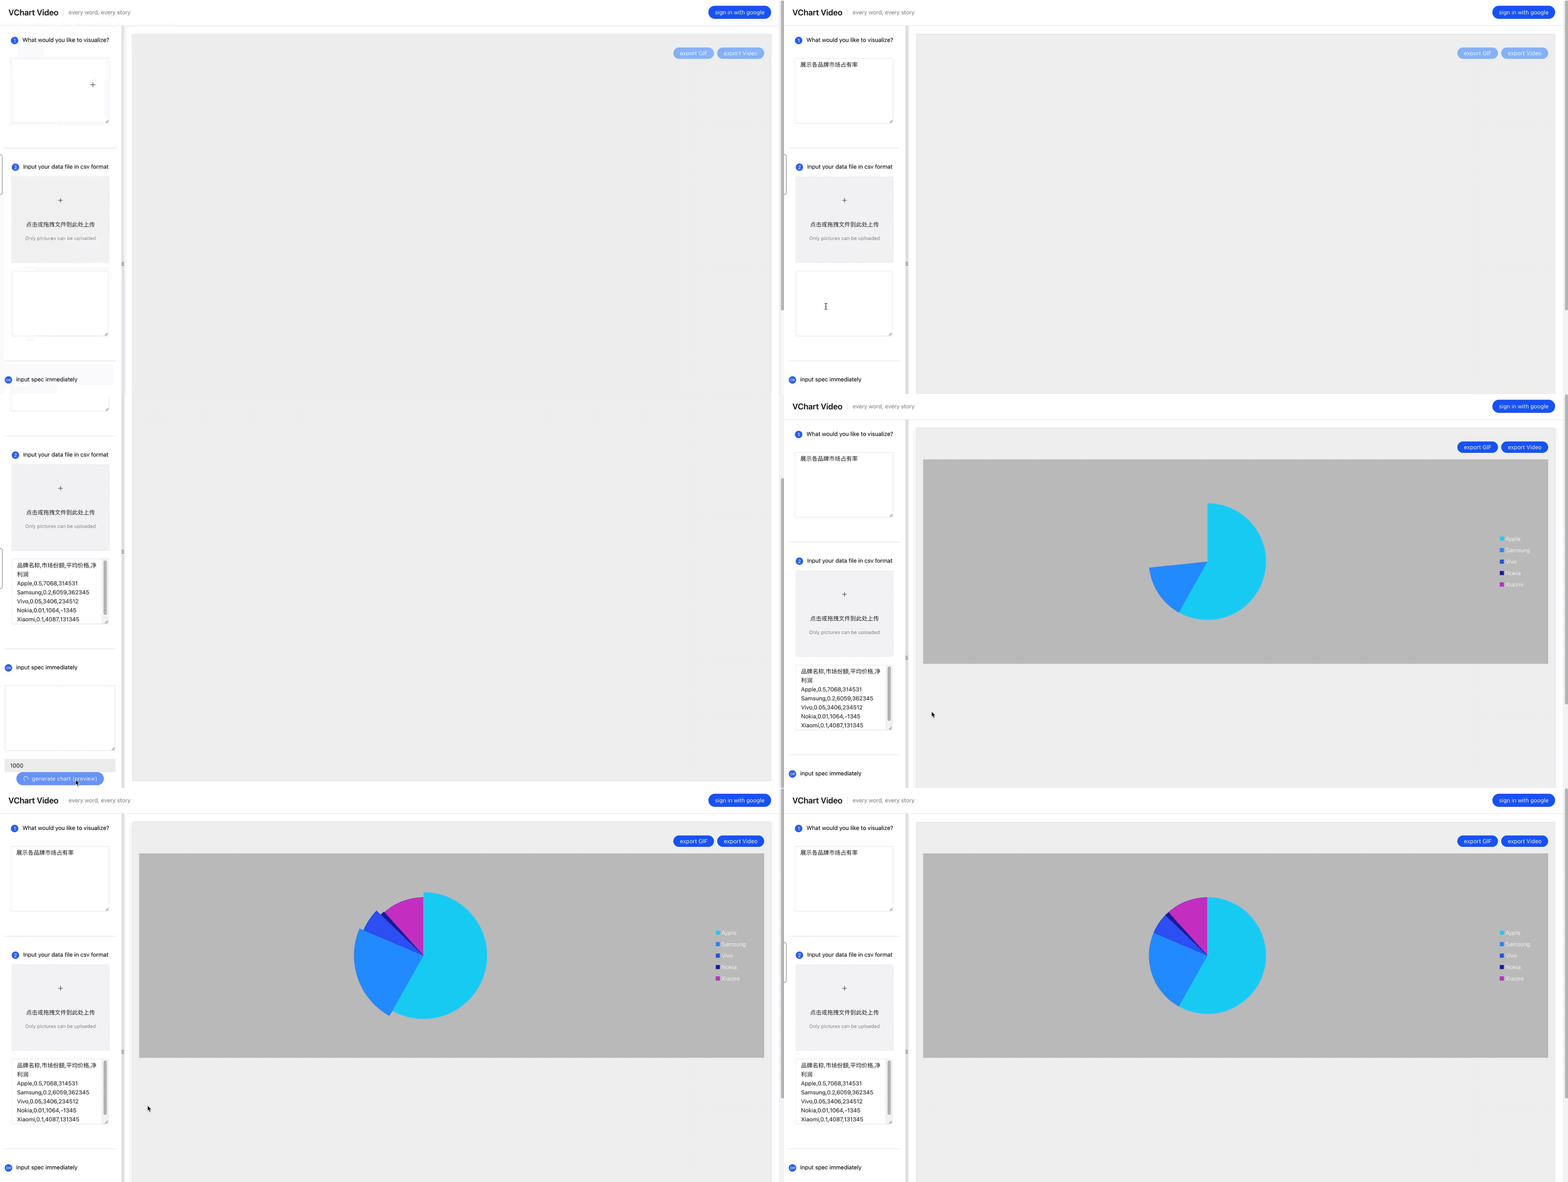
English | 简体中文
@visactor/vmind 是由 VisActor 为您提供的基于大模型的图表智能组件,包括对话式的图表智能生成与编辑能力。它提供了一个自然语言交互接口,仅需一句话,您就能够轻松使用@visactor/vmind 创建图表叙事作品,并通过连续的对话进行编辑,极大地提高您创作数据可视化作品的效率。
@visactor/vmind 的主要特点包括:
- 易于使用:一行代码、一句话完成图表创建与编辑
- 极致性能:图表生成、数据聚合等任务耗时均在4s以下
- 表现力强:支持13种常见的图表类型,支持数据聚合、筛选、排序等指令
- 安全合规:支持GPT、云雀模型,支持自定义模型调用方式;不会传递明细数据给大模型,符合安全合规要求
进入 VChart 仓库,执行
# 安装依赖
$ rush update
# 启动demo页面
$ rush docs
顶部导航栏选择 VMind,输入您的 OpenAI Key,点击 generate chart,即可体验 VMind
进入 VChart 仓库,执行
# 安装依赖
$ rush update
# 启动VMind开发页面
$ rush vmind
即可启动 vmind 开发页面 需要设置你的大模型服务 url 和 api-key 才能正常使用,可在 packages/vmind/__tests__/browser/src/pages/DataInput.tsx 中修改调用大模型时的 headers 你可以在 packages/vmind 文件夹中新建.env.local 文件,在其中写入:
VITE_SKYLARK_URL="Your service url of skylark model"
VITE_GPT_URL="Your service url of gpt model"
VITE_SKYLARK_KEY="Your api-key of skylark model"
VITE_GPT_KEY="Your api-key of gpt model"
VITE_PROXY_CONFIG="Your Vite proxy config for forwarding requests. Must be in JSON string format and is optional. Example: {"proxy": {"/v1": {"target": "https://api.openai.com/","changeOrigin": true},"/openapi": {"target": "https://api.openai.com/","changeOrigin": true}}}"
在启动开发环境时将会自动读取这些配置
- __tests__: 开发用的 playground
- src/common: 公共的数据处理、图表推荐方法,图表生成 pipelines
- src/gpt: gpt 图表智能生成相关代码
- src/skylark: skylark 图表智能生成相关代码
- src/chart-to-video: 导出视频、GIF 相关代码
# npm
$ npm install @visactor/vmind

# yarn
$ yarn add @visactor/vmind首先,我们需要在项目中安装 VMind:
# 使用 npm 安装

npm install @visactor/vmind

# 使用 yarn 安装

yarn add @visactor/vmind
接下来,在 JavaScript 文件顶部使用 import 引入 VMind
import VMind from '@visactor/vmind';VMind 目前支持 OpenAI GPT-3.5、GPT-4 模型和 skylark-pro 系列模型。用户可以在初始化 VMind 对象时指定调用的模型类型,并传入大模型服务 URL。接下来,我们初始化一个 VMind 实例,并传入模型类型、模型 url:
import { Model } from '@visactor/vmind';

const vmind = new VMind({
  url: LLM_SERVICE_URL, //大模型服务的 url
  model: Model.SKYLARK, //目前支持 gpt-3.5, gpt-4, skylark pro 模型。在后续的图表生成中将调用指定的模型
  headers: {
    'api-key': LLM_API_KEY
  } //headers 将会被直接用作大模型请求中的 request header. 可以将模型 api key 放入 header 中
});
这里列出了支持的模型列表:
//models that VMind support
//more models is under developing
export enum Model {
  GPT3_5 = 'gpt-3.5-turbo',
  GPT4 = 'gpt-4',
  SKYLARK = 'skylark-pro',
  SKYLARK2 = 'skylark2-pro-4k'
}
VMind支持csv格式和json格式的数据集。
为了在后续流程中使用 csv 数据,需要调用数据处理方法,提取数据中的字段信息,并转换成结构化的 dataset。VMind 提供了基于规则的方法parseCSVData来获取字段信息:
//传入 csv 字符串,获得 fieldInfo 和json结构的dataset
const { fieldInfo, dataset } = vmind.parseCSVData(csv);我们也可以调用getFieldInfo方法,传入json格式的数据集,获取fieldInfo:
//传入 json数据集,获得 fieldInfo
const dataset=[
    {
        "Product name": "Coke",
        "region": "south",
        "Sales": 2350
    },
    {
        "Product name": "Coke",
        "region": "east",
        "Sales": 1027
    },
    {
        "Product name": "Coke",
        "region": "west",
        "Sales": 1027
    },
    {
        "Product name": "Coke",
        "region": "north",
        "Sales": 1027
    }
]
const fieldInfo  = vmind.getFieldInfo(dataset);
我们想要展示的内容为“各品牌汽车销量排行的变化”。调用 generateChart 方法,将数据和展示内容描述直接传递给 VMind:
const userPrompt = 'show me the changes in sales rankings of various car brand';
//调用图表生成接口,获得 spec 和图表动画时长
const { spec, time } = await vmind.generateChart(userPrompt, fieldInfo, dataset);
这样我们就得到了对应动态图表的 VChart spec。我们可以基于该 spec 渲染图表:
import VChart from '@visactor/vchart';

<body>
  <!-- 为 vchart 准备一个具备大小(宽高)的 DOM,当然你也可以在 spec 配置中指定 -->
  <div id="chart" style="width: 600px;height:400px;"></div>
</body>

// 创建 vchart 实例
const vchart = new VChart(spec, { dom: 'chart' });
// 绘制
vchart.renderAsync();
得益于大语言模型的能力,用户可以通过自然语言描述更多的需求,对菜品进行“风味定制”。 用户可以指定不同的主题风格(目前只有 gpt 版图表生成支持该功能)。例如,用户可以指定生成科技感风格的图表:
//userPrompt使用中英文均可
//指定生成科技感风格的图表
const userPrompt = 'show me the changes in sales rankings of various car brand,tech style';
const { spec, time } = await vmind.generateChart(userPrompt, fieldInfo, dataset);
也可以指定 VMind 支持的图表类型,字段映射等等。比如:
//指定生成折线图,汽车厂商做 x 轴
const userPrompt =
  'show me the changes in sales rankings of various car brands,tech style.Using a line chart, Manufacturer makes the x-axis';
const { spec, time } = await vmind.generateChart(userPrompt, fieldInfo, dataset);在初始化 VMind 对象时传入参数:
import VMind from '@visactor/vmind';
const vmind = new VMind(openAIKey:string, params:{
  url?: string;//大模型服务URL
  /** gpt request header, which has higher priority */
  headers?: Record<string, string> ;//请求头
  method?: string;//请求方法 POST GET
  model?: string;//模型名称
  max_tokens?: number;
  temperature?: number;//推荐设为0
  })
在 url 中指定您的大模型服务 url(默认为https://api.openai.com/v1/chat/completions) 在随后的调用中,VMind 会使用 params 中的参数请求大模型服务 url
📢 Note: 数据聚合功能只支持GPT系列模型,更多模型正在接入中。
在使用图表库绘制柱状图、折线图等图表时,若传入的数据不是聚合后的数据,会影响可视化效果。同时由于没有对字段进行筛选和排序,某些图表展示意图无法满足,例如:帮我展示使用量最多的10个部门,帮我展示北方各商品的销售额等。
VMind 1.2.2版本开始支持智能数据聚合功能。该功能会将用户传入的数据作为一张数据表,使用大模型根据用户的指令生成SQL查询,从数据表中查询数据,并通过GROUP BY和SQL聚合函数对数据进行分组聚合、排序、筛选。目前支持的SQL语句:SELECT, GROUP BY, WHERE, HAVING, ORDER BY, LIMIT。目前支持的聚合函数:MAX(), MIN(), SUM(), COUNT(), AVG()。不支持子查询、JOIN、条件语句等复杂的SQL操作。
使用VMind对象的dataQuery函数对数据进行聚合。该方法有3个参数:
- userInput:用户输入。使用与generateChart相同的输入即可
- fieldInfo:数据集字段信息。与generateChart相同,可使用parseCSVData获得,或者由用户自己构建。
- dataset:数据集。与generateChart相同,可使用parseCSVData获得,或者由用户自己构建。
const { fieldInfo, dataset } = await vmind?.dataQuery(userInput, fieldInfo, dataset);该方法返回的fieldInfo和dataset是数据聚合后的字段信息和数据集,可用于后续的图表生成。
generateChart函数默认会在生成图表之前,使用相同的用户输入进行一次数据聚合。可通过传入第四个参数来禁用数据聚合:
const userInput = 'show me the changes in sales rankings of various car brand';
const { spec, time } = await vmind.generateChart(userInput, fieldInfo, dataset, false); //pass false as the forth parameter to disable data aggregation before generating a chart.开发中,敬请期待
细流成河,终成大海!


