- Setup Amazon EC2
- Build environment on your EC2
- Run your code on EC2
- Adv - Why my stuffs disappeared after I stopped my EC2?! What shall I do?
- Adv - How to get access to my website despite the IP address of EC2 changes?
To Deploy it on AWS EC2, the first thing is to register a AWS account and bind it with a card. I just skip this part.
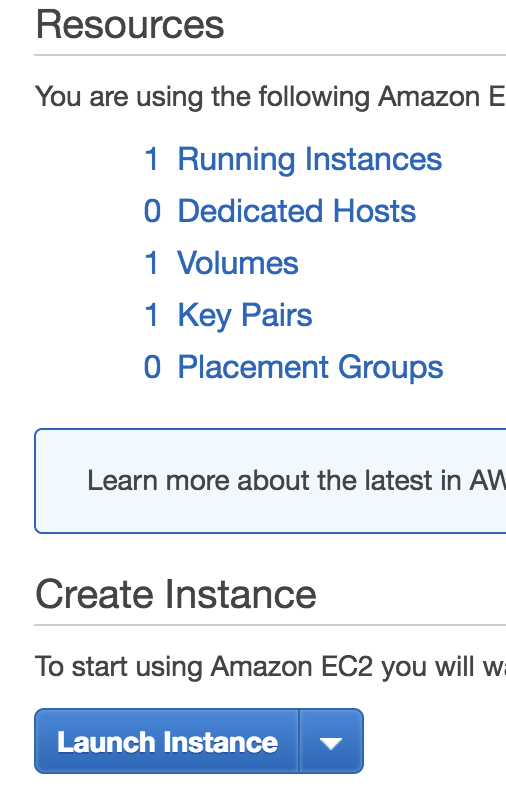
Then, go to EC2 and press “Launch Instance”.
Choose the AMI as follows. Or, any Linux AMI if you wish.

Then, choose any instance type with “Free tier eligible”

Then, press “Review And Launch”. Create a new key pair whatever it’s name.
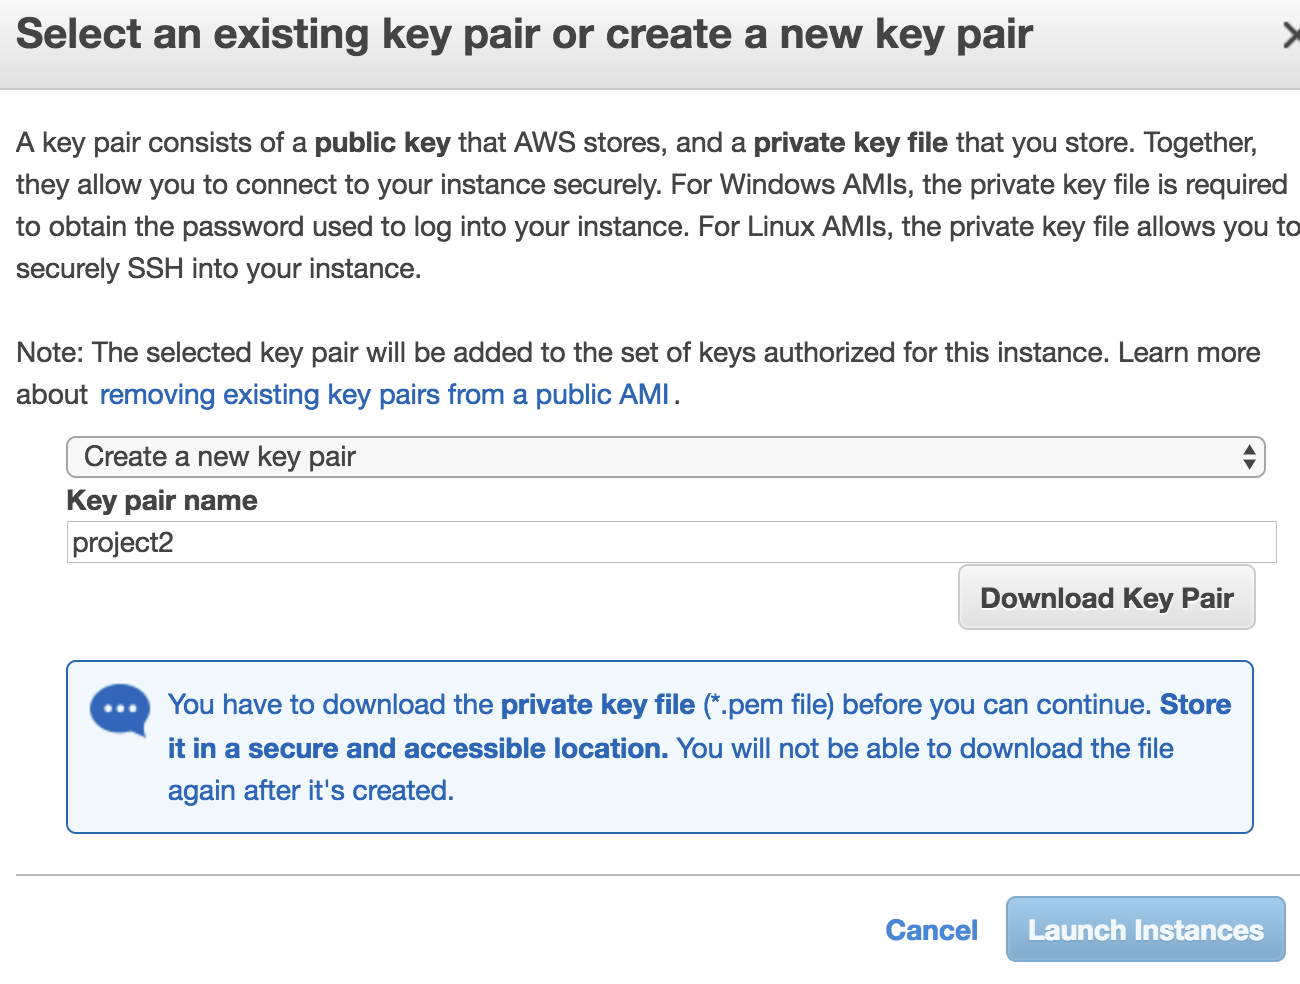
Save it to a safe place on your local machine. It’s the ONLY login credential to the EC2 instance.
Then, go to your *.pem folder. Typing the following command in terminal.
chmod 400 projectr2.pem
Then, click on the “Connect” to copy and paste the ssh command to your local terminal in order to manage your EC2 instance through terminal.
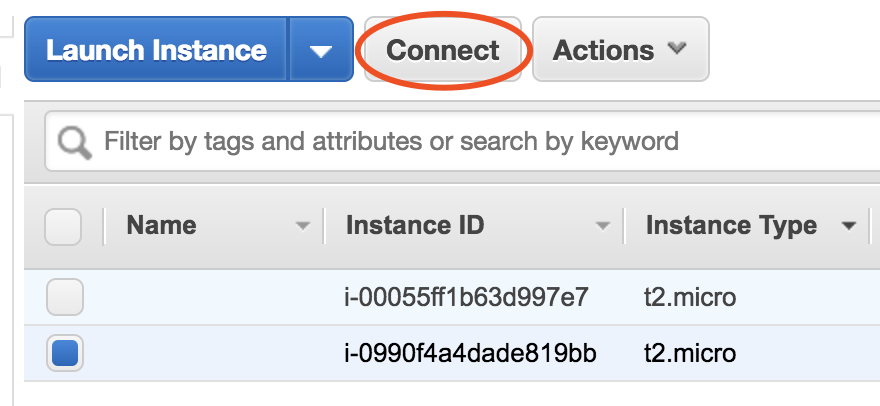
Like:
ssh -i "projectr2.pem" [email protected]
Claim: I’m using yum here. Potentially, you can use apt-get instead in some certain version of Linux.
In the ssh terminal, begin with:
sudo yum update
Then, we need git to import our code into EC2:
sudo yum install git
Install a Javascript runtime. Node.js at this example:
sudo yum install nodejs npm --enablerepo=epel
Configure with ruby & ruby on rails
Then, import public key in order to install rvm:
gpg --keyserver hkp://keys.gnupg.net --recv-keys 409B6B1796C275462A1703113804BB82D39DC0E3 7D2BAF1CF37B13E2069D6956105BD0E739499BDB
install rvm through curl:
\curl -L https://get.rvm.io | bash -s stable
Update your terminal to use rvm shortcut command:
source ~/.rvm/scripts/rvm
Check requirements before update to the newest version of ruby:
rvm requirements
Now let’s install ruby:
rvm install ruby
Make the newly installed ruby as our default one:
rvm use ruby --default
Then, update ruby gems to the newest version:
rvm rubygems current
Now, let’s install rails!
gem install rails
Bing! You are all set for the EC2. Now let’s import our code into EC2.
We need to use github. Register an account and push the code to the github. Or, we can use the following code directly.https://github.com/Tony-Hu/PhotoSite
Go to your EC2 ssh terminal, and clone the code from that git repo.
git clone https://github.com/Tony-Hu/PhotoSite
Then go into your cloned folder:
cd PhotoSite
And install additional bundles for the rails:
bundle install
Then, migrate all the data:
rake db:migrate
Then, type the command to run the server on specified port:
rails s -p 3000 -b 0.0.0.0
Where p is the port you wish to use. -b 0.0.0.0 you can’t get rid of it.
However, that’s not enough. If you go to your-EC2-IP:3000. The browser will keep looping. Let’s change the security group configuration. Scroll to the most right of your AWS EC2 list. Click on the security group bind with your EC2 instance.
Press “Inbound” -> “Edit” at bottom. Then, press “Add rule”. with the configuration below:
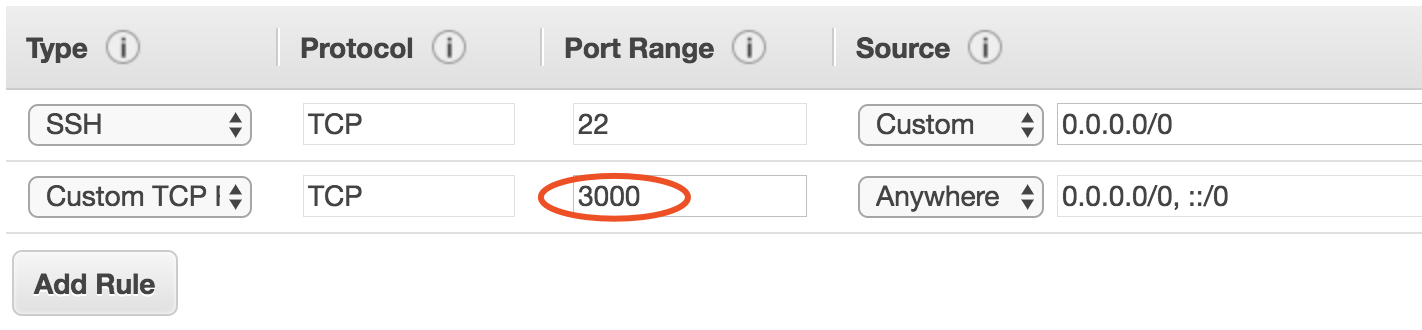
Save. And access/refresh the link: your-EC2-IP:3000. Then, it’s there. Done! Notice that, DO NOT shut down your EC2 instance before you make an AMI! Otherwise, you have to redo these steps every time!
To prevent re-setup for our environment and data. We can create our own AMI.
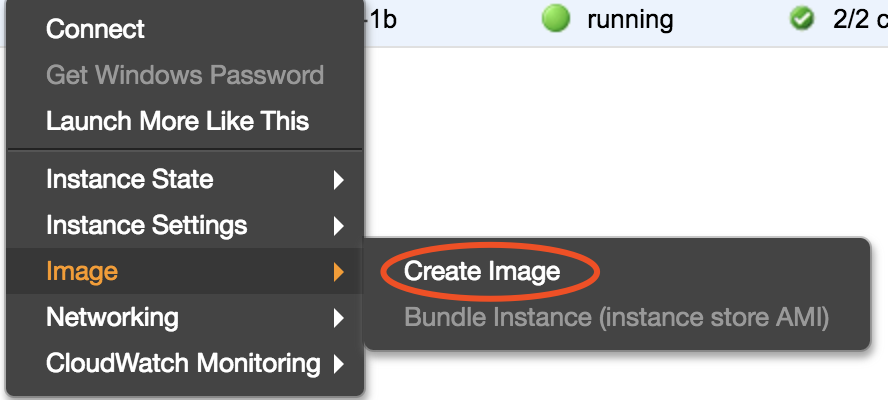
Just right click on your running EC2 instance, and go to “Image” -> ”Create Image”. Notice that, your EC2 instance will be shutdown during image creation process.
After 1~10 minutes, your AMI is ready to put into use. Click on “Image” => “AMIs”
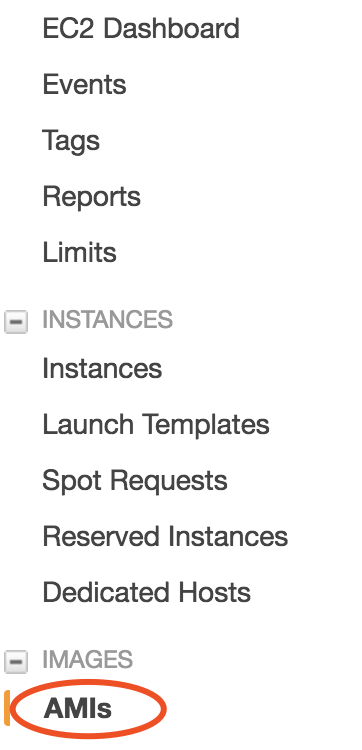
You can see your just created AMI is there.
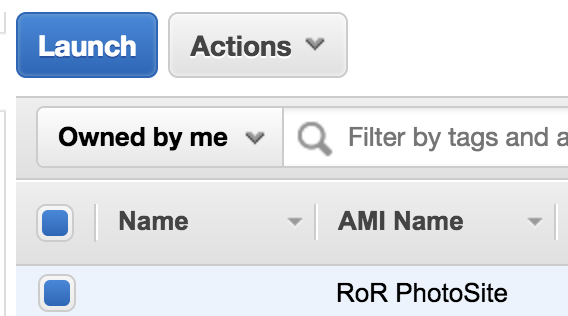
Let’s press “Launch” as we are configuring a new EC2 instance like we have done before. Potentially you can add this instance into the existing security group.
After several minutes for setting up new instance. We are free to access that instance through ssh terminal. Let’s login and check. Oop! All your stuffs are there. just
cd PhotoSite
And then, run the rails service directly,
rails s -p 3000 -b 0.0.0.0
And let’s check to that-EC2-IP:3000. Bingo! It’s working!
Now, you are free to turn off any EC2 instance if you like!.
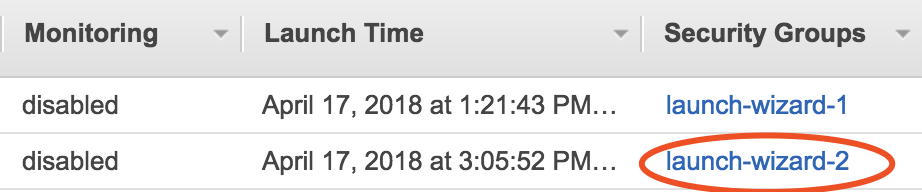
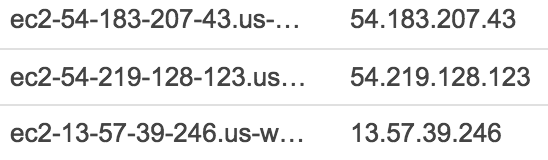
Although you have a way to save your configured environment and data. Your EC2 instances keep change their public IP address once we restart it. Like the example shown below:
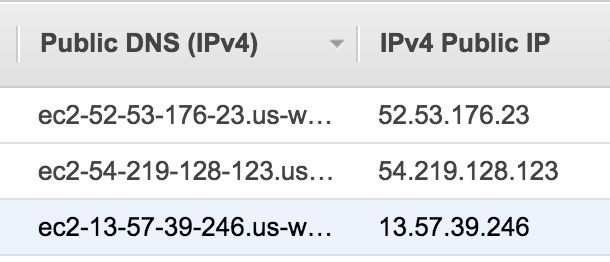
The first instance change it’s IP from 52.53.176.23 to 54.183.207.43. And it’s DNS name also get changed.
How to deal with this stuff? One way to deal with it is called “Load Balancer” through EC2 console.
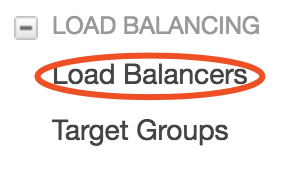
Let’s create an “Application Load Balancer”.
Let’s set it’s “Load Balancer Port” to 3000.
Then select all Availability Zones.
In “Configure Security Groups” page, choose the existing security group “launch-wizard-2”.
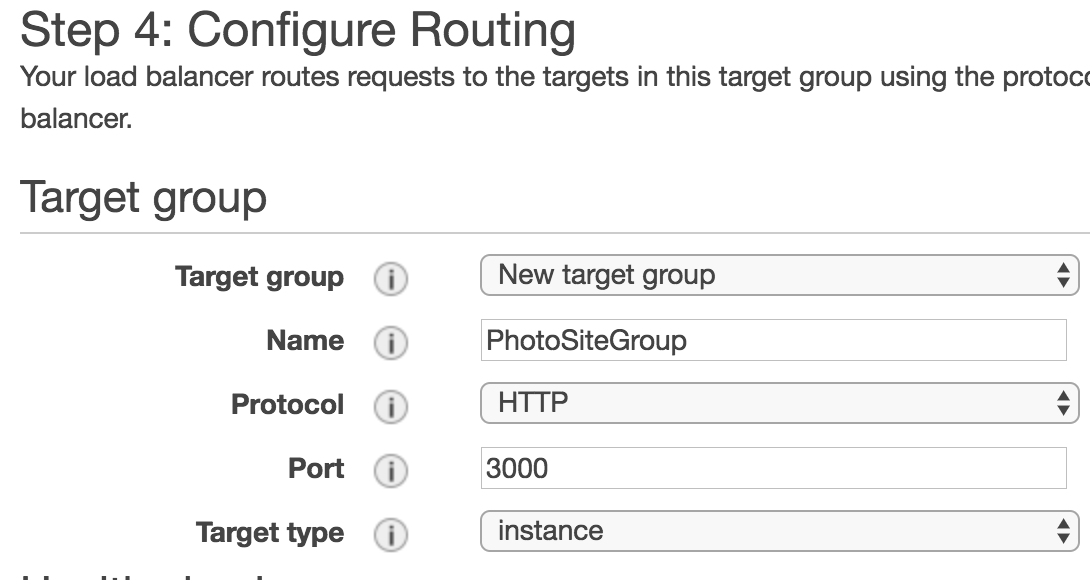
Then, set the port to 3000 in “Configure Routing”.
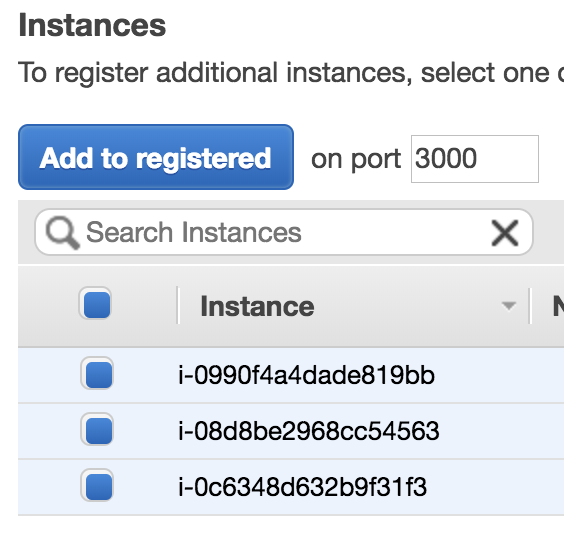
Then, add all instances to registered.
And click on finish.
After several minutes, you can access your website from the following DNS name:3000.
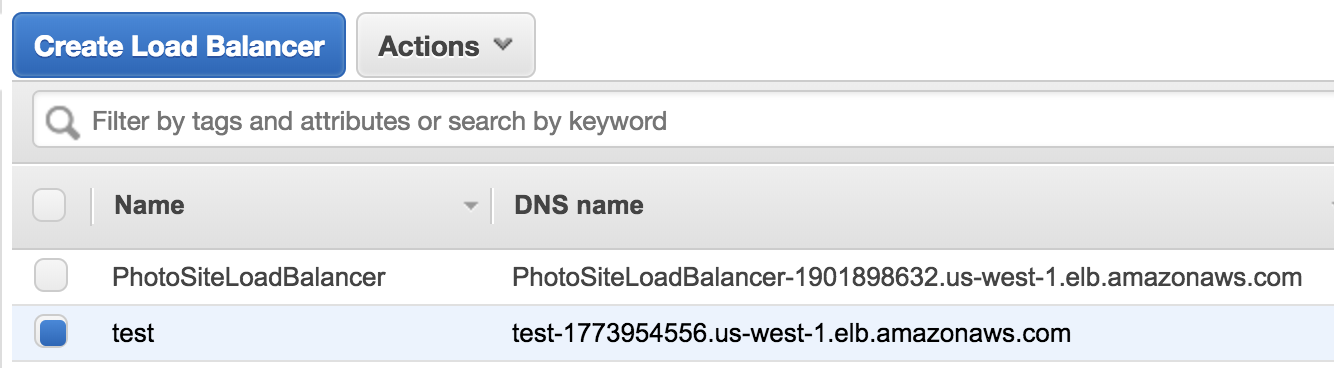
For me, I can access my photo site through http://test-1773954556.us-west-1.elb.amazonaws.com:3000/ and http://photositeloadbalancer-1901898632.us-west-1.elb.amazonaws.com:3000/ as long as at least one of my EC2 instance is running and has rails service on.
Option B - Use Elastic IP
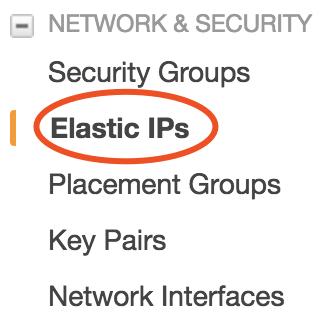
Go to EC2 console, Press on the Elastic IPs.
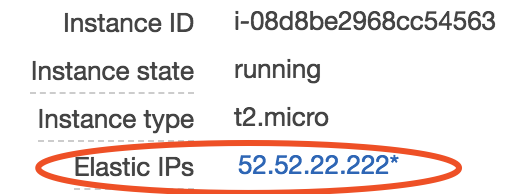
And press “Allocate new addresses”. Now you get an address. Right click on that address item, and choose “Associate address”. Now, you can choose the instance you would like to assign your IP with.
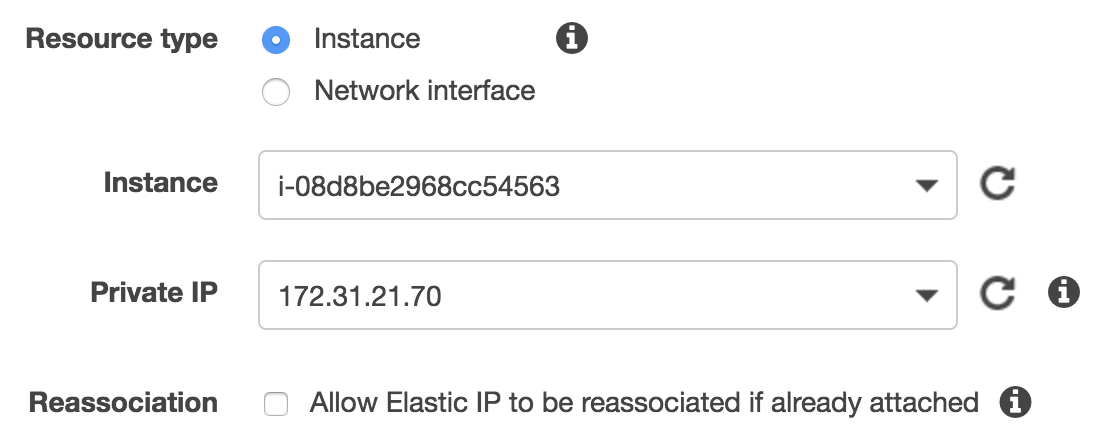
Now, we have our instance bind with a “static” IP address. You can stop/restart your instance any time if you like without changing its public IP address.
A useful EC2 RoR tutorial: https://www.youtube.com/watch?v=jFBbcleSPoY