A Bridgetown documentation site theme, built with Tailwind CSS.
Sponsored By Spinal

Run this command to add this plugin to your site's Gemfile:
$ bundle add bridgetown-docs-template -g bridgetown_pluginsThen add the initializer to your configuration in config/initializers.rb:
init :"bridgetown-docs-template"There are a few requirements for this theme to run.
The following frontmatter is expected in your collection resources:
- layout:
bridgetown_docs_template/layout - title
- description
- category
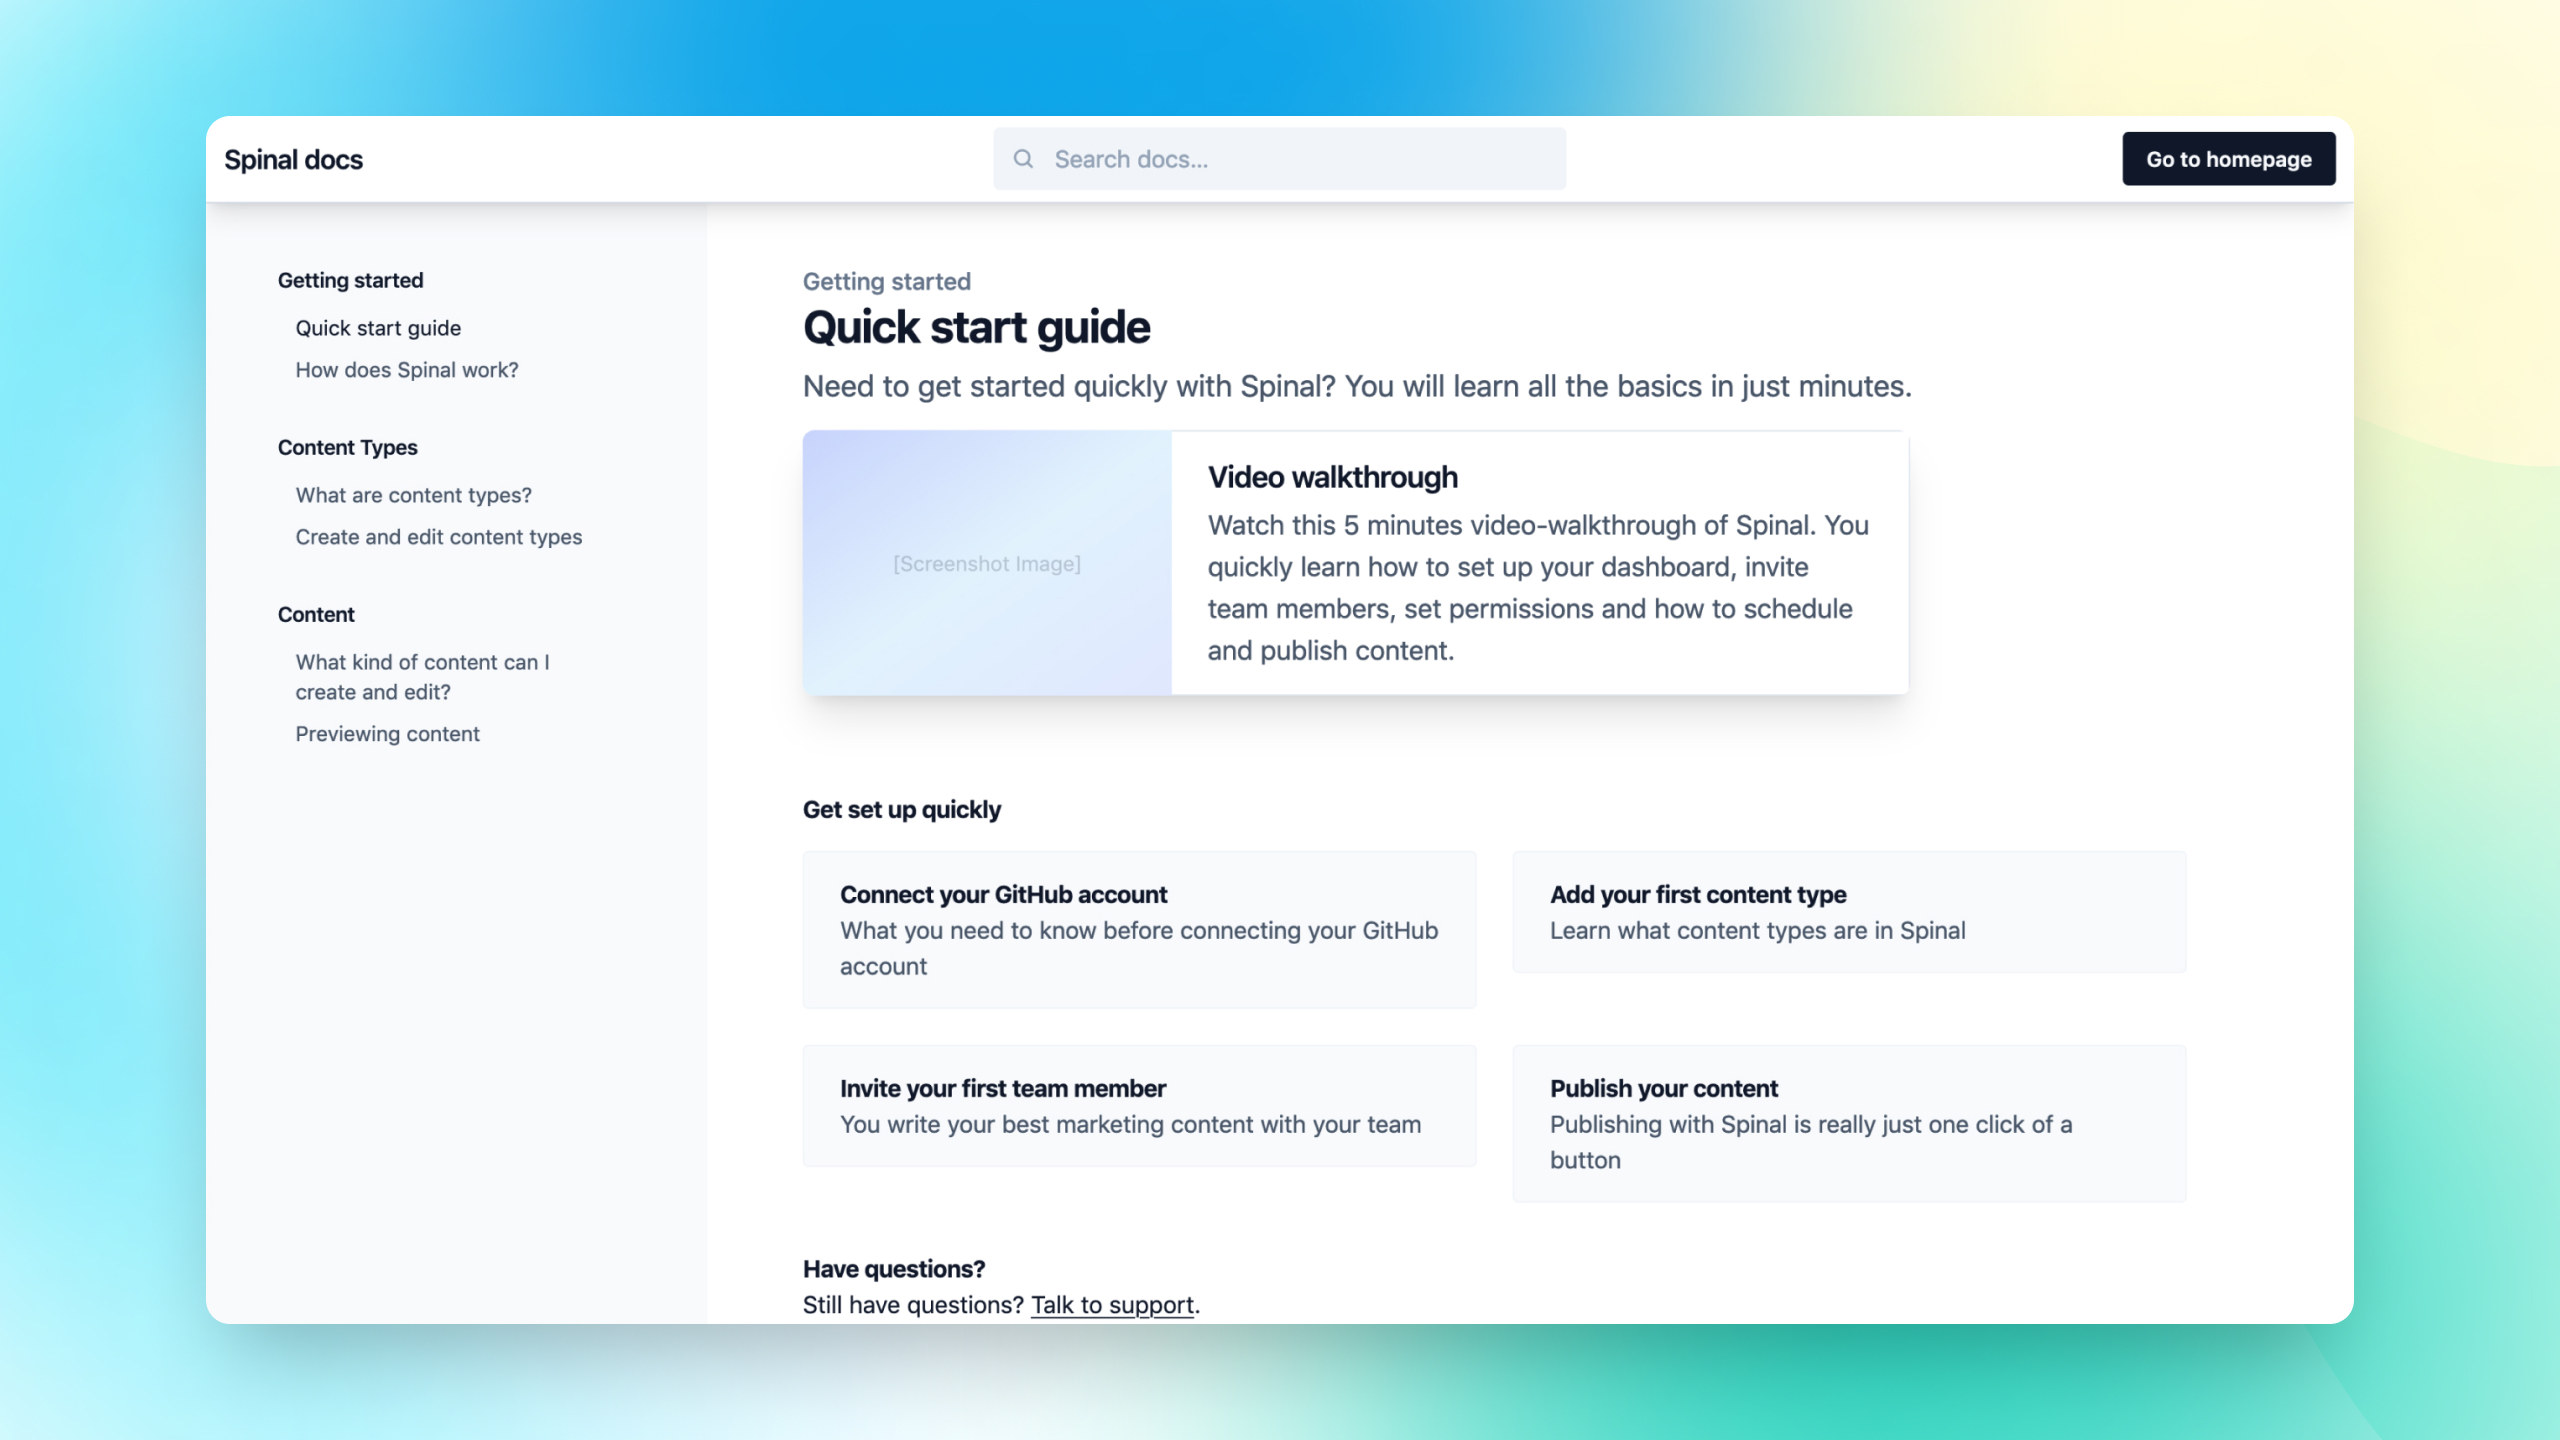
If you want to show the “video” or “quick links” section—likely in your docs root, add show_videotour: true and show_quicklinks: true to your root's markdown file.
content: [
  //…
  "path-to-your-gems"
  //…
]
One way this can be achieved without hardcoding paths is as follows:
const execSync = require("child_process").execSync;
const gemPath = execSync("bundle show bridgetown-docs-template", { encoding: "utf-8" }).trim();

module.exports = {
  content: [
    ...,
    gemPath + "/**/*.{html,md,liquid,erb,serb,rb}",
  ],
  ...
}This theme makes heavy use of Bridgetown's components. If you want to make certain tweaks to any part, it's easy to change any component. Just follow this guide.
The plugin will automatically use any of the following metadata variables if they are present in your site's _data/site_metadata.yml file.
- name
- Documentation theme built with Tailwind CSS
- 11ty documentation template using Tailwind CSS
- Astro documentation template using Tailwind CSS
- Fork it (https://github.com/spinalcms/bridgetown-docs-template/fork)
- Clone the fork using
git cloneto your local development machine. - Create your feature branch (
git checkout -b my-new-feature) - Commit your changes (
git commit -am 'Add some feature') - Push to the branch (
git push origin my-new-feature) - Create a new Pull Request