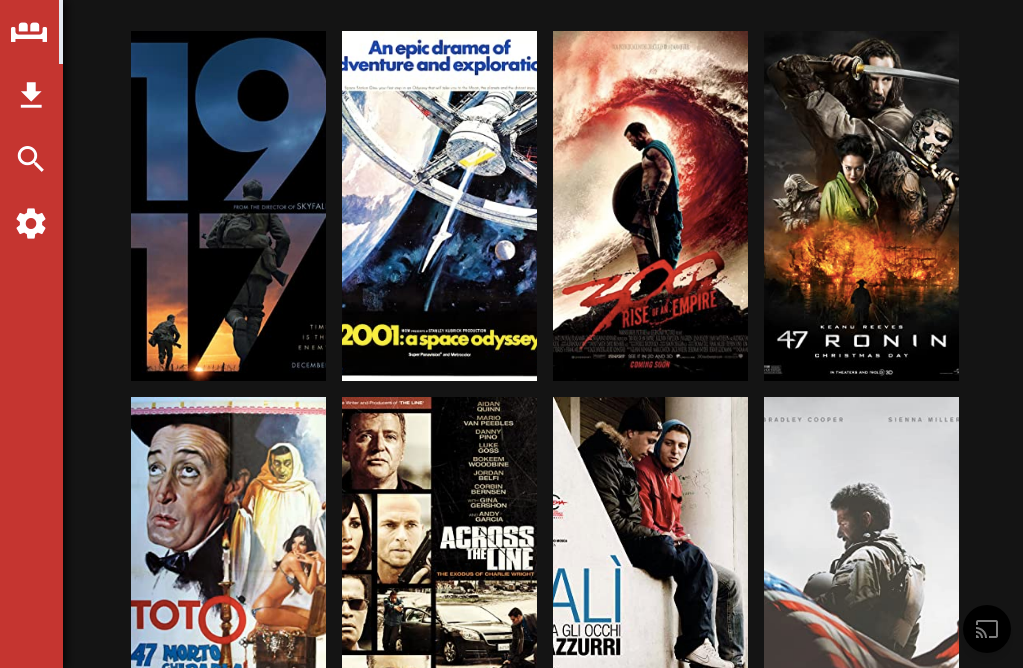
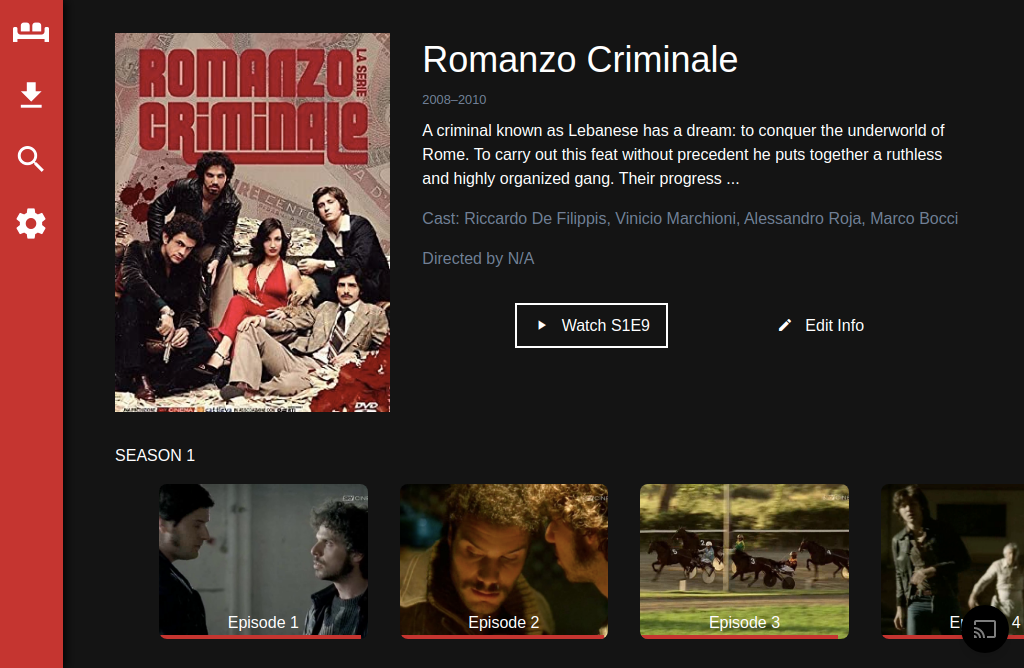
From 12 May 2020, Couch Buddy versions have been moved to packages.
The server (from v0.4.0) has been ported to TypeScript and the DB model slightly changed (to use an existing DB, see DB Migration).
Couch Buddy is a free and open-source Media Center for managing your digital media collection.
You can install it on PCs, servers, RaspberryPi and anywhere NodeJS can run, you can access it from any browser or from Couch Buddy mobile app and you can stream content to ChromeCast devices!
This repository includes the Media Server and the Web Client. Here the mobile app repository.
Typical usage of Couch Buddy is to install it on a laptop, a NAS, a Raspberry PI and then casting content to a smart TV or to a ChromeCast, Couch Buddy doesn't need to run on hardware attached to the TV HDMI.
- Organize your media files into an easy to use app
- Find movies and TV series info automatically from The Movie DB
- Watch any content in the browser or in the mobile app
- Stream any content to ChromeCast (unsupported video files are converted on-the-fly)
- Handle TV series with seasons and episodes
- Automatically download subtitles from Open Subtitles
- Integrated download manager/torrent client
- Useful keyboad shortcut (press
?)
Currently, there isn't a packaged option for Couch Buddy, so you need to install and run it as a Node JS project.
Install and build both the server and the client:
Note: if you don't care about the web client (maybe because you use the mobile app), you can run the below commands from the
server/dir.
# Run from main couch-buddy/ dir
npm run install
npm run build
Be sure to configure the server, see Configuration.
The first time you run the server, you must also initialize the DB (that is, creating the tables), just run this script:
cd server
npm run db:sync
cd ..
Finally run the server:
npm run startNow open http://localhost:3000 in your browser
Important: Some configurations are optional, Couch Buddy can work without them, but functionalities may be lost.
The server is configured via environmental variables, the preferred way is to use a file
named .env placed in the server/ folder, at startup, CouchBuddy reads it and loads the
configuration from it. An example configuration file is provided, just rename and edit it
to your needs:
cp server/.env.sample server/.env
# edit server/.envThe only mandatory config is MEDIA_DIR, which is the directory where your media files are stored. The rest is optional, but you need TMDB_API_KEY to be able to scan the media directory and add files to your library.
| Name | Required | Default | Description |
|---|---|---|---|
| DB_SQLITE_PATH | N | db.sqlite | SQLite DB file path, ex: db.sqlite |
| MEDIA_DIR | Y | Directoty with your video files, ex: /media/luca/MyHDD/videos/ |
|
| OMDB_API_KEY | N | (Deprecated: please use TMDB) OMDb API key, needed for getting movies info. Register and get your key at http://www.omdbapi.com/apikey.aspx | |
| TMDB_API_KEY | N | The Movie Db API key, needed for getting movies info. Register and get your key at https://developers.themoviedb.org/3/getting-started | |
| OPEN_SUBTITLES_UA | N | Open Subtitles UserAgent, needed for downloading movies subs. Request a UserAgent at https://trac.opensubtitles.org/projects/opensubtitles/wiki/DevReadFirst | |
| PORT | N | 3000 | Port where the server listens |
If you want to use a DB generated before v0.4.0, you just need to rename the tables to use snake_case instead of camaelCase and to add few columns.
Rename tables
- mediaFiles to media_files
- subtitlesFiles to subtitles_files
Add Columns
- In movies and episodes tables, add
TEXT backdropcolumn - In movies and episodes tables, rename ratingImdb to vote
Couch Buddy is a web application developed in JavaScript and TypeScript, the backend is fully written in TS and uses NodeJS + Koa and exposes only an HTTP REST API, while the frontend is a Vue Single Page App + Tailwind CSS for the UI.
This Git repository is organized in a multi-package, as it includes
both the server and client with their respective NPM package.json files,
thus you can individually interact with them, for the server:
cd server
npm i
npm run dev
and for the client:
cd client
npm i
npm run serve
The top-level package.json just includes useful NPM scripts
for running all the lower packages together (thanks to npm-run-all).
Typeorm CLI should be run via the NPM script typeorm, to be able to load TS code npm run typeorm, see details here.
To generate migrations run:
npm run typeorm migration:generate -n MigrationNameRun the full test suite:
npm test
# or
npx mocha
You can also run partial tests using Mocha grep feature, for example:
# Run all tests about /downloads REST API endpoints
npx mocha -g "REST .* \\/downloads"
Some test suites can also be run by file, i.e.:
npm test test/test-utils.tsThough, complex tests like the API and the library ones (and any test involving DB and services access), cannot be run in that way, as the initialization procedures are not included, those tests must be always run with mocha --grep

